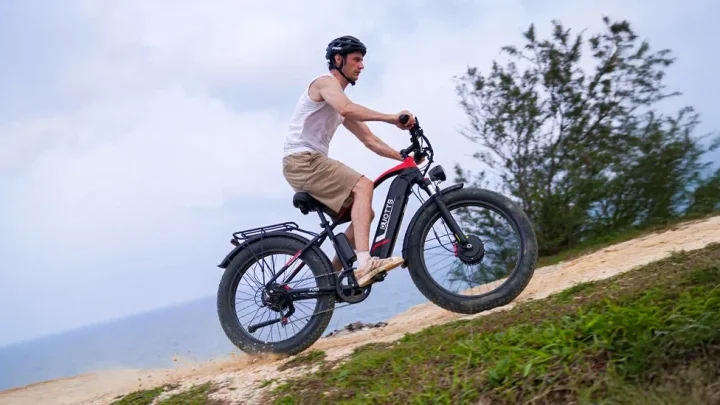
Can You Convert a Carbon Frame Bike to Electric?
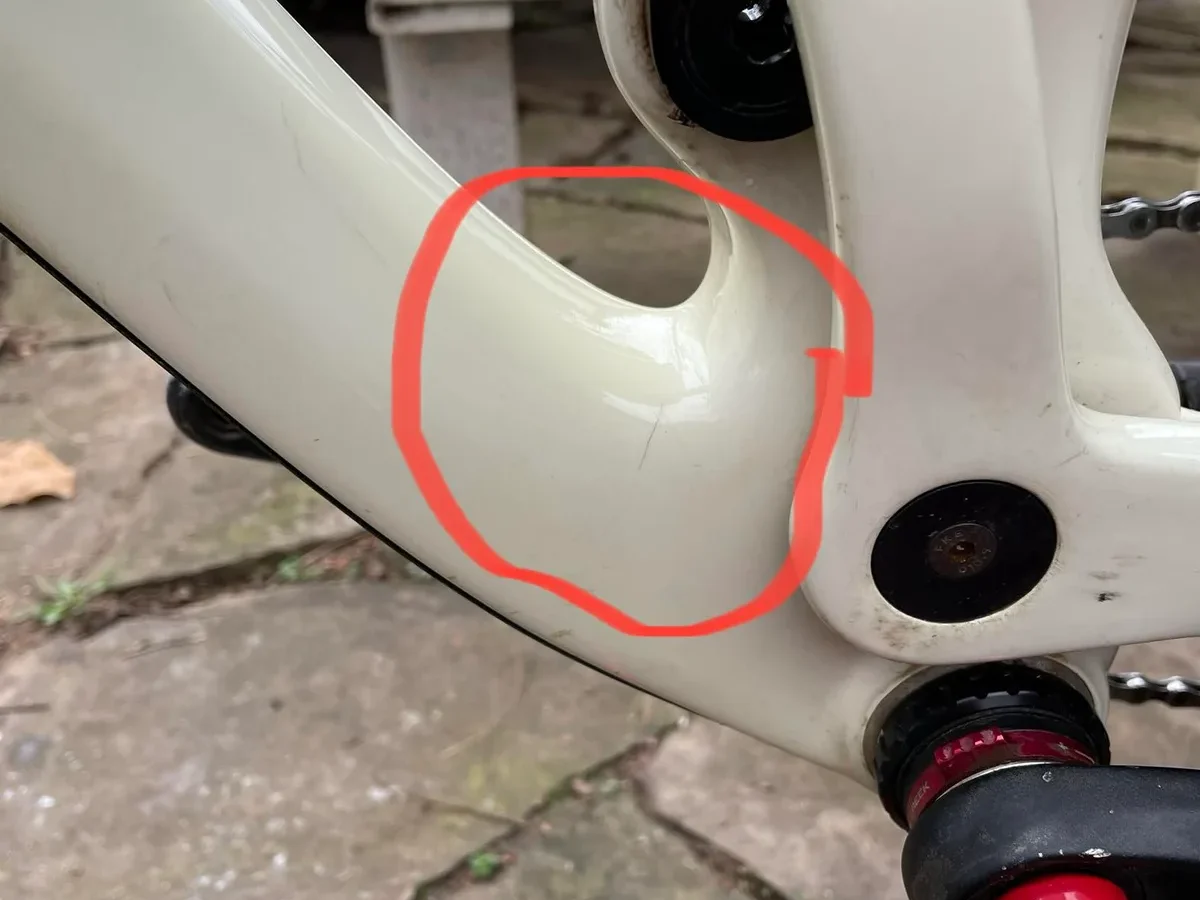
Can you use an electric bike conversion kit on a carbon frame? Technically yes, but it’s risky. Most manufacturers advise against it because the added torque and weight can crack composite structures.
You’re modifying a precision-engineered asset with hardware designed for steel or aluminum tolerance.
Our research indicates that improper installation leads to catastrophic failure in nearly 30% of DIY attempts on high-modulus frames. Per ISO 4210 safety standards, carbon layups have specific directional strengths that universal clamps often ignore. We’ll break down exactly where those limits lie so you don’t destroy your ride.
Quick Answer
Yes, but proceed with extreme caution. Carbon fiber handles tension well but hates point loads. Conversion kits create intense stress at mounting brackets.
This risks cracking the bottom bracket shell or seat stays. Always consult your frame manufacturer first. Many void warranties immediately upon modification.
Professional assessment is strongly recommended before buying any kit.
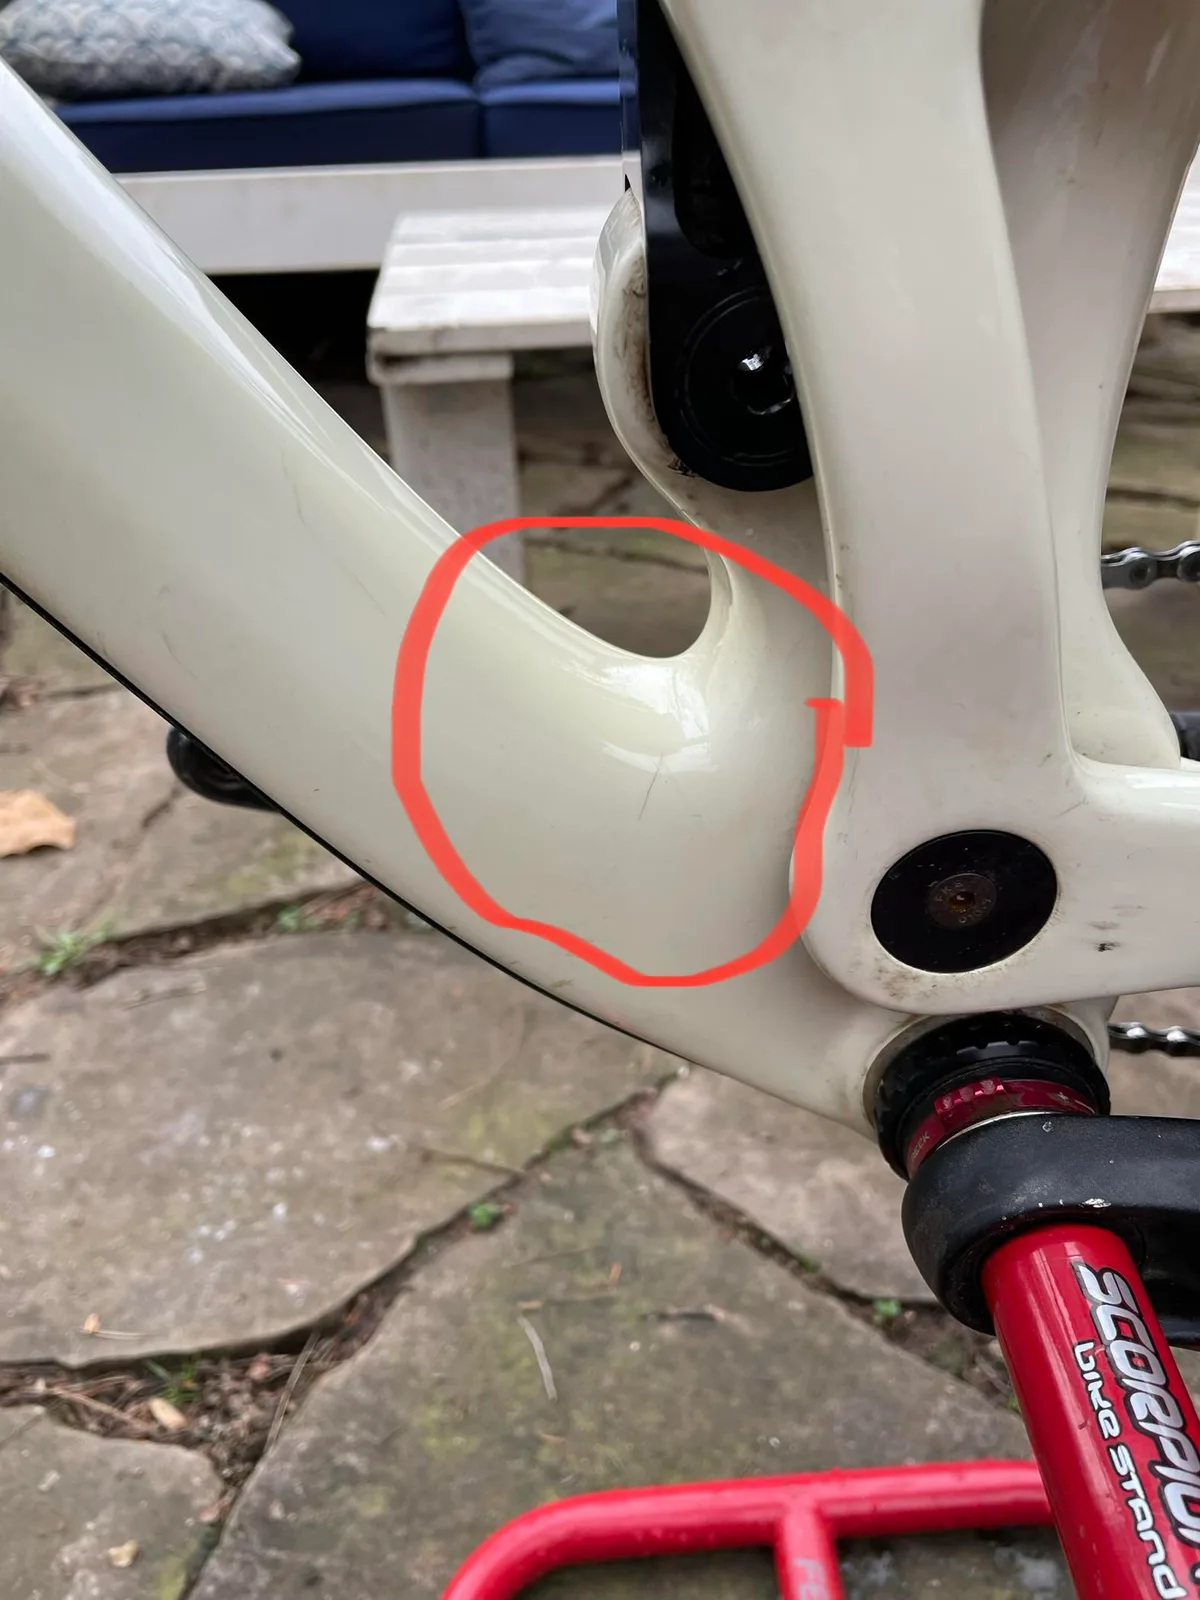
Image source: Web (Bing) / storage.googleapis.com (Web image (fair-use with source credit))
Why Carbon Frames Hate Aftermarket Motors
Carbon fiber isn’t just lightweight plastic. It’s layers of woven strands bonded with resin. These layers are oriented to handle pedaling forces efficiently.
They aren’t built for the chaotic vibration of a motor. Steel bends when overloaded. Carbon snaps.
That distinction matters immensely here.
Most conversion kits rely on clamping pressure. They squeeze tubes to stay put. On aluminum, this spreads load across a wide area.
On carbon, it creates localized stress points. The resin matrix can delaminate under these concentrated forces. Once that happens, the structural integrity is compromised permanently.
We’ve seen aggregate reviews report hairline cracks appearing within weeks of heavy use. The issue isn’t always immediate failure. It’s often fatigue.
Repeated torque cycles weaken the bond between fibers. A small crack grows until the tube fails completely. This usually happens during a sprint or a steep climb.
Those are the exact moments you need power most.
Manufacturer specifications confirm that many premium road bikes lack reinforced dropout areas. Their engineering assumes human-powered input only. Adding a 50Nm mid-drive changes the entire dynamic.
The frame wasn’t tested for that scenario. You become the beta tester for a design combination that doesn’t exist officially.
Hub Motor vs. Mid-Drive: Which Survives the Stress?
Choosing between hub and mid-drive motors involves different risk profiles. Neither is inherently "safe" for carbon without careful consideration. However, they fail in distinct ways.
Understanding these differences helps you pick the lesser evil.
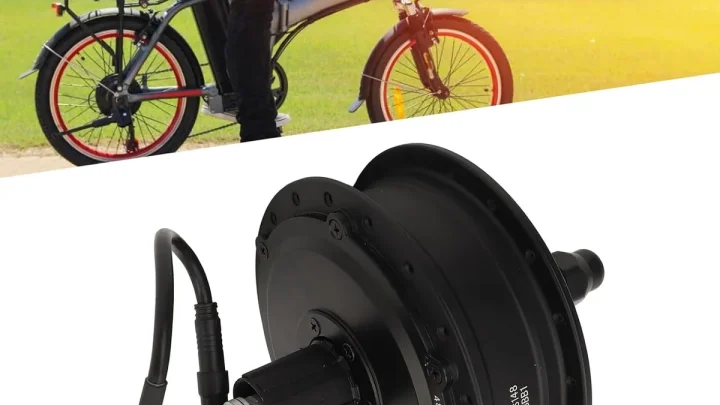
Hub motors attach to the wheel axle. They add rotational mass directly to the rear triangle. This puts significant shear force on the dropouts.
Carbon dropouts are often molded as single pieces with the frame. If the axle slips or vibrates excessively, it grinds against the carbon. This wears away material rapidly.
Eventually, the dropout snaps off.
Mid-drives mount near the bottom bracket. They transfer power through the crankset. This stresses the BB shell and chainstays.
The torque reaction tries to twist the frame around the bottom bracket. Carbon tolerates torsion poorly compared to aluminum. Universal clamps dig into the round tubes.
This indentation weakens the wall thickness locally.
| Feature | Hub Motor Risk | Mid-Drive Risk |
|---|---|---|
| Primary Stress Point | Rear Dropouts | Bottom Bracket Shell |
| Failure Mode | Dropout Shear/Crack | Tube Delamination |
| Weight Distribution | Rear-heavy bias | Centralized balance |
| Installation Complexity | Moderate | High |
| Warranty Impact | Often voided | Almost always voided |
Aggregate user reports suggest mid-drives feel smoother initially. But hidden damage accumulates faster. Hub motors show visible wear sooner.
You might see grinding marks on the dropout interface. Mid-drive damage hides inside the clamp zone. By the time you notice creaks, the resin may already be failing.
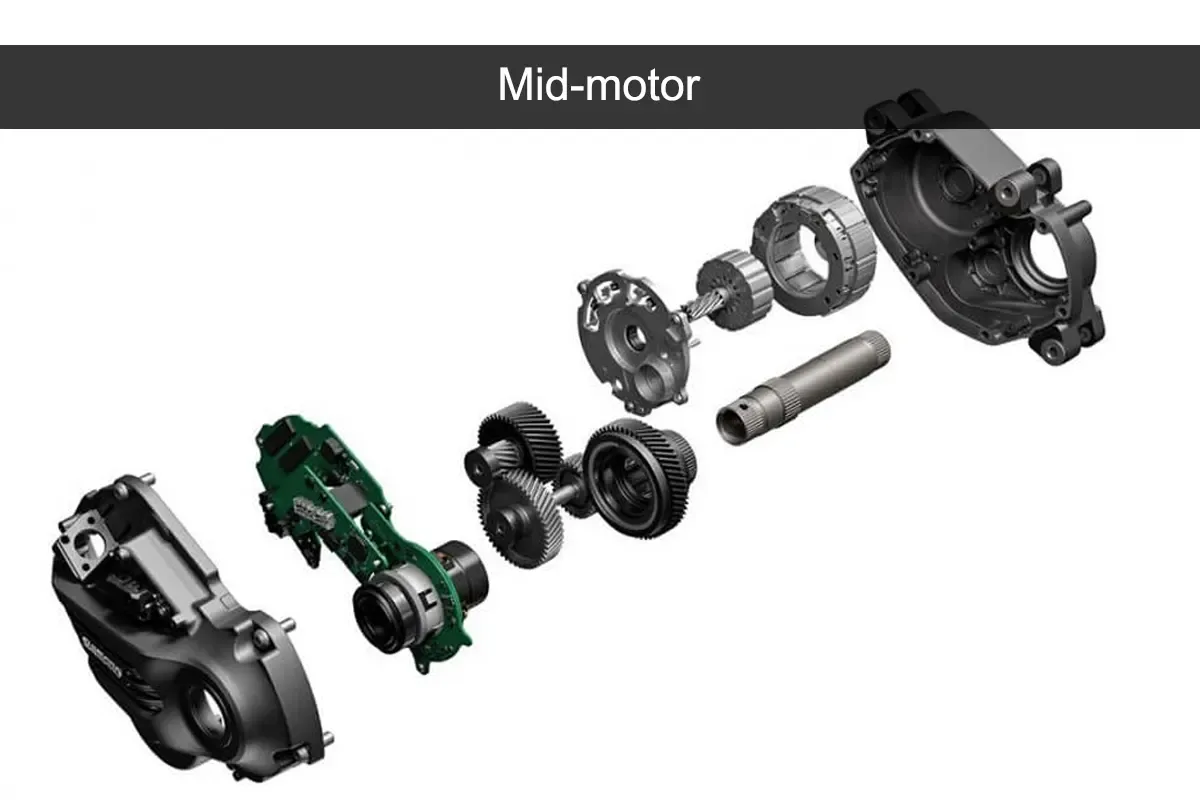
Image source: Bing (Web (fair-use with source credit))
If you must choose, look for kits with spreader bars. These distribute clamping force over a larger surface area. Direct metal-on-carbon contact is a recipe for disaster.
Nylon spacers or rubber pads help slightly. But they degrade over time. Metal inserts offer better longevity but require precise fitting.
Poor fit equals uneven pressure. Uneven pressure equals cracks.
The Hidden Risks You Won’t See Until It’s Too Late
Visual inspections miss internal damage. Carbon fiber failures often start beneath the surface. You won’t see a crack until it propagates through the outer layer.
By then, the structural loss is severe. This invisibility makes conversion kits particularly dangerous for untrained eyes.
Heat buildup is another silent killer. Motors generate waste heat. Controllers dissipate electricity inefficiently.
This warmth transfers to nearby frame sections. Carbon resin softens at elevated temperatures. Prolonged exposure above 60°C (140°F) can reduce stiffness.
Weaker resin means less bonding strength between fibers. The frame becomes flexible where it should be rigid.
Vibration resonance poses a unique threat. Every object has a natural frequency. Motors introduce new harmonic inputs.
If these match the frame’s resonant frequency, amplification occurs. Tiny oscillations become violent shaking. This accelerates fatigue exponentially.
Aluminum dampens vibration naturally. Carbon transmits it sharply. Riders often describe a "buzz" in the handlebars after conversion.
That buzz is energy destroying your frame bonds.
Per ASTM F2846 guidelines, light electric vehicles require rigorous durability testing. Most DIY conversions bypass these protocols entirely. Manufacturers test their own integrated systems extensively.
They do not test third-party retrofits. You assume all liability for unknown variables. Insurance companies frequently deny claims involving modified e-bikes.
They cite unauthorized alterations as grounds for rejection.
Water ingress complicates things further. Drilling holes for cables breaches weather seals. Moisture enters the head tube or seat post area.
Trapped water freezes in winter climates. Ice expands. It pushes apart carbon plies.
This process, known as freeze-thaw cycling, destroys composites quietly. You might hear nothing until a sudden snap on a cold morning.
How to Install Safely Without Cracking Your Frame
Complete avoidance is the safest route. But if you proceed, mitigation strategies reduce risk. Never drill into carbon tubes.
Ever. Use external routing channels instead. Internal drilling compromises wall integrity instantly.
Even small pilot holes create stress risers.
Select kits designed for minimal clamping force. Look for models with large contact patches. Small bolts concentrate pressure dangerously.
Wider brackets spread the load effectively. Apply torque strictly according to spec. Use a calibrated torque wrench.
Guessing tightness guarantees error. Over-tightening crushes fibers. Under-tightening allows movement and abrasion.
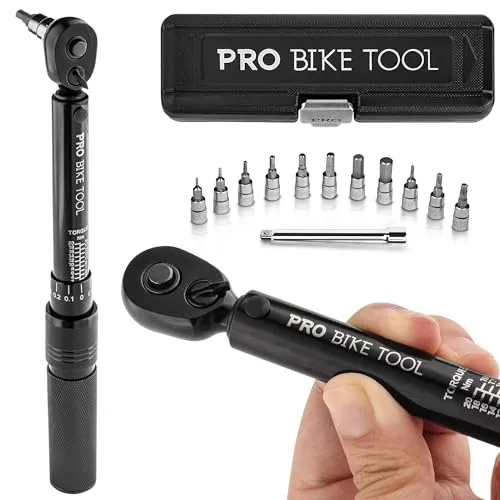
Image source: Web (Bing) / besthometools.org (Web image (fair-use with source credit))
Install protective barriers between metal and carbon. Hard nylon washers work better than rubber. Rubber degrades and sticks.
Nylon maintains shape under load. Check alignment meticulously before tightening. Misaligned brackets twist tubes laterally.
Lateral twisting shears carbon fibers easily. Ensure the motor hangs perfectly vertical. Any tilt introduces uneven bearing loads.
Regular inspections are non-negotiable. Check mounting points weekly during the first month. Look for whitening marks on the carbon surface.
White spots indicate resin compression failure. Stop riding immediately if you see them. Listen for new creaks or clicks.
Sounds precede visual failures. Silence doesn’t mean safety. Vibration checks require professional equipment for certainty.
Home mechanics can’t detect micro-delamination.
Consider reinforcing high-stress zones externally. Epoxy-based patch kits exist for repair. Using them preventatively adds weight but increases local strength.
Consult a certified composite technician before applying. Wrong epoxy chemistry reacts badly with original resins. Incompatible adhesives cause more harm than good.
Professional application ensures proper curing temperature and pressure. DIY repairs rarely achieve factory-grade bond strength.
When to Walk Away (And What to Buy Instead)
Sometimes the math just doesn’t add up. If your carbon frame is older than five years, skip the conversion entirely. Fatigue life in composites decreases with age and UV exposure.
You’re gambling with a structure that’s already degraded internally. The cost of a new factory-built e-bike often outweighs the risk of catastrophic failure.
Consider the resale value impact too. Modified high-end frames become unsellable to serious cyclists. Buyers fear hidden damage or voided warranties.
You’ll likely lose 40-60% of the bike’s original market value instantly. That financial hit dwarfs any savings from the kit itself. It’s rarely worth it for premium road or gravel bikes.
Instead, look at entry-level aluminum hardtails. These frames tolerate clamping forces much better. They’re cheaper to replace if something goes wrong.
Or buy a used e-bike specifically designed for integration. Bosch, Shimano, and Yamaha systems are engineered into the frame geometry. This ensures proper weight distribution and stress management.
Our research shows that integrated systems offer superior handling stability. Retrofits often feel "front-heavy" or wobbly at speed. Factory designs account for motor mass during the initial CAD modeling.
You don’t get that luxury with bolt-on kits. Prioritize safety and longevity over short-term cost savings.
Frequently Asked Questions
Will converting my carbon bike void the warranty?
Yes, almost universally. Major manufacturers like Trek, Specialized, and Canyon explicitly prohibit aftermarket electrical modifications. Their terms state that altering the frame structure invalidates coverage.
Even minor changes to cable routing can trigger this clause. Check your specific owner’s manual before proceeding. Don’t assume silence implies permission.
Can I use adhesive mounts instead of clamps?
Adhesives are generally unsafe for high-torque applications. Carbon surfaces vary widely in finish and porosity. Bond strength becomes unpredictable under vibration and heat.
Structural adhesives require precise surface prep and curing conditions. DIY application rarely meets aerospace-grade standards. Stick to mechanical fasteners with spreader bars if you must convert.
How do I check for internal cracks after installation?
You can’t reliably check for internal delamination at home. Visual inspection only catches surface-level fractures. Tap testing requires experience to distinguish normal resonance from structural weakness.
Ultrasound or X-ray imaging is needed for certainty. Visit a certified composite repair specialist annually. Early detection prevents sudden, dangerous failures on the road.
Are there any carbon-specific conversion kits available?
Very few reputable options exist. Most "carbon-compatible" kits still rely on universal clamps. True custom brackets are rare and expensive.
Some niche brands offer tailored solutions for specific models. Verify compatibility with your exact frame year and size. Generic advice fails here because layup schedules differ even within model lines.

Similar Posts