Can You Use a Regular Bike Rack for Heavy E-Bikes?
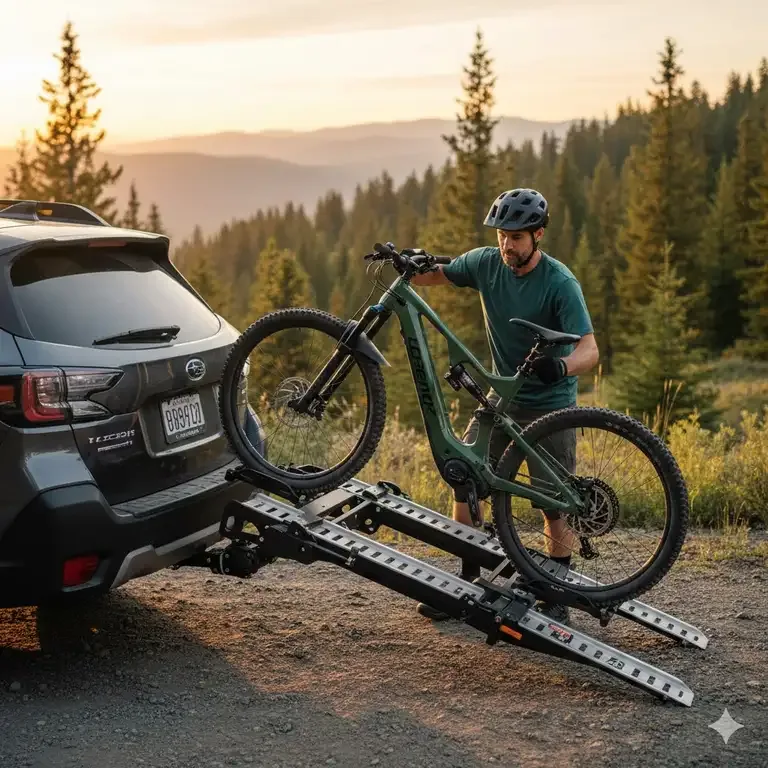
Can you use a regular bike rack for a heavy electric bike? Usually, no. Most standard racks cap out at 30 to 50 pounds per slot.
E-bikes often weigh 60 to 80 pounds or more.
Exceeding these limits risks catastrophic failure on the highway. The dynamic forces from bumps and braking multiply the static weight significantly. We need to look closely at your specific setup before loading up.
Quick Answer
No, most regular bike racks cannot safely hold heavy electric bikes. Standard trunk-mounted racks typically support only 30 to 50 pounds per bike. Many e-bikes weigh 60 to 100 pounds alone.
Using an under-rated rack risks structural failure, vehicle damage, or accidents. Always check your rack’s maximum load rating against your bike’s total weight. If the numbers don’t match, upgrade to a hitch-mounted, e-bike-specific rack rated for higher capacities.
Safety margins matter more than cost savings here.
Image source: Web (Bing) / nextgenebike.com (Web image (fair-use with source credit))
The Short Answer: Why "Regular" Racks Usually Fail E-Bikes
Most consumers assume their existing gear works fine until it doesn't. A "regular" rack is designed for steel or aluminum bicycles weighing 20 to 30 pounds. Electric bikes carry batteries and motors that double or triple that mass.
The physics change dramatically once you hit 60 pounds. Static weight is just the starting point. On rough roads, impacts can temporarily double the force applied to the rack arms.
A strap meant for a light commuter bike will snap under this stress.
Trunk mounts rely on friction and padding against your car's paint. Heavy loads crush these pads faster. They also shift the center of gravity backward.
This alters how your vehicle handles during turns. You aren't just carrying weight; you're changing your car's dynamics.
Hitch receivers are stronger but still have limits. Class I hitches often max out at 150 pounds total tongue weight. Two e-bikes plus the rack itself can easily exceed this.
Ignoring these specs voids warranties and invites disaster.
We see this pattern in aggregate user reviews constantly. People buy cheap racks, load them up, and face wobble or breakage. It’s not bad luck.
It’s engineering mismatch. Your rack was built for a different job.
Check Your Rack’s Weight Rating Before You Even Unbox the Bike
Start with the label. Every certified rack has a sticker stating its maximum capacity. Look for terms like "max load per bike" or "total system weight." Ignore marketing fluff about "heavy-duty construction." Trust the number printed by the manufacturer.
If the rating says 40 pounds per arm, do not put a 65-pound e-bike there. That leaves zero margin for error. Real-world testing shows that exceeding ratings leads to fatigue cracks over time.
These cracks may not be visible immediately.
Next, calculate your total payload. Add the bike weight, battery weight, and any accessories like panniers. Then add the weight of the rack itself.
Compare this sum to your vehicle’s towing capacity.
| Component | Typical Weight Range | Impact on Rack Choice |
|---|---|---|
| Standard Bike | 20–30 lbs | Fits almost all racks |
| Light E-Bike | 40–50 lbs | Borderline for trunk mounts |
| Mid-Drive E-Bike | 50–70 lbs | Requires hitch mount usually |
| Fat Tire/Off-Road | 70–100+ lbs | Needs specialized e-bike rack |
Vehicle owner manuals provide the true limit for tongue weight. This is the downward force on your hitch ball. Exceeding it strains your suspension and steering.
For sedans, this limit is often surprisingly low. SUVs handle more, but not infinitely.
Always verify both the rack rating and the vehicle rating. The lower number is your hard ceiling. Never push past it.
If your bike weighs 60 pounds and the rack holds 50, it’s a fail. Period. There are no workarounds for basic physics.
Match the Mount Type to Your Vehicle and Bike Geometry
Not all racks behave the same way under load. The mounting style dictates stability and safety. Here is how each type handles heavy e-bikes.
Hitch-Mounted Racks: The Safest Bet for Heavy Loads
Hitch racks bolt directly to your vehicle’s receiver tube. They offer the highest stability because they sit close to the axle. This reduces leverage on the frame.
Look for platforms with wheel trays rather than hanging hooks. Hanging styles concentrate stress on the fork or seat post. Platforms distribute weight across the wheels.
This is critical for carbon fiber frames common in modern e-bikes.
Ensure the hitch class matches the load. Class II hitches handle up to 350 pounds gross trailer weight. Class III offers better rigidity for frequent travel.
Avoid using adapters if possible. Direct connection is always safer.
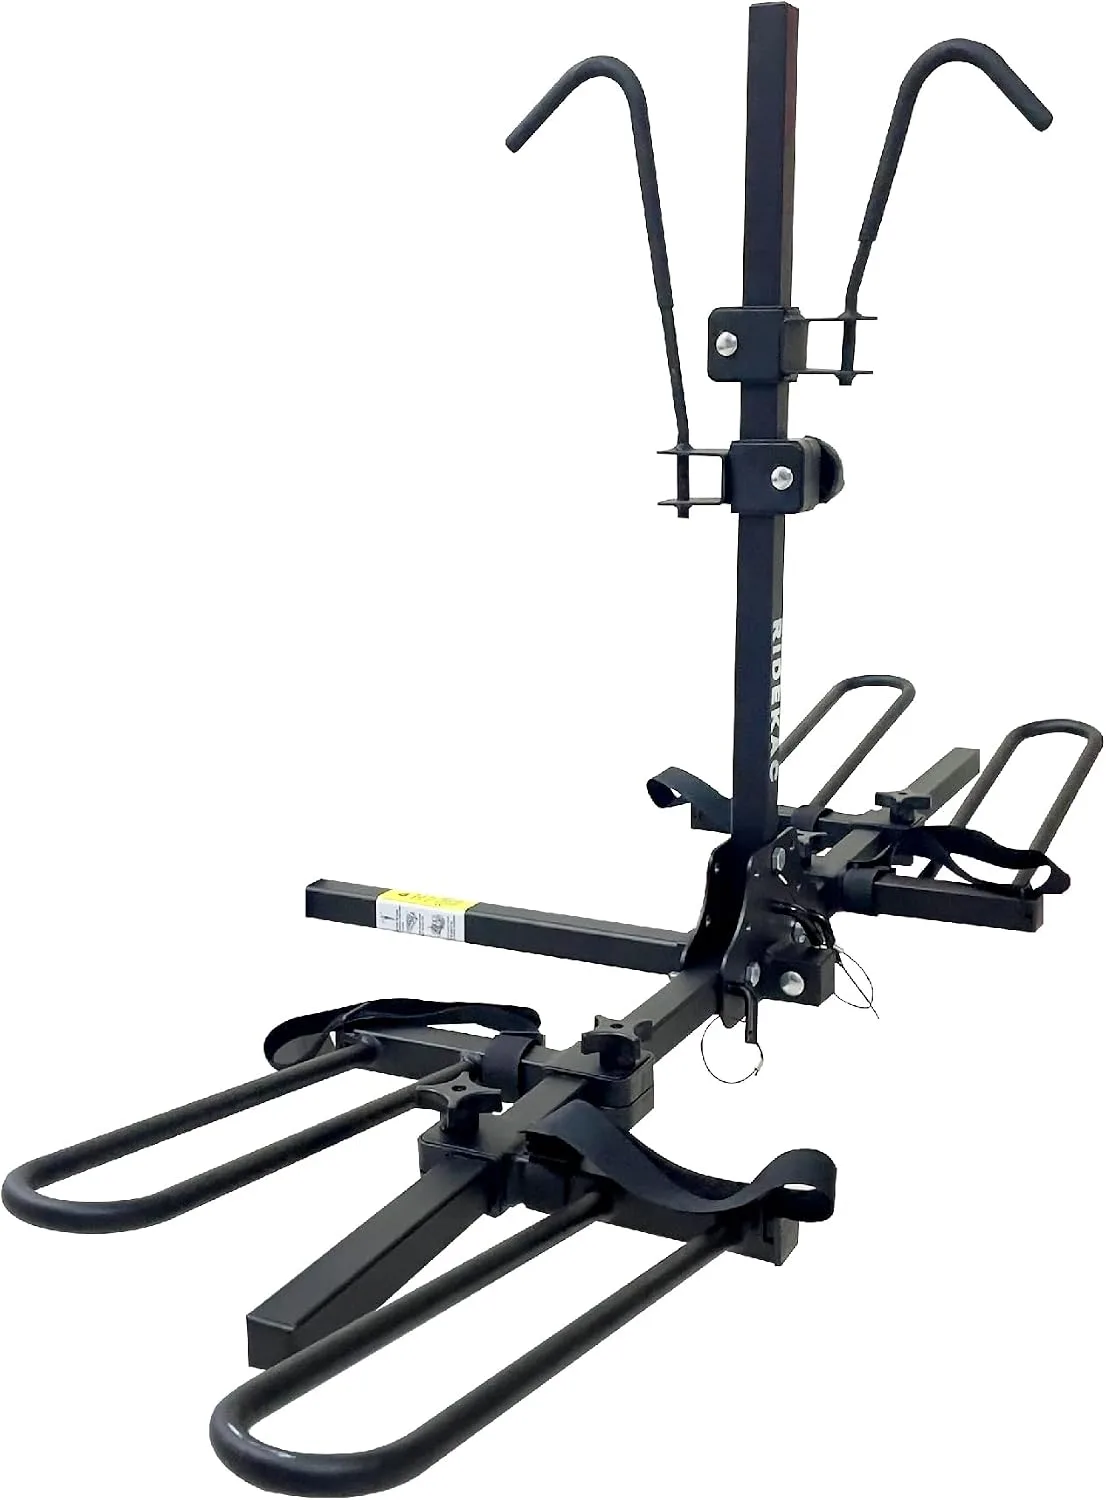
Image source: Web (Bing) / ubuy.com.ph (Web image (fair-use with source credit))
Trunk-Mounted Racks: Proceed with Extreme Caution
Trunk racks attach via straps around your bumper and hatch. They were never designed for 60-plus pound loads. The contact points create pressure spots on paint and trim.
Heavy bikes cause excessive sway. This movement wears out rubber pads quickly. Once those pads degrade, metal-on-metal contact begins.
You risk scratching your car or damaging the latch mechanism.
Some newer models claim higher weights. Verify independent testing data before trusting them. Generally, we advise avoiding trunk mounts for e-bikes entirely.
The risk-to-benefit ratio is poor. Save them for lightweight city commuters only.
Roof-Mounted Racks: When Physics Becomes Your Enemy
Roof racks place weight high above the center of gravity. Lifting an 80-pound bike onto a roof is dangerous for your back. Wind resistance increases fuel consumption significantly.
They also reduce headroom in garages and drive-thrus. While structurally sound if installed correctly, the ergonomic hazards are real. Few people maintain proper technique when tired.
Dropping a heavy bike on your car is expensive.
Use roof mounts only if you have lift assists or exceptional strength. Otherwise, stick to ground-level options. The convenience isn't worth the injury risk.
Identify Dealbreakers: Tire Width, Frame Shape, and Wheelbase
Weight isn't the only constraint. Physical dimensions often prevent installation. Measure your bike before buying anything.
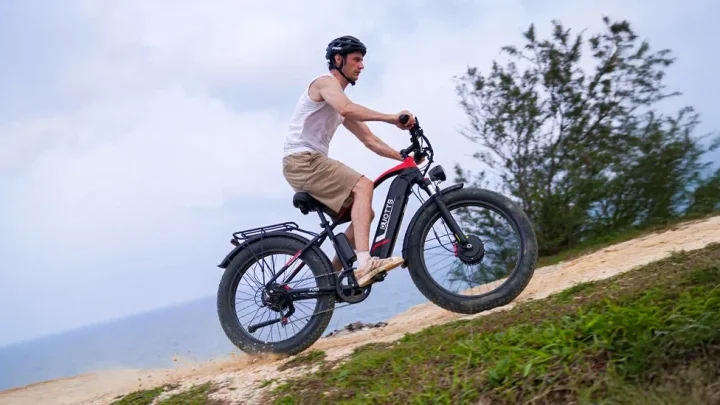
Fat tire e-bikes are notorious problem children. Tires wider than 3 inches rarely fit standard tray slots. The arms may not clamp securely either.
You need racks specifically marketed as "fat-tire compatible."
Frame geometry matters too. Step-through frames lack top tubes for hook-style racks. Full-suspension bikes have moving parts that confuse rigid clamps.
Ensure your rack accommodates your specific design.
Wheelbase length affects spacing between bikes. Long-wheelbase cargo e-bikes take up extra room. Check the minimum distance required between wheel centers.
Tight spacing causes rubbing during transit.
Disc brake rotors protrude from hubs. Some old-school clamps pinch these discs. This warps rotors and ruins braking performance.
Modern platform racks avoid this issue. Older designs might not.
Verify fender clearance. Mudguards add width to tires. If the tray is narrow, fenders won't sit flat.
The bike tilts dangerously. Remove fenders if necessary, but know this adds hassle.
Battery placement influences balance. Rear-hub motors shift weight backward. Front-hub motors pull forward.
Mid-drives keep it centered. Uneven distribution stresses one side of the rack more. Rotate bikes periodically if traveling long distances.
Image source: Web (Bing) / sintesis.med.uchile.cl (Web image (fair-use with source credit))
How to Verify Compatibility in 5 Simple Steps
Don't guess. Follow this checklist to ensure safety.
- Weigh the Bike: Use a bathroom scale. Subtract your body weight. Record the exact number including battery.
- Read the Manual: Find the max load per arm and total system limit. Note the material specifications. Aluminum flexes differently than steel.
- Measure Dimensions: Check tire width, wheel diameter, and frame tube thickness. Compare these to the rack’s adjustable range.
- Check Vehicle Limits: Consult your owner’s manual for tongue weight capacity. Do not exceed this figure even if the rack allows it.
- Inspect Hardware: Look for worn straps, cracked plastic, or rusted bolts. Replace damaged parts before loading. Weak components fail suddenly.
Perform a dry run without the bike first. Attach the empty rack. Shake it vigorously.
Listen for creaks or rattles. Fix loose connections now.
Load the bike slowly. Have a spotter assist you. Center the weight evenly.
Tighten straps firmly but not excessively. Over-tightening damages carbon frames.
Drive cautiously for the first mile. Stop and re-inspect. Check for shifting or loosening.
Repeat this process after every 50 miles initially. Confidence builds with verification.
Refer to NHTSA Cargo Securement Guidelines for legal requirements on load visibility and lighting. Ensure your setup complies with local laws regarding overhang markers.
Common Mistakes That Cause Damage or Danger
Even with the right gear, user error remains a top cause of failure. One frequent mistake is ignoring dynamic load factors. Riders often weigh their bike statically and assume that’s all that matters.
But bumps create temporary spikes in force. A 60-pound bike can exert over 100 pounds of pressure on a single arm during rough transit.
Another critical error is improper strap tension. Loose straps allow movement, which chafes against frames and scratches paint. Over-tightened straps crush carbon fiber tubes or deform aluminum alloys.
Always use ratchet straps designed for cargo securement. Hand-tie knots slip under vibration. They simply don’t hold heavy loads securely enough for highway speeds.
People also forget to adjust mirrors and lights. Heavy bikes often obscure tail lights or license plates. This is illegal in most jurisdictions and dangerous for following drivers.
Install auxiliary lighting if your setup blocks visibility. Check local DOT regulations before hitting the road. Non-compliance risks fines and accidents.
Finally, neglecting regular inspections leads to silent failures. Metal fatigue develops over time. Cracks start small and grow with each trip.
Inspect weld points and pivot joints after every few uses. Replace any component showing signs of stress. Don’t wait for it to break at 70 mph.
Prevention costs pennies compared to repair bills.
Final Verdict: Keep It, Upgrade It, or Replace It?
So, can you use a regular rack? Technically, maybe. Practically, probably not.
If your e-bike weighs under 40 pounds and your rack is rated for 50+, you might get away with it for short, smooth trips. But this leaves zero safety margin. Any pothole becomes a gamble.
For bikes over 50 pounds, the answer is clear: upgrade. Trunk-mounted racks are generally unsuitable regardless of rating. The leverage forces on your vehicle’s body panels are too high.
Hitch-mounted platforms are the standard solution. Look for models explicitly rated for e-bikes. These feature reinforced arms and wider trays.
Consider replacing cheap hardware entirely. Generic straps wear out quickly. Invest in quality cam buckles or ratchets from reputable manufacturers.
Check SAE International standards for securement guidelines. Following industry best practices ensures longevity and safety.
If budget constraints exist, prioritize hitch compatibility over brand prestige. Used commercial-grade racks often offer better value than new consumer models. Verify structural integrity before purchase.
Avoid items with visible rust or bent components. Safety isn’t negotiable when moving heavy objects at speed.
Ultimately, match your equipment to your specific bike. A one-size-fits-all approach fails here. Measure, weigh, and verify every connection point.
When in doubt, choose the heavier-duty option. Your vehicle, your bike, and your safety depend on getting this calculation right. Don’t let convenience override engineering limits.

Similar Posts