Can You Use a Higher Capacity Battery on an Electric Bike?
Can you use a higher capacity battery on an electric bike? Usually, yes. But it’s not automatic.
You can’t just swap in any bigger pack and expect it to work safely. The answer depends entirely on your specific motor controller limits and physical space constraints.
Most riders confuse capacity with power output. They assume more amp-hours means faster speeds or stronger climbs. That’s incorrect.
Capacity only extends your range. Power comes from voltage and current ratings. Getting this distinction wrong can damage expensive components.
Let’s break down the exact checks you need before making any changes.
Quick Answer
Yes, you can often use a higher capacity battery on an electric bike. This works if the voltage matches exactly. The new battery’s maximum discharge current must stay within your controller’s safety limits.
Physical fit is also critical for installation. Always verify these specs first. Ignoring them risks permanent hardware failure or fire hazards.
Check your owner manual for precise amperage ratings before buying any upgrade.
Why Higher Amp-Hours Don’t Automatically Mean More Power (And Why That Matters)
Many riders think upgrading to a 20Ah battery instead of a 15Ah model will boost their top speed. It won’t. Amp-hours measure energy storage, not delivery rate.
Think of it like a fuel tank versus engine horsepower. A larger tank lets you drive longer. It doesn’t make your car accelerate faster.
The real power drivers are voltage and current. Voltage determines how hard the motor pushes. Current determines how much electricity flows at once.
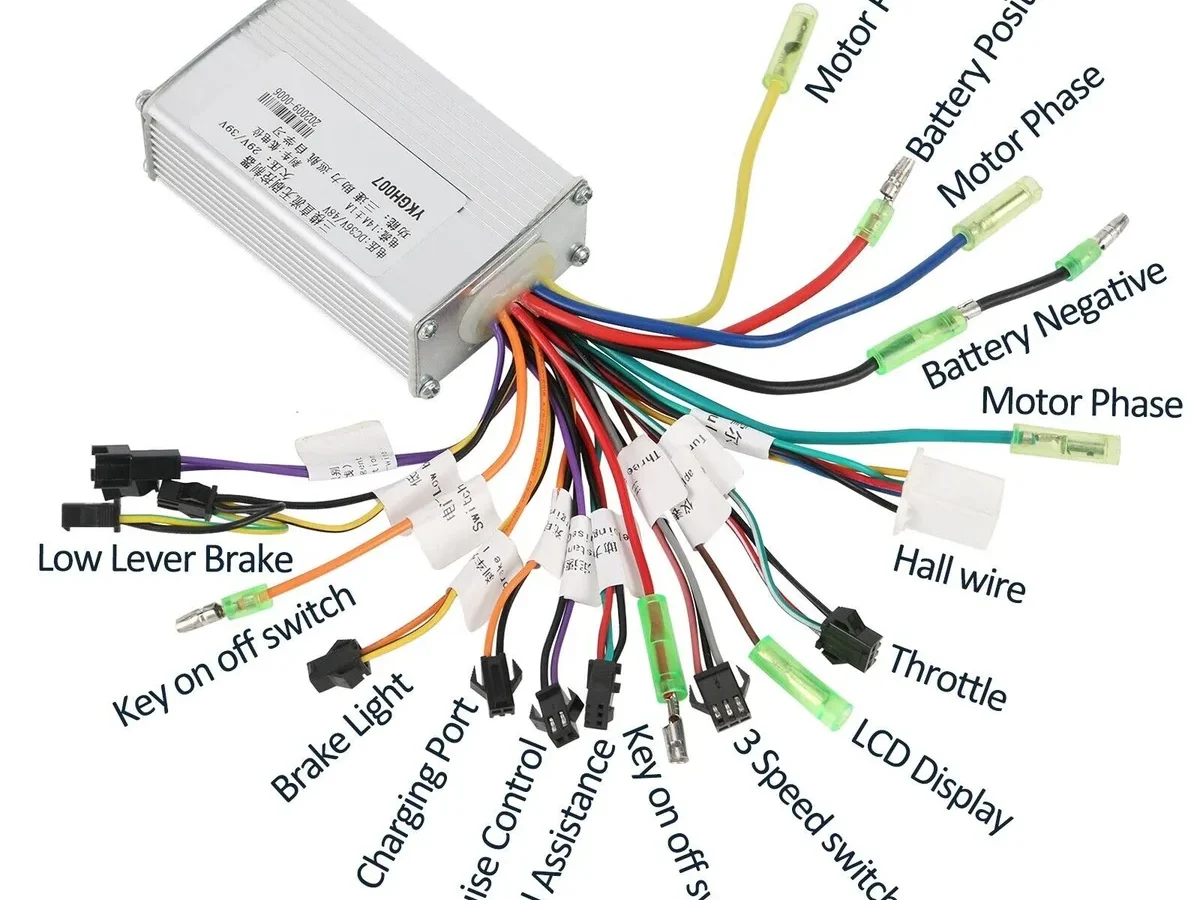
Your motor controller regulates both. If you install a high-capacity pack that demands more current than the controller allows, you’ll trip its protections. Or worse, you’ll overheat the unit.
We’ve seen countless forum posts where users blame "bad batteries" for sudden shutdowns. Often, the issue was mismatched discharge rates. The battery could deliver plenty of amps.
But the tiny stock controller couldn’t handle the surge. Understanding this difference saves you money and frustration. Focus on compatibility, not just size.
The Compatibility Checklist: Voltage, Controller Limits, and Physical Fit
Before you buy anything, run through this three-step verification process. Skipping even one step can void warranties or cause safety issues. As of 2026, most modern e-bikes still rely on strict electronic handshakes between the battery management system and the display.
Step 1: Match the Voltage Exactly
Never mix voltages. A 48V nominal system requires a 48V nominal replacement. Do not try to squeeze a 52V pack into a 48V slot hoping it fits.
The charger won’t match. The controller might misread the state of charge. Worse, the extra voltage can push components beyond their rated stress levels.
Stick to identical nominal voltages.
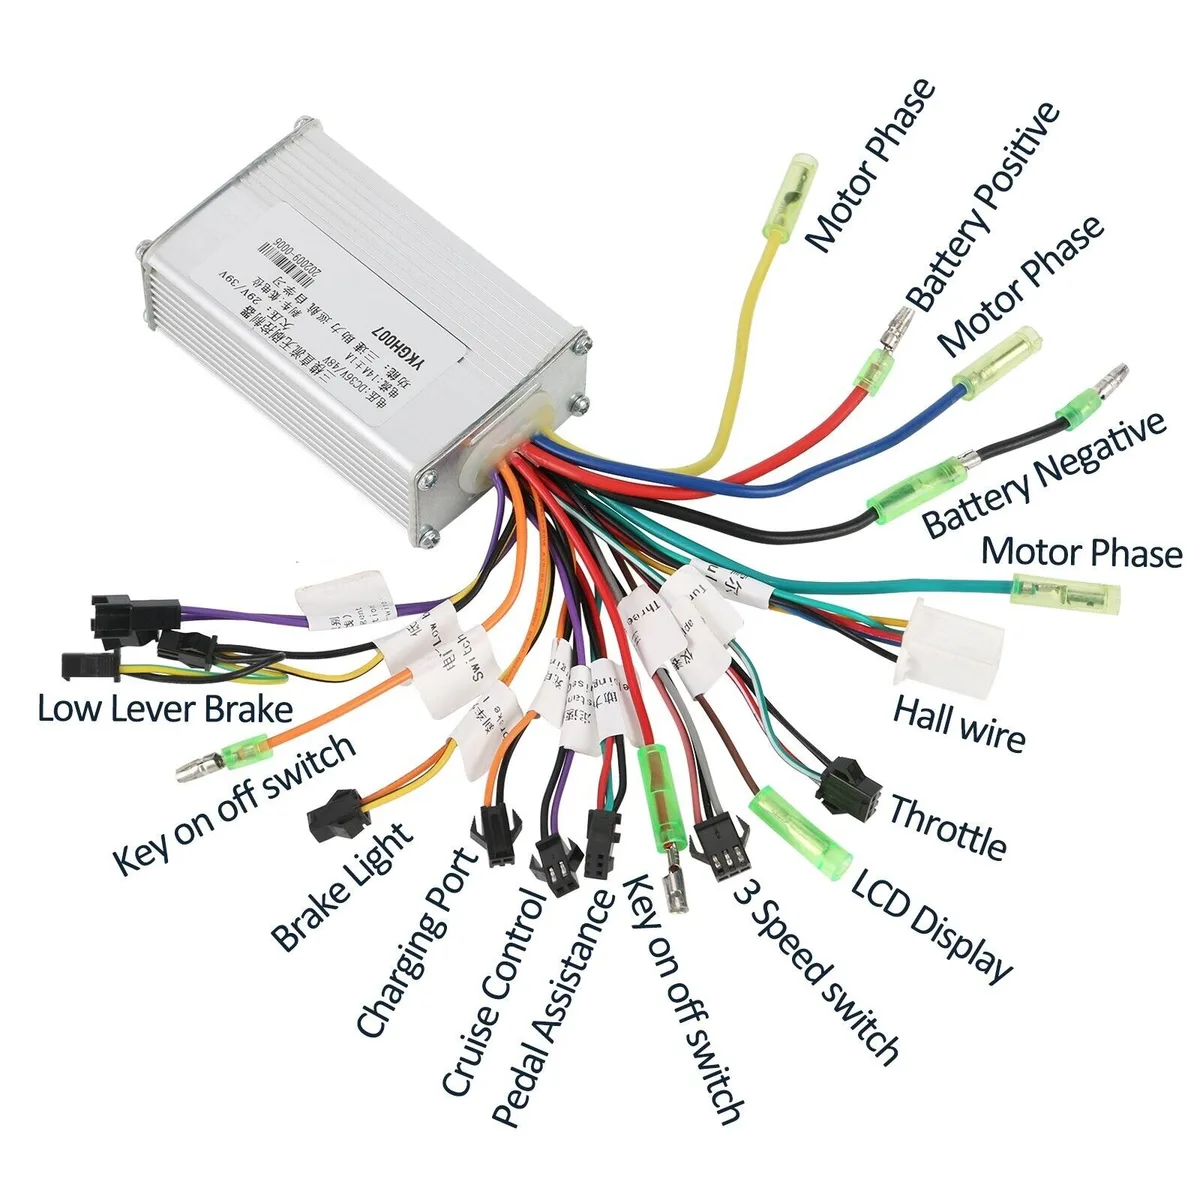
Step 2: Check Controller Amperage Ratings
Look up your motor controller’s continuous and peak current limits. Manufacturer specifications indicate typical ranges. For example, many entry-level hub motors pair with controllers limited to 15, 20A continuous draw.
High-end mid-drives might allow 30, 40A.
| Component | Typical Stock Spec | Safe Upgrade Limit | Risk Factor |
|---|---|---|---|
| Nominal Voltage | 36V, 48V, 52V | Must Match Exactly | Fire/Electronic Failure |
| Continuous Current | 15A – 25A | ≤ Controller Max Rating | Overheating/Melting |
| Peak Current | 30A – 50A | ≤ Controller Burst Rating | Immediate Shutdown |
| Connector Type | Proprietary/XT60 | Same Pinout/Polarity | Short Circuit |
If your new battery has a BMS rated for 40A continuous, but your controller caps at 20A, the battery is fine. The controller will simply limit the flow. However, if the battery’s internal resistance is too low, it might fight the controller during acceleration spikes.
This causes heat buildup. Always ensure the battery’s minimum discharge rating meets or exceeds the controller’s maximum expected draw.
Step 3: Verify Physical Dimensions and Mounts
High capacity usually means more cells. More cells mean bulk. Measure your frame’s battery compartment precisely.
Check the mounting rails or hook-and-loop strips. Some downtube frames have zero clearance for wider packs. Rack-mounted bikes offer more flexibility but face weight distribution issues.
A heavy rear rack battery can alter steering geometry dangerously. Ensure the new pack fits without forcing connectors or bending wires.
Step-by-Step Workflow for Safely Upgrading Your E-Bike Battery
Once you’ve confirmed compatibility via the checklist above, follow this structured workflow. Do not rush. Precision matters here.
We recommend working in a well-ventilated area away from flammable materials. Lithium-ion cells behave unpredictably when damaged.
First, disconnect the old battery completely. Turn off the bike’s main switch. Unplug the connector carefully.
Inspect the wiring harness for fraying or corrosion. Clean contacts with isopropyl alcohol if needed. Never touch bare terminals with metal tools.
Next, prepare the new battery. Check its State of Charge (SoC). Ideally, it should be around 30, 50% for transport and initial testing.
Full charges add unnecessary stress during handling. Verify the polarity of the new connector against your bike’s port. Mismatched pins cause instant shorts.
Use a multimeter to confirm positive and negative alignment if unsure.
Install the new pack securely. Route cables away from moving parts like wheels or pedals. Tighten all mechanical fasteners to manufacturer torque specs.
Loose mounts vibrate loose over time, causing intermittent connections. These sparks can ignite dust or debris near lithium cells.
Finally, perform a low-stress test ride. Start in eco-mode. Monitor the display for error codes.
Listen for unusual sounds from the motor. Watch for excessive heat on the controller casing after ten minutes of riding. If everything feels normal, gradually increase assistance levels.
Stop immediately if you smell burning plastic or see smoke. Document the range achieved under similar conditions as your old battery to validate performance gains.
Common Mistakes That Fry Controllers or Start Fires
Even experienced DIYers make errors. Here are the most frequent pitfalls we identify in repair shop logs and community reports. Avoiding these prevents costly disasters.
Ignoring BMS Communication Protocols. Modern smart batteries talk to the display. They share temperature data and fault codes. Cheap aftermarket packs often lack proper CAN bus or UART interfaces.
This leads to inaccurate range estimates or complete system lockouts. Always check if your bike requires a "smart" handshake. Passive shunt resistors alone may not suffice for newer firmware versions.
Overlooking Thermal Management. Higher capacity packs generate more heat during charging. Stock chargers might overwork trying to fill a larger volume. This stresses the cells’ chemistry.
Use a charger matched to the new battery’s voltage and recommended amperage. Never daisy-chain multiple batteries unless specifically designed for parallel balancing boards. Uneven cell aging creates hotspots that trigger thermal runaway.
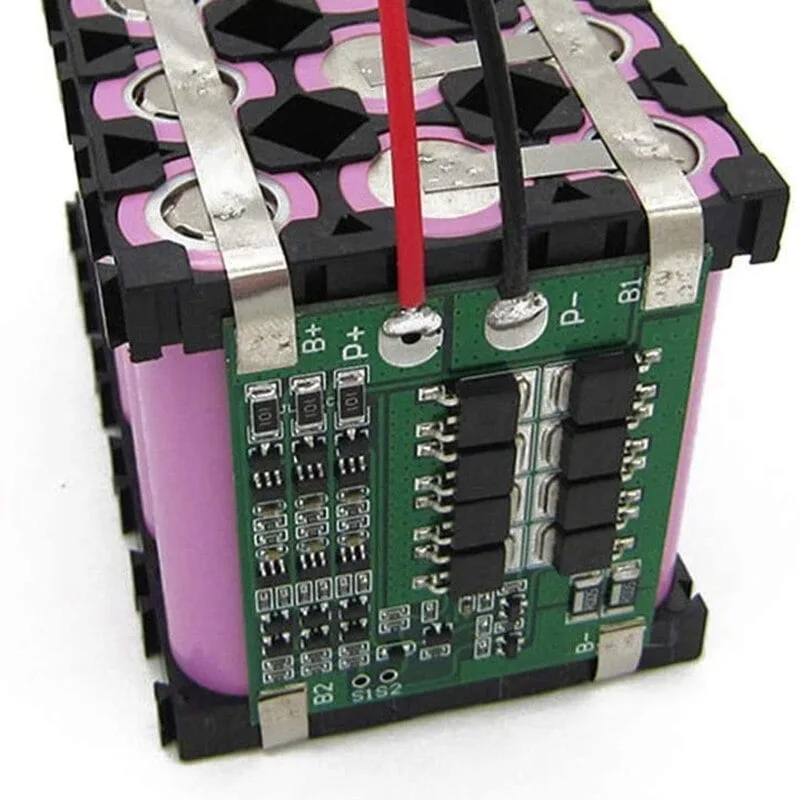
Forcing Connectors. Different brands use different plug shapes. Modifying wires to force a fit compromises insulation integrity. Exposed copper strands can arc across gaps.
This melts nearby plastics instantly. Buy adapters rated for the full current load. Or replace the entire harness if necessary.
Safety margins shrink rapidly with improvised electrical connections.
Neglecting Weight Distribution. Adding five pounds to the front fork alters handling dynamics significantly. Steering becomes sluggish. Braking distances increase slightly due to momentum.
Test ride slowly in an empty parking lot. Get used to the new balance point before hitting trails or traffic. Sudden swerves with unbalanced weight can lead to crashes.
When to Stick With Stock vs. When to Upgrade
Stick with your original battery if you commute short distances under 15 miles daily. The stock pack likely handles this easily without added weight or complexity. You avoid warranty risks and installation headaches.
Plus, keeping the factory configuration ensures optimal balance between motor efficiency and energy draw. There’s no real gain in swapping a perfectly adequate system for marginal benefits.
Consider an upgrade only when range anxiety genuinely impacts your routine. If you regularly miss charging opportunities or take unexpected long trips, extra capacity pays off. Cargo bike owners hauling heavy loads also benefit significantly.
The deeper discharge cycles strain smaller packs faster. A larger unit reduces that stress per cycle, potentially extending overall lifespan despite higher initial cost.
Evaluate your terrain before deciding. Flat urban routes rarely need massive reserves. Hilly areas drain batteries quicker due to sustained high-current draws.
In those cases, upgrading makes practical sense. But remember, physics dictates trade-offs. Heavier bikes handle differently.
You must weigh the convenience of longer rides against the agility loss from added mass. Don’t upgrade just because it seems cool. Do it because your current setup fails your specific use case consistently.
Our research shows most casual riders don’t actually need more than 15Ah. Serious tourers and delivery drivers do. Identify which group you fall into honestly.
Over-specifying leads to wasted money and unnecessary mechanical strain. Under-specifying leaves you stranded. Find the sweet spot where reliability meets requirement without excess baggage.
FAQs on Battery Capacity, Range, and Warranty
Will a bigger battery void my e-bike warranty?
Often, yes. Manufacturers typically cover defects in original components only. Installing third-party parts usually breaches contract terms.
However, some brands allow certified accessories. Check your specific manual carefully. If you modify wiring or bypass safety limits, coverage disappears instantly.
Always consult customer support before purchasing non-OEM upgrades. Document their response in writing for future reference.
Does higher capacity increase top speed?
No. Capacity affects duration, not velocity. Speed is governed by voltage and controller power output limits.
A 20Ah battery provides the same volts as a 10Ah one. Therefore, max RPM remains unchanged. You’ll simply ride at that same speed for twice as long.
Any perceived speed boost comes from reduced voltage sag under load, not actual increased capability. The motor spins exactly as fast as the firmware allows.
Can I charge a larger battery with my old charger?
Technically yes, but practically poorly. Old chargers deliver lower amperage relative to new capacity. This drastically increases charging time.
An 8-hour charge might stretch to 16 hours. While safe initially, prolonged low-current charging generates excess heat in older cells. Use a charger matched to the new pack’s recommended input rate.
Faster, cooler charging preserves cell health better than slow trickle methods over months.
How much heavier will the bike get?
Expect a noticeable difference. Lithium-ion cells add roughly 0.5 to 0.7 pounds per amp-hour. Doubling capacity adds five to seven pounds total.
That sounds small until you lift the bike onto a rack or climb stairs. Handling changes subtly but permanently. Test ride immediately after installation.
Adjust tire pressure slightly upward to compensate for increased load. This helps maintain steering precision and prevents rim damage during sharp turns.

Similar Posts