How to Check Your E-Bike for Water Damage
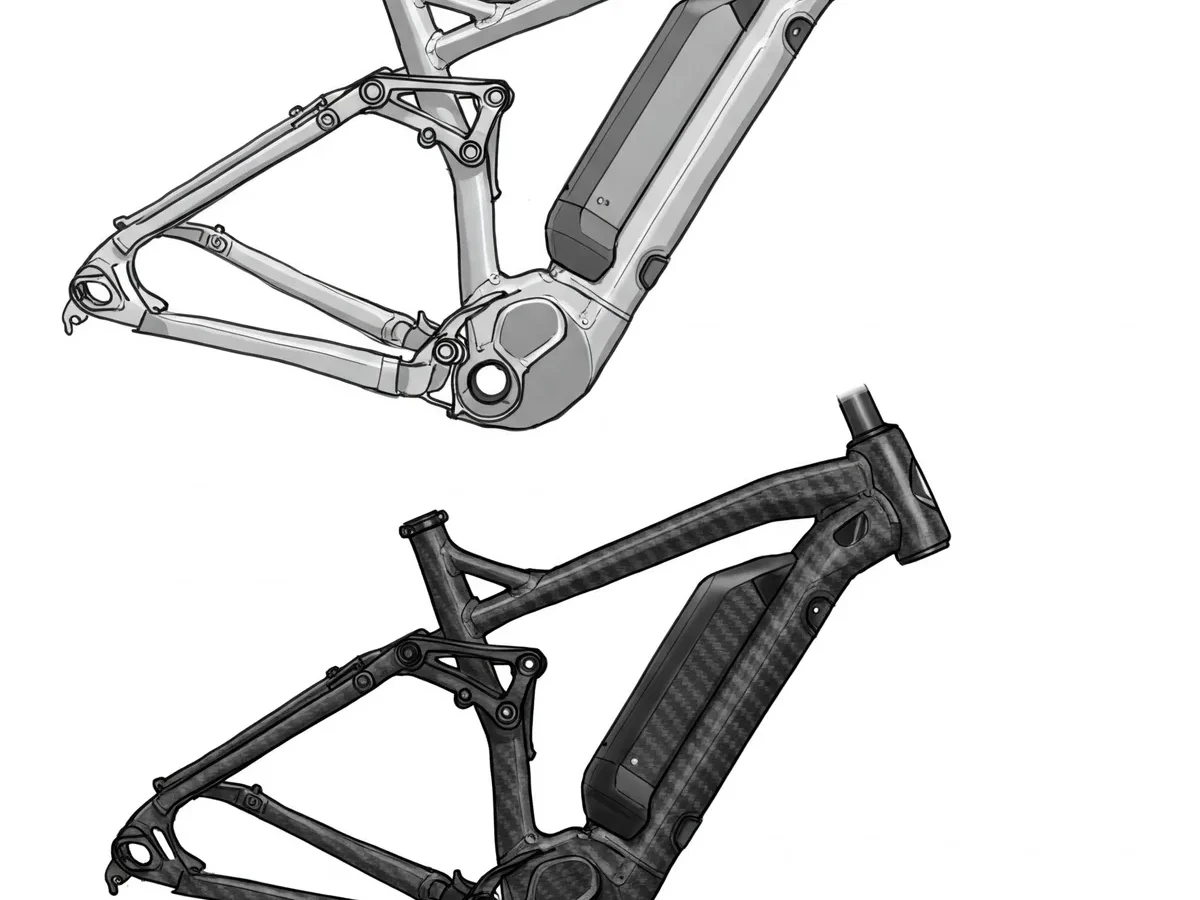
Knowing how to check an electric bike for water damage starts with assessing the severity of exposure. Most riders panic after a heavy rainstorm or accidental submersion, but immediate action matters more than fear. You need to determine if moisture reached sensitive electronics like the controller or battery management system.
Per IEC 60529 standards, most consumer e-bikes are rated IPX4 or IPX5, meaning they handle splashes but not immersion. As of 2026, this distinction remains critical for warranty coverage and safety. We’ve outlined a clear decision tree below to help you triage your specific situation before making costly mistakes.
Quick Answer
To check an electric bike for water damage, disconnect the battery immediately. Inspect charging ports and display screens for visible moisture. Allow components to air-dry for at least 24 hours in a low-humidity environment.
Test power-on functionality only after complete drying. If error codes persist, consult a certified technician to prevent further electrical shorts or fire hazards.
Start Here: Identify Your Exposure Level Before Touching Anything
The first step is categorizing the incident. Did you ride through a downpour? Did the bike fall into a puddle?
Or did someone pressure-wash it incorrectly? Each scenario demands a different response. Misidentifying the level of risk can lead to unnecessary disassembly or, worse, ignoring serious internal corrosion.
Light rain typically affects external surfaces and cable entries. Deep submersion threatens sealed housings and potting compounds. Pressure washing forces water past O-rings that normally stay dry.
Understanding these variables helps you choose the right branch in our workflow. Don’t assume all water exposure is equal. A quick splash differs vastly from sitting in a flooded street overnight.
We recommend pausing for ten seconds to recall exactly what happened. Note the duration of exposure and the type of water involved. Saltwater requires far more aggressive rinsing and drying protocols than fresh water.
This initial assessment dictates whether you proceed to simple surface checks or escalate to professional diagnostics. Get this right, and you save time and money. Get it wrong, and you might void your warranty or create a safety hazard.
The Immediate Triage: Stop, Isolate, and Secure the Battery
Once you’ve identified the exposure, act quickly to isolate power sources. Never attempt to turn on the display or throttle while wet components remain connected. Electricity and moisture are a dangerous combination that can fry controllers instantly.
Your priority is preventing short circuits across live terminals.
Remove the battery pack from the frame if possible. For integrated batteries, switch off the main circuit breaker or remove the fuse if accessible. Detach the display unit from its mount.
These steps break the electrical loop and stop current flow through compromised pathways. Handle the battery with care, avoiding drops or impacts that could worsen internal cell damage.
Place the isolated components on a non-conductive surface, such as wood or plastic. Keep them away from direct sunlight or heat sources. Rapid heating can cause condensation inside sealed units, trapping moisture where it shouldn’t be.
Instead, aim for ambient temperature stability. This pause allows residual charge to dissipate safely without engaging active systems. It’s a small step, but it prevents catastrophic failure during the next phase.
Branch A: Light Rain or Splash-Down Inspection Protocol
If your exposure was limited to road spray or brief rainfall, follow this streamlined path. Start by wiping down all external surfaces with a dry microfiber cloth. Pay close attention to the junction between the battery casing and the frame.
Water often pools here due to gravity and vibration.
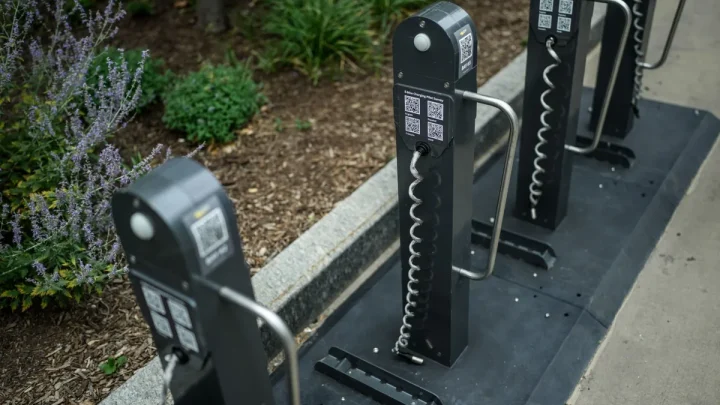
Inspect the charging port cover closely. Ensure the rubber seal hasn’t been displaced or torn. Even a tiny gap lets moisture wick into the pins.
Use compressed air to blow out any visible droplets from crevices. Avoid high-pressure settings that might force water deeper. Gentle bursts work best for clearing surface debris.
Check the display screen for fogging behind the glass. Condensation here indicates a breach in the front seal. If the screen looks clear externally but feels damp internally, do not power it on yet.
Let it sit in a dry room for several hours. Monitor for changes in appearance. Clear visibility usually means no internal ingress occurred.
Foggy patches suggest otherwise, requiring extended drying time.
| Checkpoint | Action Required | Pass Criteria | Fail Indicator |
|---|---|---|---|
| Charging Port | Wipe and inspect seal | Dry, intact rubber | Cracks, moisture inside |
| Display Screen | Visual inspection | No fogging, clear view | Condensation behind glass |
| Cable Entries | Compressed air blast | No dripping, dry connectors | Water seepage at grommet |
Branch B: Deep Submersion or Pressure-Wash Damage Assessment
Submersion or improper pressure washing demands a stricter approach. Assume water has penetrated every seam until proven otherwise. Do not rely on visual inspections alone.
Internal channels may hold trapped pockets invisible from the outside. Treat this as a potential total-system compromise.
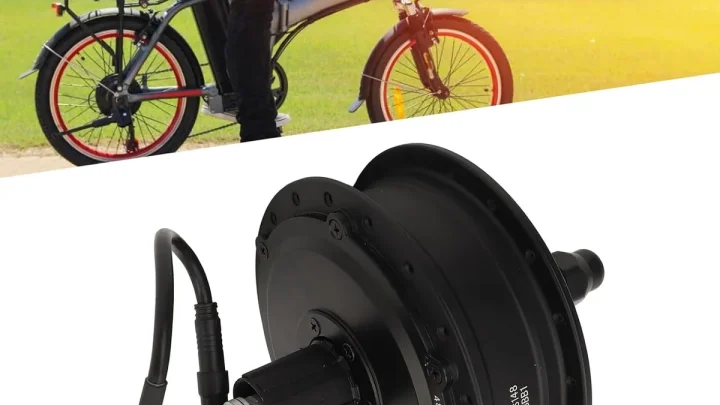
Begin by removing the wheel axles if accessible. Water loves to hide in bearing races and hub shells. Spin the wheels manually to feel for grittiness or resistance.
Grinding noises signal abrasive particles mixed with water. This confirms ingress beyond superficial levels. Such findings warrant immediate professional evaluation rather than DIY fixes.
Examine the motor housing vents carefully. Many hub motors have directional drains that clog easily. Blockages trap humidity against windings, accelerating copper corrosion.
Clean these openings gently with soft brushes. Avoid inserting objects deep into the stator area. Disturbing delicate coils causes permanent magnet demagnetization or wire breaks.
Precision matters more than brute force here.
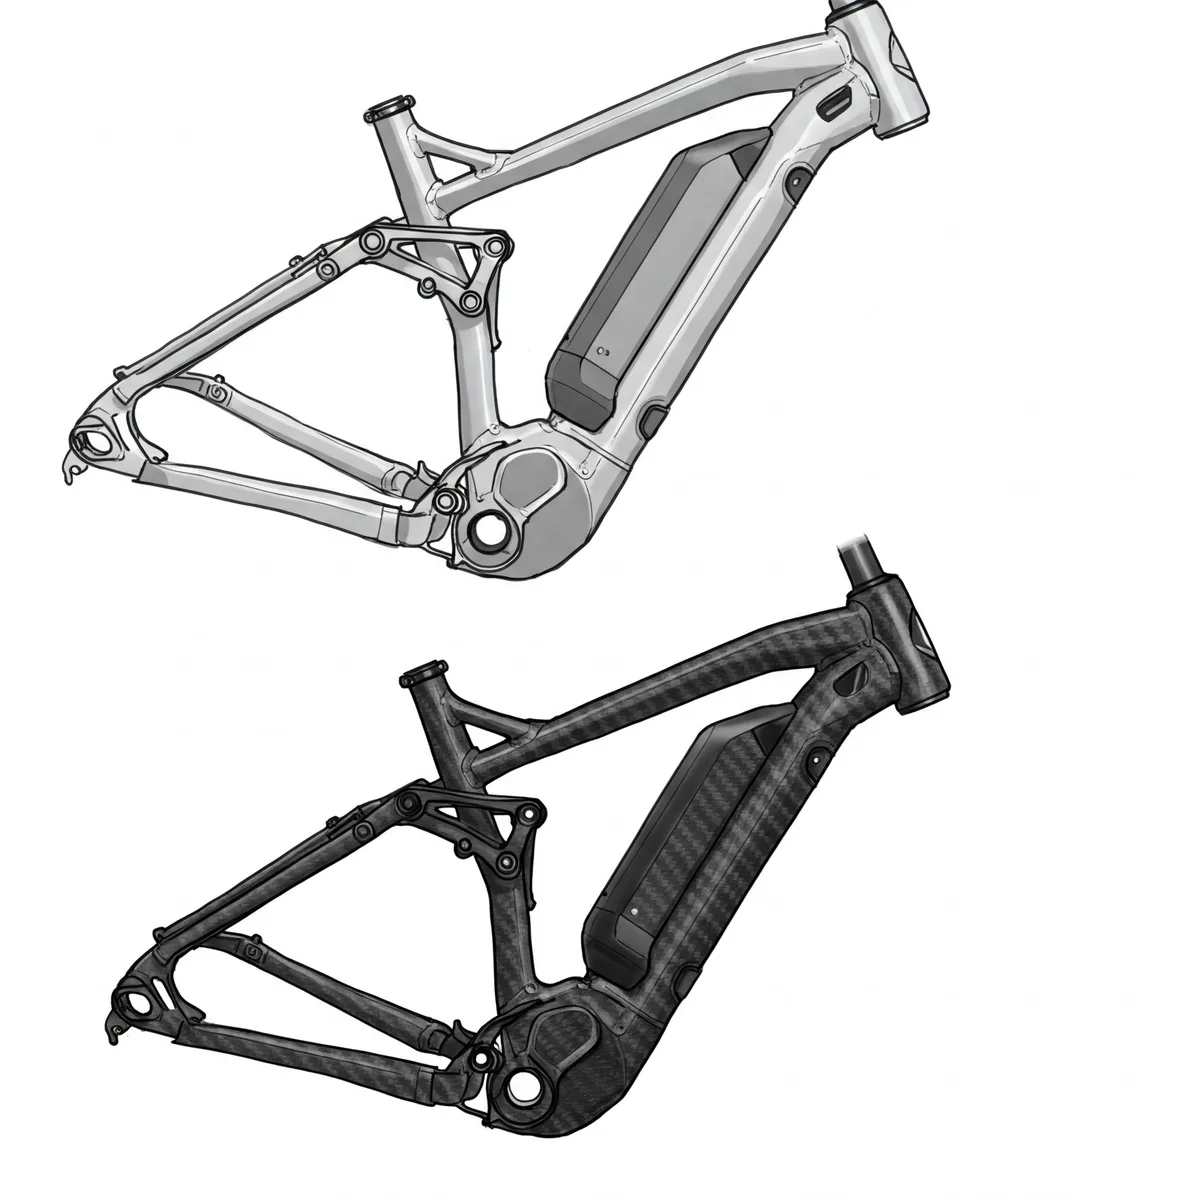
Image source: Bing (Web (fair-use with source credit))
Critical Component Checks: Where Water Hides and Kills Circuits
Certain parts fail silently despite looking fine externally. The controller sits near the bottom bracket, exposed to road grime and splashback. Its aluminum casing conducts heat well but traps moisture if seals degrade.
Look for white powdery residue around screw heads. That’s oxidation starting, eating away at conductivity.
Battery packs contain complex wiring harnesses insulated by tape. Water breaches insulation layers gradually. Once inside, it bridges positive and negative terminals subtly.
Multimeters detect these leaks better than eyes. Set your meter to continuity mode. Probe known good connections versus suspect areas.
Any unexpected reading signals a short. Trust data over intuition when dealing with high-voltage systems.
Torque sensors inside mid-drive units are particularly vulnerable. They measure pedal input via magnetic fields. Moisture alters field strength, causing erratic assist levels.
Symptoms include sudden surges or dropouts under load. These faults mimic software glitches but stem physically from corrosion. Early detection saves expensive replacements later.
Always verify sensor behavior post-drying before resuming normal rides.
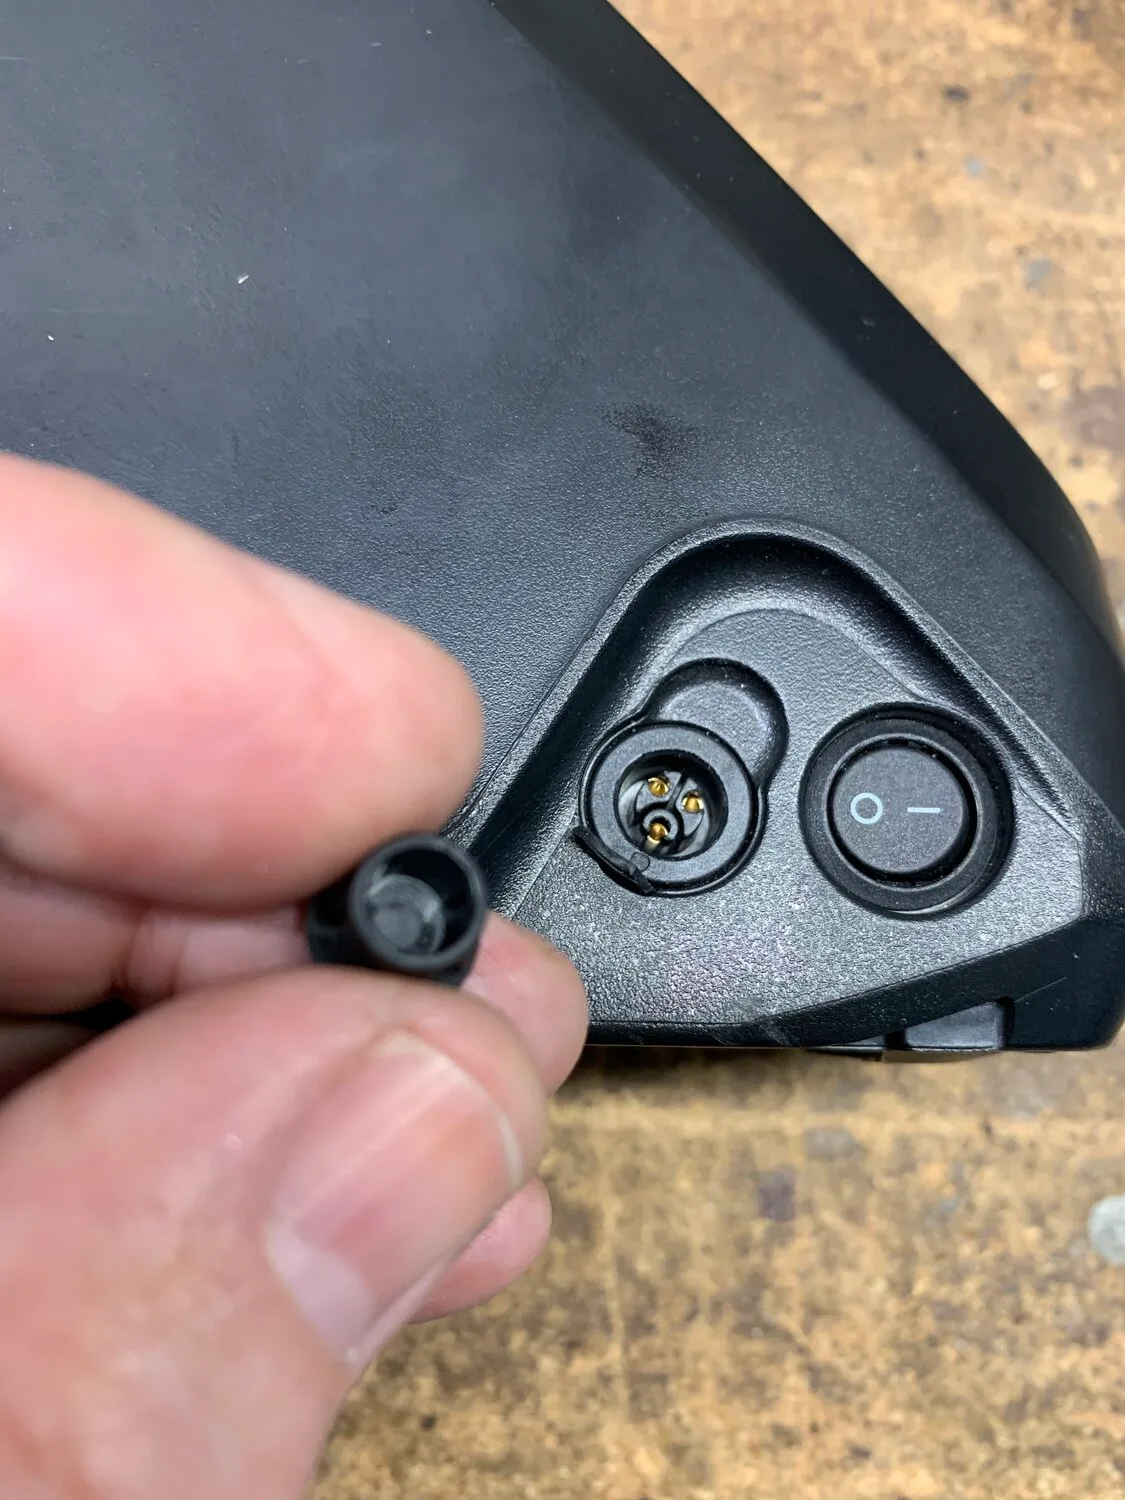
Image source: Web (Bing) / forums.electricbikereview.com (Web image (fair-use with source credit))
The Drying Workflow: Why Rice Fails and Airflow Wins
Rice is a myth. It absorbs little moisture and leaves starch dust in your ports. Use silica gel packets instead.
They pull humidity effectively without contaminating electronics. Place the battery and controller in an airtight container with fresh desiccant.
Airflow matters more than heat. A gentle fan circulates dry air around components. This prevents stagnant pockets of moisture from lingering inside seals.
Never use a hair dryer or oven. High temperatures warp plastic housings and damage lithium-ion cells permanently.
Wait at least 24 hours for light exposure. Deep submersion requires 48 to 72 hours. Patience saves expensive repairs.
Rushing this step guarantees failure later. Check the UL Solutions guidelines on battery safety protocols before proceeding.
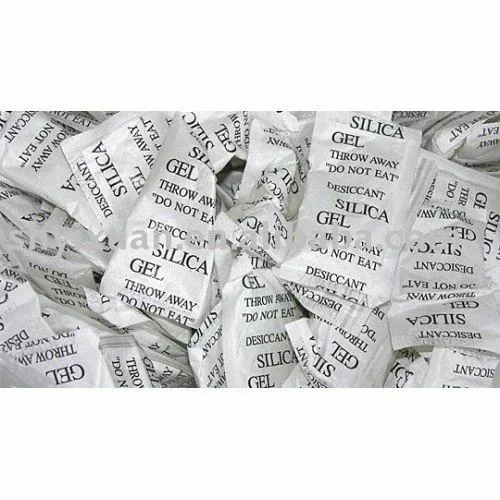
Image source: Bing (Web (fair-use with source credit))
Post-Dry Testing: Verifying Safety Without Voiding Warranty
Reassemble only after the full drying period expires. Connect the battery first, then the display. Do not attach the motor immediately.
Observe the startup sequence closely. Any error codes mean stop instantly.
Test the throttle gently while stationary. Listen for unusual clicks or grinding sounds. These noises indicate internal corrosion or bearing damage.
If the system powers up cleanly, take it for a short, slow ride. Monitor for power cuts under load.
Document everything if you suspect warranty claims. Take photos of dried components and serial numbers. Manufacturers often deny water damage claims unless proof of proper care exists.
Follow their specific inspection checklists precisely. Deviating can void coverage entirely.
Frequently Asked Questions on E-Bike Water Damage
Can I charge my e-bike immediately after rain?
No. Charging wet components causes short circuits. Wait until all ports are completely dry.
Moisture bridges electrical contacts dangerously. Risk of fire or permanent controller death is high. Always inspect visually before plugging in.
Does saltwater damage differ from freshwater?
Yes, significantly. Salt accelerates galvanic corrosion rapidly. Freshwater evaporates relatively harmless residues.
Salt leaves conductive crystals that eat metal. Rinse thoroughly with distilled water if exposed. Dry aggressively afterward.
Professional cleaning is often necessary.
How long does water damage take to appear?
Symptoms vary. Immediate shorts happen within seconds. Corrosion effects emerge over weeks or months.
Intermittent faults may confuse users initially. Regular inspections catch early signs. White powder on terminals signals active oxidation.
Address it promptly to prevent spread.
Should I open the battery casing myself?
Absolutely not. Lithium-ion packs hold lethal charges. Opening them risks explosion or toxic fumes.
Only certified technicians should handle internal repairs. DIY attempts void warranties and endanger lives. Leave sealed units alone.
Seek professional help for suspected cell issues.
🚴 Editorial Team Recommended Waterproofing Gear
To protect battery terminals from corrosion and seal delicate controller wiring against rain intrusion, our team recommends:
- Waterproof Neoprene E-Bike Battery Protective Thermal Cover:Check Battery Covers on Amazon →
- Automotive Electrical Dielectric Silicone Grease for Connectors:Check Dielectric Grease on Amazon →
*FTC Disclosure: As an Amazon Associate, Modern Electric Bikes earns from qualifying purchases. Learn more about our testing standards in our affiliate disclosure.*

Similar Posts