How to Inspect a Used E-Bike Before You Buy
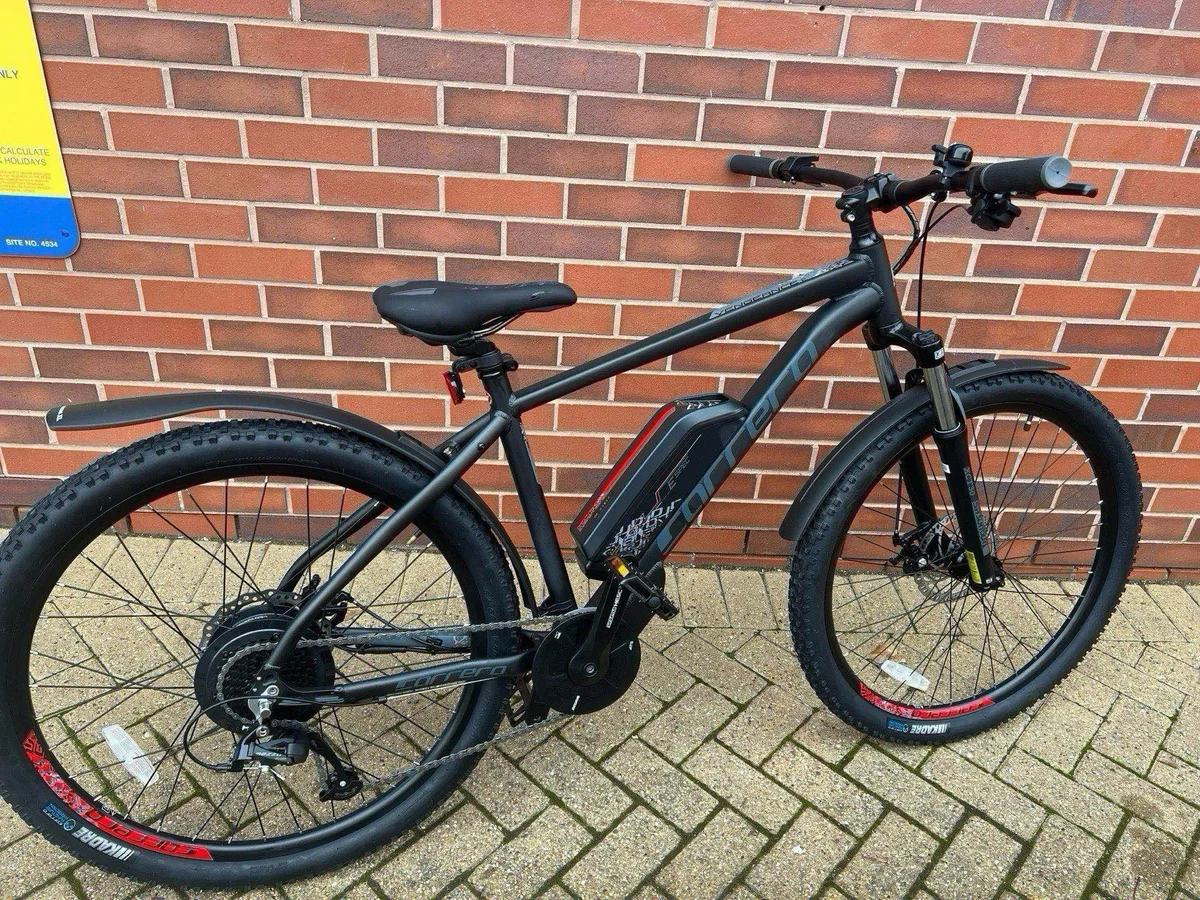
Knowing how to inspect a used electric bike before buying saves you from costly repairs and safety hazards. Many sellers hide electrical faults that don’t show up in quick visual checks. You need a systematic approach that prioritizes the battery and motor above all else.
A swollen lithium-ion pack is a fire risk, not just a defect. Per UL 2849 standards, improper handling can lead to thermal runaway. We’ve structured this guide to help you make safe, informed decisions based on technical reality.
Let’s start with the paperwork.
Quick Answer
To inspect a used e-bike, verify ownership documents first. Check the battery for swelling or damage. Test the motor under load during a ride.
Inspect the frame for cracks near welds. Reject any bike with erratic power delivery. Always confirm warranty transferability with the manufacturer.
This process prevents buying unsafe or stolen goods.
The Inspection Starts Before You Meet the Seller
Don’t waste time meeting someone without basic verification. Ask for the original receipt and serial number photos immediately. If they hesitate, walk away.
Legitimate owners have records. Scammers often use cloned listings or stolen bikes.
Verify the serial number against local police databases. Some regions offer online lookup tools for registered cycles. Cross-reference the model year with recall notices.
The Consumer Product Safety Commission maintains an active database. Checking this takes two minutes but protects your investment.
Ask specific questions about usage history. Did the owner commute daily or store it seasonally? Heavy city commuting wears components faster than weekend trail rides.
Request photos of the charger port and display screen. These areas reveal hidden abuse or water ingress.
If the seller refuses video calls, treat it as a red flag. A live walkthrough lets you see startup sequences. Watch for error codes on the display.
Static images can hide flickering lights or loose cables. Trust your instincts here. If something feels off, it usually is.
Branch 1: Verify Legitimacy and Paper Trail First
Start with the legal basics. Ensure the title or proof of purchase matches the seller’s ID. For high-value e-bikes over $2,000, consider using an escrow service.
This protects both parties until inspection passes.
Check warranty status carefully. Most manufacturers void warranties on second-hand sales unless explicitly transferred. Contact customer support with the serial number.
Ask if any open recalls exist. Some brands require registration updates for service eligibility.
Review maintenance logs if available. Regular chain lubrication and brake adjustments indicate care. Missing logs suggest neglect.
Look for receipts from authorized dealers. Third-party repairs can compromise electrical integrity.
| Document | Why It Matters | Red Flag |
|---|---|---|
| Original Receipt | Proves ownership and purchase date | Photocopy only |
| Serial Number Photo | Matches frame and battery tags | Scratched or missing tag |
| Warranty Card | Confirms coverage transferability | Expired or non-transferable |
| Service Records | Shows professional maintenance history | None provided |
Never buy cash-only without documentation. Digital payment trails protect you legally. If the seller insists on untraceable methods, assume foul play.
Your safety depends on knowing the bike’s true origin.
Branch 2: The Battery Deep Dive (Removable vs. Integrated)
The battery is the heart of the system. It costs more to replace than most other parts combined. Start by checking the State of Health (SoH).
Manufacturer apps often provide this data. Aim for at least 80% capacity retention.
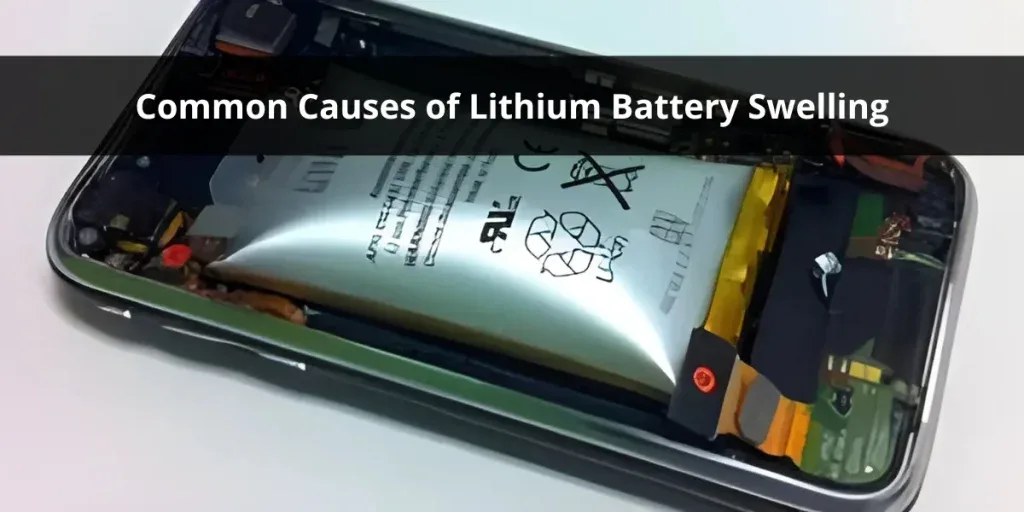
Inspect the casing physically. Look for dents, bulges, or discoloration. Swelling indicates internal cell failure.
Do not charge or ride a bloated pack. It poses a significant fire hazard. Smell the vents for sweet chemical odors.
This signals electrolyte leakage.
For removable batteries, check connector pins. Corrosion or bending causes intermittent power loss. Clean contacts with dielectric grease if needed.
For integrated packs, examine mounting bolts. Loose fittings cause vibration damage over time.
Test voltage sag under load. Use a multimeter while riding uphill. A healthy pack drops less than 10% from nominal voltage.
Sharp drops mean degraded cells. Check cycle counts via diagnostic ports if accessible. High mileage reduces resale value significantly.
Ask about charging habits. Leaving packs at 100% or 0% accelerates degradation. Ideal storage is between 40-60%.
Poor habits shorten lifespan regardless of age. Verify charger compatibility. Wrong voltages destroy BMS circuits instantly.
Branch 3: Motor Diagnostics by Type (Hub vs. Mid-Drive)
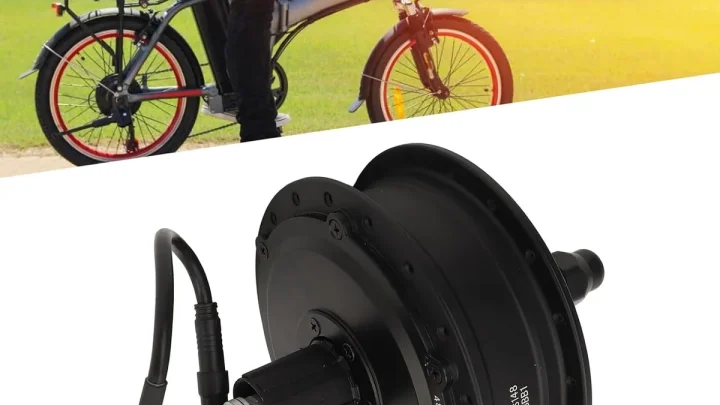
Motors fail differently based on design. Hub motors sit in the wheel. Mid-drives connect to the bottom bracket.
Identify yours first. This determines where stress concentrates.
Hub motors suffer from spoke tension issues. Check for loose spokes around the motor housing. Rattling noises indicate bearing wear.
Spin the wheel freely. Resistance suggests internal magnet friction. Water intrusion kills hall sensors quickly.
Mid-drive units endure higher torque stresses. Inspect the crank arm interface. Stripped threads prevent secure installation.
Listen for grinding during pedal assist engagement. This points to gear stripping inside the gearbox. Overheating triggers thermal shutdowns frequently.
Test responsiveness across all assistance levels. Jerky transitions signal controller faults. Smooth power delivery confirms healthy electronics.
Check firmware version dates. Outdated software may lack bug fixes. Manufacturers release patches for known issues regularly.
Examine cooling fins for dirt buildup. Blocked airflow causes overheating. Clean debris gently with compressed air.
Avoid touching magnets directly. Strong fields attract metal shavings permanently. Bearing noise grows louder with speed increases.
Replace early to avoid axle damage.
Branch 4: Mechanical Integrity Beyond the Electronics
Electrical systems rely on solid mechanics. Weak frames crack under motor torque. Inspect weld joints closely.
Look for hairline fractures near the head tube. Stress risers appear as paint chips or rust spots. Tap tubes lightly.
Hollow sounds indicate internal corrosion.
Check headset play. Hold the front brake and rock forward. Any knocking means worn bearings.
Tighten stem bolts properly afterward. Loose stems cause steering instability at speed. Fork legs should align perfectly.
Bent forks ruin handling precision.
Brakes face extra strain from heavier e-bikes. Measure pad thickness visually. Below 1mm requires immediate replacement.
Rotors must remain true within 0.5mm tolerance. Warped discs rub against pads constantly. Hydraulic fluid leaks stain calipers.
Dry seals predict future failures.
Tires bear increased weight loads. Sidewall cracking exposes inner structures. Tread depth below 2mm compromises grip.
Check pressure ratings against sidewall markings. Under-inflation causes pinch flats. Proper inflation extends tire life significantly.
Drivetrain components wear faster due to added power. Chain stretch beyond 0.75% skips gears. Cassette teeth develop shark-fin shapes.
Replace both simultaneously for smooth shifting. Derailleur hangers bend easily in crashes. Alignment affects indexing accuracy severely.
The Test Ride Protocol: What to Listen For
You’ve checked the static components. Now, take it for a spin. This reveals dynamic faults invisible in the garage.
Start with a cold battery test. Engage pedal assist on flat ground.
Does power cut out unexpectedly? That signals BMS intervention or sensor failure. Accelerate smoothly to top speed.
Watch for lag between input and response. Mid-drive motors should engage instantly upon pedaling. Hub motors may have slight delay but shouldn’t stutter.
Listen closely to the drivetrain. Grinding noises suggest misaligned derailleurs. Clicking from the rear wheel indicates loose spokes or freehub issues.
These mechanical faults worsen under motor load. Ignore them, and repairs cost hundreds later.
Test braking performance aggressively. E-bikes carry more momentum than standard bicycles. Disc brakes must feel firm immediately.
Spongy levers mean air in hydraulic lines. Pad wear accelerates rapidly if rotors are warped.
Ride over small bumps. Handlebar wobble points to headset looseness. Frame flex suggests structural weakness.
Pay attention to heat generation after ten minutes. Touch the motor casing carefully. Warmth is normal; burning hot is dangerous.
If the display shows error codes during the ride, stop. Note the code number exactly. Search manufacturer forums for specific solutions.
Some errors reset easily; others indicate permanent hardware damage. Never ignore warning lights. They protect you from catastrophic failure.
Red Flags That Should End the Deal Immediately
Some defects aren’t worth negotiating over. Walk away if you see these signs. A swollen battery pack is non-negotiable.
Thermal runaway risks outweigh any discount offered. Even minor bulging compromises cell integrity.
Check for unauthorized modifications. Spliced wires or taped connectors scream amateur repair attempts. Water damage leaves corrosion residue inside ports.
Greenish crust around terminals indicates long-term exposure. Cleaning doesn’t fix underlying circuit board decay.
Stolen bikes often lack original keys or chargers. Mismatched serial numbers on frame and battery are suspicious. Sellers refusing police verification hide guilt.
If they won’t meet in public, don’t buy. Personal safety matters as much as financial protection.
Excessive rust on internal components kills value fast. Surface paint chips are cosmetic. Rust on bolts, bearings, or motor housings is structural.
It spreads silently beneath protective coatings. Repair costs exceed resale price quickly.
Look for cracked carbon fiber frames. Hairline fractures expand under torque. Unlike aluminum, carbon fails catastrophically without warning.
Tap gently and listen for dull thuds. Sharp clicks signal delamination. No amount of epoxy fixes compromised layups.
Avoid bikes with obsolete proprietary parts. Discontinued models leave you stranded without replacements. Check availability of controllers, displays, and batteries first.
If manufacturers stopped support years ago, skip it. Future-proofing ensures longevity beyond initial purchase.
Frequently Asked Questions About Used E-Bike Safety
Can I negotiate price based on inspection findings?
Yes, absolutely. Document every defect found during your check. Use repair estimates as leverage.
A new battery costs $300-$800. Factor that into your offer. Sellers expect scrutiny.
Fair pricing reflects true condition, not listed hope.
How do I verify the mileage claim?
Most e-bikes log total distance internally. Access this via diagnostic apps or service menus. Compare odometer readings against tire wear patterns.
Low mileage with bald tires raises suspicion. Cross-reference with maintenance receipts if available. Honest sellers provide transparent data.
Is buying an older model risky?
Age alone isn’t the issue. Technology obsolescence is. Pre-2018 models often lack modern safety features.
Parts scarcity drives up maintenance costs. However, well-maintained vintage units can be bargains. Inspect thoroughly before deciding.
Condition trumps calendar date every time.
What tools should I bring to the meetup?
Pack a basic toolkit. Bring a multimeter for voltage checks. Carry a flashlight for dark corners.
Include Allen keys for bolt inspection. Smartphone apps help decode error messages. Being prepared shows seriousness.
Sellers respect buyers who know their stuff.
Do warranties transfer to second owners?
Rarely, unless specified by the brand. Major manufacturers like Specialized or Trek sometimes allow transfers. Register the bike immediately after purchase.
Keep proof of sale handy. Assume no coverage initially. Budget for potential repairs independently.
Warranty gaps are common pitfalls.

Similar Posts