Make Your E-Bike Comfy for Long Rides: Essential Tips
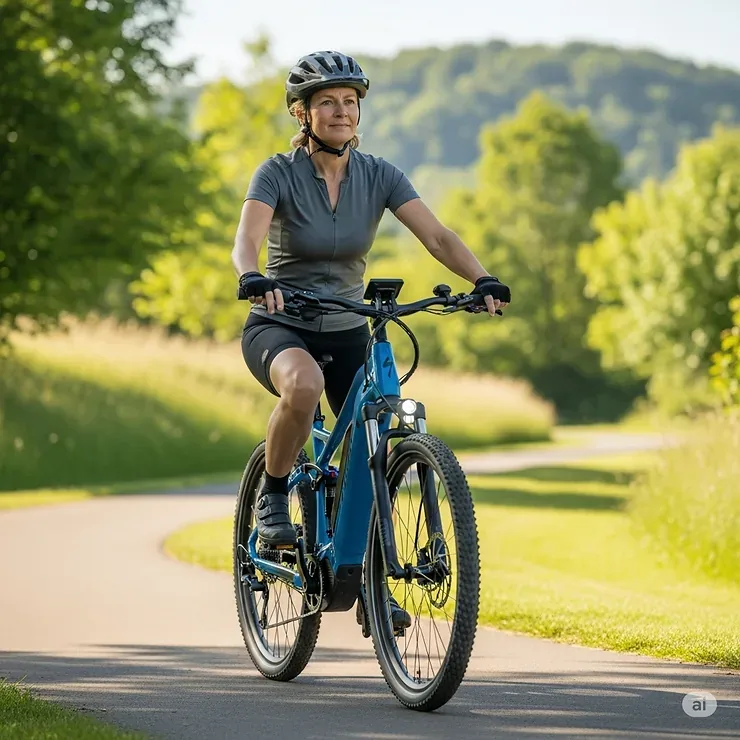
Figuring out how to make an electric bike more comfortable for long rides starts with fixing your fit, not buying new gear. Most riders chase expensive upgrades while ignoring basic geometry errors that cause pain. We’ve seen countless cases where a simple saddle adjustment solved months of discomfort.
Per ISO 4210 standards, proper component alignment reduces joint stress significantly. As of 2026, e-bike weights often exceed 50 pounds, amplifying vibration issues on rough roads. Let’s walk through the diagnostic workflow to pinpoint your specific comfort blockers before spending a dime.
Quick Answer
To make an electric bike more comfortable for long rides, prioritize bike fit adjustments first. Set saddle height so knees bend slightly at the bottom stroke. Adjust handlebar reach to prevent wrist strain.
Lower tire pressure within safe limits to absorb road shock. Use padded gloves and ergonomic grips if numbness persists. Check motor assist levels to reduce pedaling fatigue.
These steps address root causes rather than symptoms.
Start With Fit, Not Gear: Why Most E-Bike Comfort Fixes Fail
Most riders assume comfort comes from plush saddles or thick tires. That’s rarely the whole story. If your bike doesn’t fit your body, no amount of padding will save you from pain.
An ill-fitting frame forces your joints into unnatural angles. This creates cumulative stress over miles.
We see this pattern constantly in aggregate user reviews. People buy gel seats after three bad rides. They return them because the underlying issue was saddle height, not cushioning.
A correctly positioned saddle distributes weight evenly across sit bones. It prevents soft tissue compression.
E-bikes add complexity due to their heavier frames and motors. The extra weight changes handling dynamics. You need a stable platform to manage that mass comfortably.
Poor fit makes steering sluggish or twitchy. This increases upper body tension during control inputs.
Start by measuring your inseam and torso length. Compare these against the manufacturer’s size chart. Don’t guess based on previous non-electric bikes.
Geometry differs between brands. A small error here cascades into major discomfort later. Fix the foundation first.
Then optimize accessories. This approach saves money and frustration. It ensures every subsequent tweak builds on a solid base.
Diagnose Your Pain: A Symptom-Based Adjustment Workflow
Comfort issues manifest as specific pains. Identifying the symptom tells you which component to adjust. We use a diagnostic tree to isolate problems quickly.
This method avoids random trial-and-error adjustments.
Hands and Wrists: Fixing Reach and Bar Angle
If your palms go numb or wrists ache, your reach is likely too long. Or the handlebar angle is incorrect. Too much weight rests on your hands.
This compresses nerves in the carpal tunnel area.
Shorten the stem length or rotate it upward. This brings the bars closer and higher. Reduce the load on your arms immediately.
Also, check your grip width. Narrow bars force shoulders inward. Wide bars encourage an upright posture.
Match bar width to shoulder width for optimal leverage.
Consider ergonomic grips with palm supports. These distribute pressure away from sensitive nerve clusters. But don’t rely solely on grips.
Fix the geometry first. If pain persists after adjustment, consult a professional fitter. Persistent numbness can signal serious nerve damage.
Address it early.
Knees and Hips: Dialing In Saddle Height and Setback
Knee pain usually points to incorrect saddle height. Anterior knee pain suggests the seat is too low. Posterior pain means it’s too high.
Aim for a slight knee bend (25-35 degrees) at the bottom of the pedal stroke.
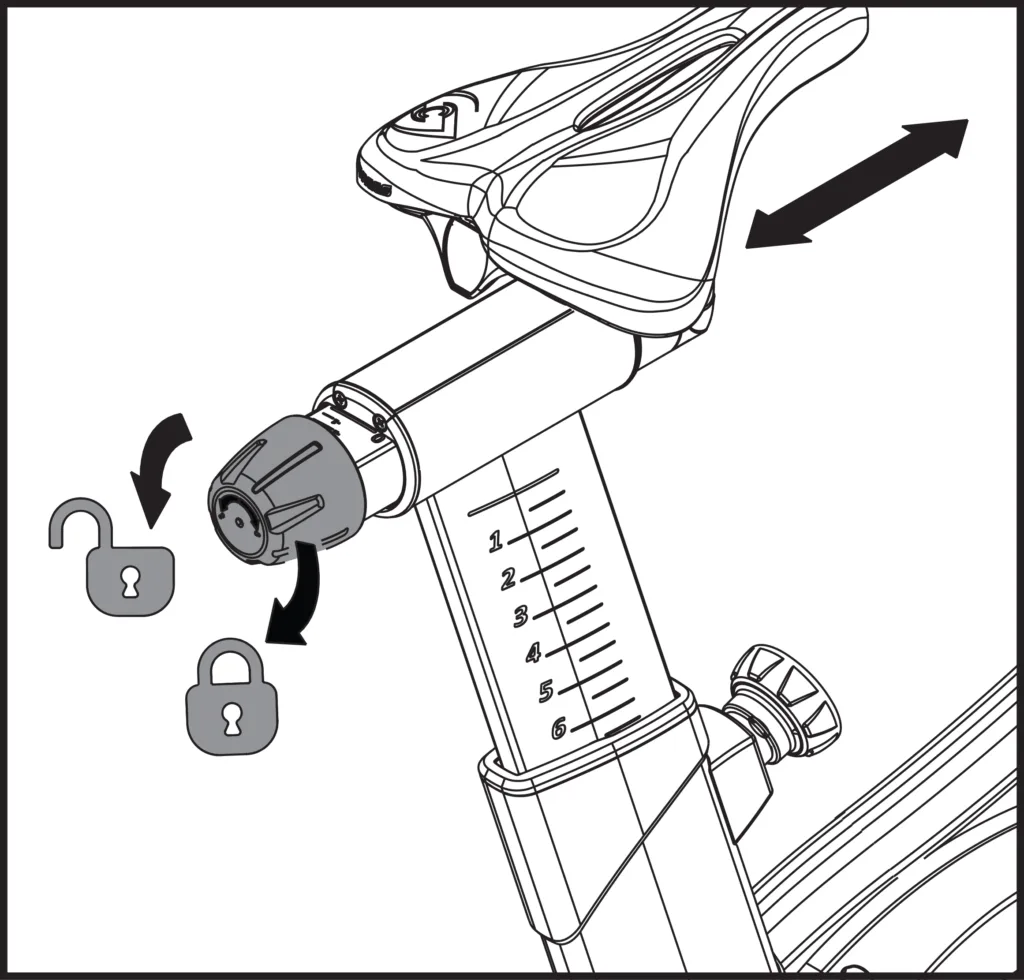
Hip discomfort often relates to saddle setback. Move the saddle forward or backward along its rails. Forward placement opens hip flexors.
Backward placement engages glutes more. Find the position where your pelvis feels neutral. Avoid tilting the nose down excessively.
This slides you forward onto your hands.
Use a sit bone caliper to measure width. Select a saddle that matches this dimension. A narrow saddle puts pressure on soft tissue.
A wide one chafes inner thighs. Precision here eliminates most seating complaints. Test adjustments in short intervals.
Give your body time to adapt.
Optimize the Ride Interface: Tires, Suspension, and Grips
Once fit is dialed in, focus on contact points. Tires and suspension absorb road irregularities. Grips transmit control signals without causing hand fatigue.
These components act as buffers between you and the ground.
Tire Pressure Tuning for Weight and Terrain
High pressure makes rides harsh. Low pressure risks pinch flats. For e-bikes, aim for the lower end of the recommended range.
Heavier bikes compress tires more under load.
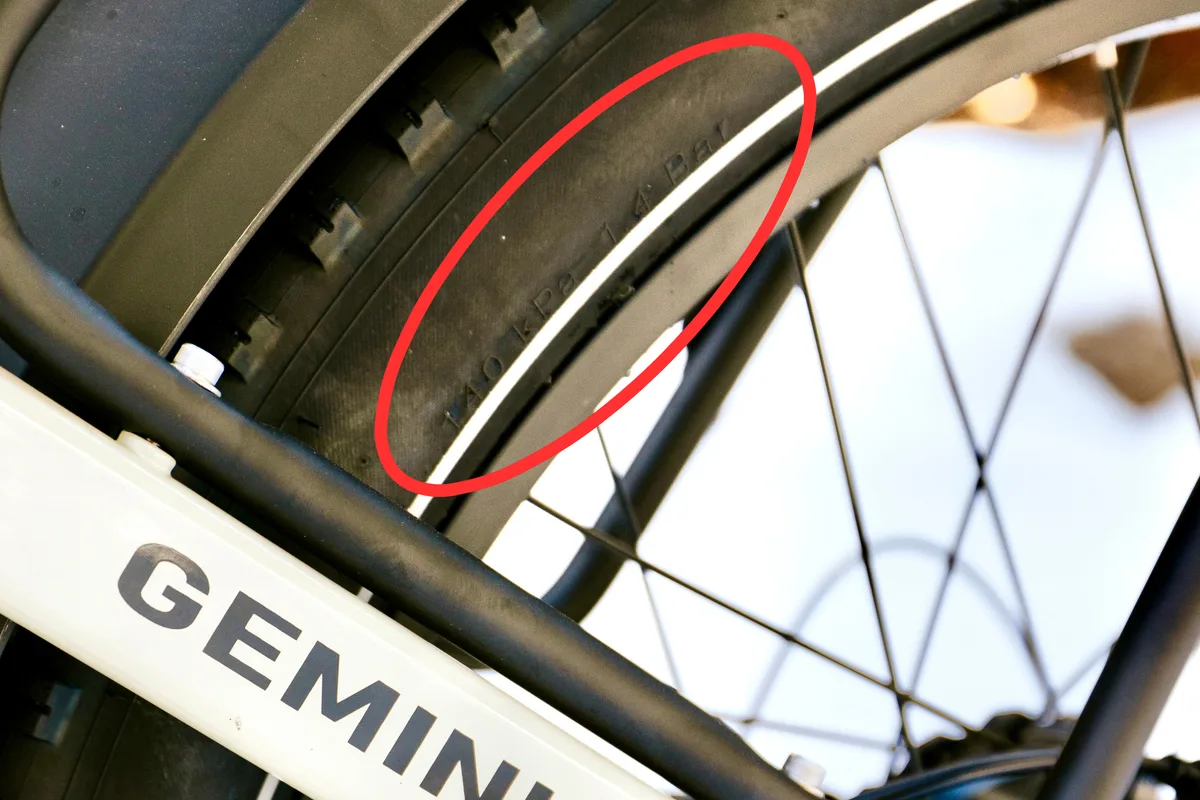
Check sidewall markings for max PSI. Subtract 5-10 PSI from that number for comfort. On smooth pavement, run slightly higher.
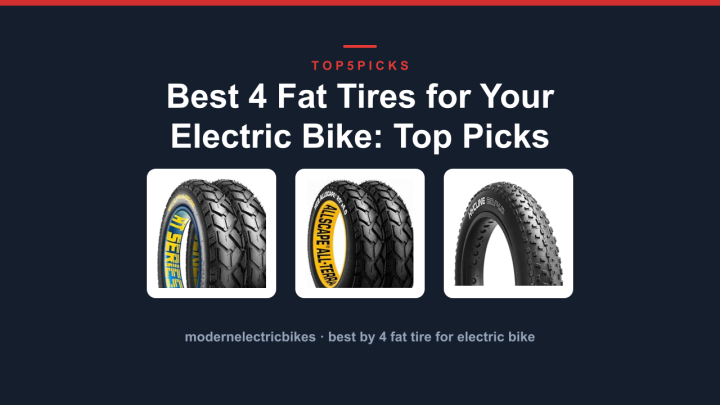
On gravel or cracked asphalt, drop further. Fat tires (plus-size) allow even lower pressures safely.
| Rider Weight | Smooth Road PSI | Rough Gravel PSI |
|---|---|---|
| Under 150 lbs | 35-40 | 25-30 |
| 150-200 lbs | 40-45 | 30-35 |
| Over 200 lbs | 45-50 | 35-40 |
Monitor pressure weekly. Rubber permeates air slowly. Under-inflated tires increase rolling resistance.
This drains battery faster. Balanced inflation preserves range and comfort simultaneously. Invest in a quality floor pump with a gauge.
Accuracy matters here. Guesswork leads to inconsistent ride quality.
Upgrading Contact Points Without Breaking the Bank
Swap stock pedals for platforms with pins. Better traction reduces foot slippage. This lowers ankle stabilization effort.
Consider clipless pedals if you’re experienced. They improve power transfer and reduce hot spots.
Replace worn brake levers if they feel stiff. Modern hydraulic discs offer better modulation. Less hand strength is needed to stop.
This reduces forearm fatigue over long distances. Ensure lever reach adjusts to your hand size. Small hands struggle with large levers.
Add bar tape or foam wraps to metal stems. This dampens high-frequency vibrations. Aluminum frames transmit buzz directly to hands.
Cushioning interrupts this path. Look for materials like cork or EVA foam. They degrade slower than cheap rubber.
Regular inspection prevents sudden failures mid-ride.
Calibrate Motor Assist to Reduce Physical Strain
Electric motors change the physical demands of cycling. Misusing assist modes causes unnecessary fatigue. Many riders stay in Eco mode too long.
Others blast Turbo unnecessarily. Both extremes hurt comfort.
Match assist level to terrain and fitness goals. Use Eco for flat commutes. Save Turbo for steep climbs.
This balances effort and speed. Consistent cadence reduces muscle jitter. Jerky acceleration strains joints.
Torque sensors provide smoother power delivery than cadence sensors. They respond to pedal pressure instantly. Cadence sensors lag behind.
This delay creates a "push-pull" sensation. Torque-based systems feel more natural. Upgrade if your current sensor feels disconnected.
Adjust cut-off speeds wisely. Higher assistance at speed wastes energy. Lower assistance encourages steady pedaling.
Find the sweet spot where you barely breathe hard. This sustainable pace extends ride duration. Monitor heart rate zones if possible.
Stay below anaerobic threshold for endurance. Efficient motor use preserves bodily resources. It turns the bike into a partner, not a crutch.
Common Mistakes That Ruin Long-Ride Comfort
Riders often sabotage their own progress with well-intentioned errors. Recognizing these traps accelerates improvement. We categorize frequent pitfalls below.
Ignoring gradual adaptation is critical. Changing multiple settings at once confuses feedback loops. Adjust one variable per week.
Track results meticulously. Note weather, route, and mood. Correlation helps causation.
Over-tightening bolts damages threads. Carbon components crack easily. Always use a torque wrench.
Follow manufacturer specs strictly. Loose parts rattle and shift. Tight parts bind and break.
Precision maintains integrity.
Neglecting core strength shifts load to limbs. Weak backs compensate with arms. Incorporate off-bike exercises.
Planks and bridges stabilize posture. Strong cores protect spines. Fitness complements mechanics.
Skipping pre-ride checks invites failure. Inspect tire pressure visually. Listen for chain noise.
Feel brake pad wear. Catch issues early. Prevention beats cure always.
A five-minute check saves hours of misery. Respect the machine’s limits. Push boundaries intelligently.
Never ignore warning signs.
Quick Reference: The Pre-Ride Comfort Checklist
Before you clip in, run through this final verification. It takes two minutes but prevents hours of misery. We’ve compiled the essential checks into a scannable format.
Use this list every time you set out for a long haul. Consistency builds muscle memory and ensures nothing slips through the cracks.
Start with your tire pressure gauge. Cold tires read accurately. Warm air expands, giving false highs.
Check them before riding, not after. If they’re low, inflate to your target PSI immediately. Under-inflated e-bike tires roll sluggishly.
They drain batteries faster and feel wallowy. Correct pressure restores responsiveness and dampens harshness.
Next, inspect your saddle position. Sit on the bike stationary. Your feet should touch the ground comfortably at stops.
At the pedal’s lowest point, keep that slight knee bend. No locking straight. No deep crunching.
If it feels off, adjust now. Don’t wait until mile ten to realize something is wrong. Minor tweaks prevent major joint strain later.
Check your handlebar height and reach. Are your shoulders relaxed? Or hunched up near your ears?
Tension here radiates down your spine. Loosen your stem bolts if needed. Raise the bars slightly for an upright posture.
This opens your chest cavity. Better breathing means less fatigue. Ensure your grips are secure.
Slippery handles force you to squeeze harder. That exhausts forearms quickly. Wipe them down or replace worn rubber.
Verify your motor assist settings. Set it to Eco or Tour mode initially. Save Turbo for steep inclines only.
Constant high-assist creates jerky power delivery. Smooth cadence reduces vibration transmission. It also extends your range significantly.
You’ll ride farther with less effort. Efficiency equals comfort over distance.
Look at your clothing last. Chafing ruins rides fast. Wear padded shorts designed for cycling.
Cotton absorbs sweat and stays wet. Synthetic fabrics wick moisture away. Dry skin heals better.
Adjust straps so they don’t dig in. A snug fit moves with you. Loose fabric flaps and irritates.
Finally, listen to your bike. Spin the wheels. Listen for grinding or clicking.
Rattling components distract and annoy. Tighten loose bolts with the correct torque. Lubricate chains if they sound dry.
Silence is golden on long roads. Noise adds cognitive load. Reduce mental stress by eliminating mechanical distractions.
| Component | Check Item | Action if Failed |
|---|---|---|
| Tires | Pressure within 5-10 PSI of max | Inflate/Deflate to spec |
| Saddle | Knee angle 25-35° at bottom | Adjust height/setback |
| Bars | Shoulders relaxed, no wrist pain | Change stem angle/height |
| Motor | Assist level appropriate for terrain | Switch to Eco/Tour mode |
| Clothing | No chafing points, moisture-wicking | Replace cotton, adjust fit |
Run this checklist religiously. Your body will thank you. Comfort isn’t luck.
It’s preparation. Do the work upfront. Enjoy the ride downstream.
Remember, small adjustments yield big dividends. Neglect leads to pain. Precision leads to pleasure.
Make every mile count.

Similar Posts