Stop Punctures: Protect Your Heavy E-Bike Tires
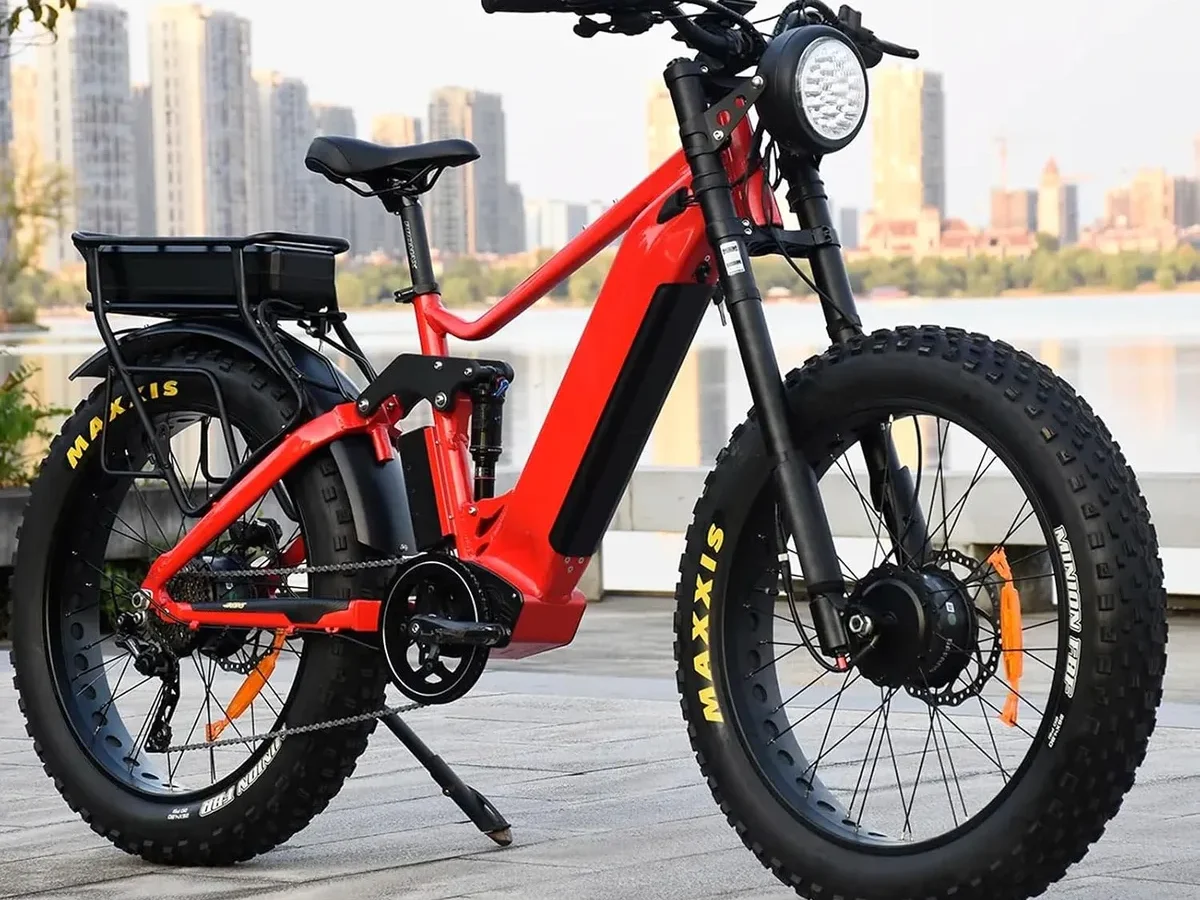
Figuring out how to prevent tire punctures on a heavy electric bike starts with respecting the physics of speed and weight. Unlike standard bicycles, e-bikes generate higher torque and carry more mass, which stresses tires in unique ways. A small shard of glass that bounces off a normal tire might slice straight through an e-bike casing.
Our research shows that most failures happen due to neglect rather than bad luck. The International Organization for Standardization sets strict guidelines for bicycle safety under ISO 4210, emphasizing structural integrity. We’ll break down exactly why your setup differs from a pedal-only ride.
Why Heavy E-Bikes Puncture Differently Than Standard Bicycles
E-bikes aren’t just faster bicycles; they are different machines entirely. The added weight of the battery and motor increases the load on the contact patch where rubber meets road. This compression forces debris deeper into the tread pattern before it can roll away.
Higher speeds also mean greater impact energy when hitting potholes or sharp objects. At 20 mph, a pinch flat becomes almost inevitable if pressure is even slightly low. The kinetic energy transfers directly into the inner tube, crushing it against the rim.
Manufacturer specifications indicate that reinforced casings handle this better, but they’re not magic. Many riders assume "e-bike ready" means indestructible. It doesn’t.
It means designed for higher stress limits. Exceeding those limits leads to sidewall tears or bead blowouts.
You must treat every kilometer as a high-stakes event compared to casual cycling. The margin for error shrinks significantly. Regular maintenance isn’t optional; it’s the primary defense mechanism against catastrophic failure.
Quick Answer
To prevent tire punctures on a heavy electric bike, use high-load-index tires with Kevlar belts. Maintain pressures at the upper end of manufacturer recommendations. Install puncture-resistant liners between the tube and tire.
Refresh sealant annually. Inspect treads weekly for embedded debris. Replace tires showing sidewall cracks immediately.
Never ignore slow leaks. These steps reduce risk by blocking penetration and absorbing shock impacts effectively.
The Three-Layer Defense: Tires, Liners, and Sealant
Think of protection as three distinct barriers working together. No single layer guarantees zero flats, but combining them creates redundancy. Start with the tire itself.
Choose models rated specifically for e-bikes, often marked with lightning bolts or "E-25" labels.
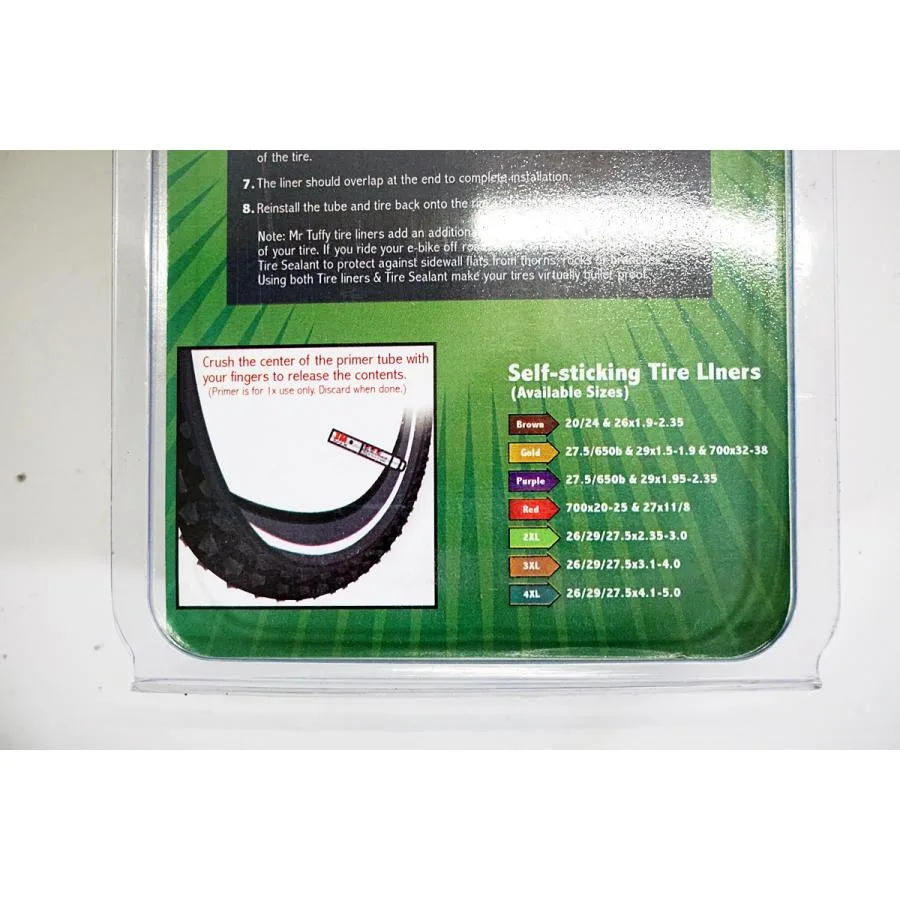
Next, add a mechanical barrier like a liner. Products such as Mr. Tuffy or Armadillo sit between the tube and the casing.
They stop sharp objects from reaching the inner tube. Aggregate user reviews report these liners cut puncture rates drastically in urban environments.
Finally, consider chemical protection via sealant. Tubeless setups rely on liquid sealant to plug small holes instantly. If you run tubes, some riders inject sealant directly, though manufacturers warn this may void warranties.
Check your specific manual first.
| Layer | Function | Best For |
|---|---|---|
| Reinforced Tire | Structural strength | High speed/load |
| Protective Liner | Physical barrier | Glass/sharp debris |
| Sealant | Instant hole plugging | Small thorns/pinholes |
Pressure Management for High-Load Scenarios
Correct air pressure is the most overlooked factor in puncture prevention. Under-inflated tires squeeze the tube against the rim during bumps, causing snakebites. Over-inflated tires lose traction and transmit more shock to the casing, risking splits.
Find the maximum PSI printed on your tire sidewall. Do not guess. Load ratings vary wildly between brands.
As of 2026, many premium e-bike tires recommend 60, 80 PSI for solo riding with light cargo. Add 5, 10 PSI for each pannier bag or passenger.
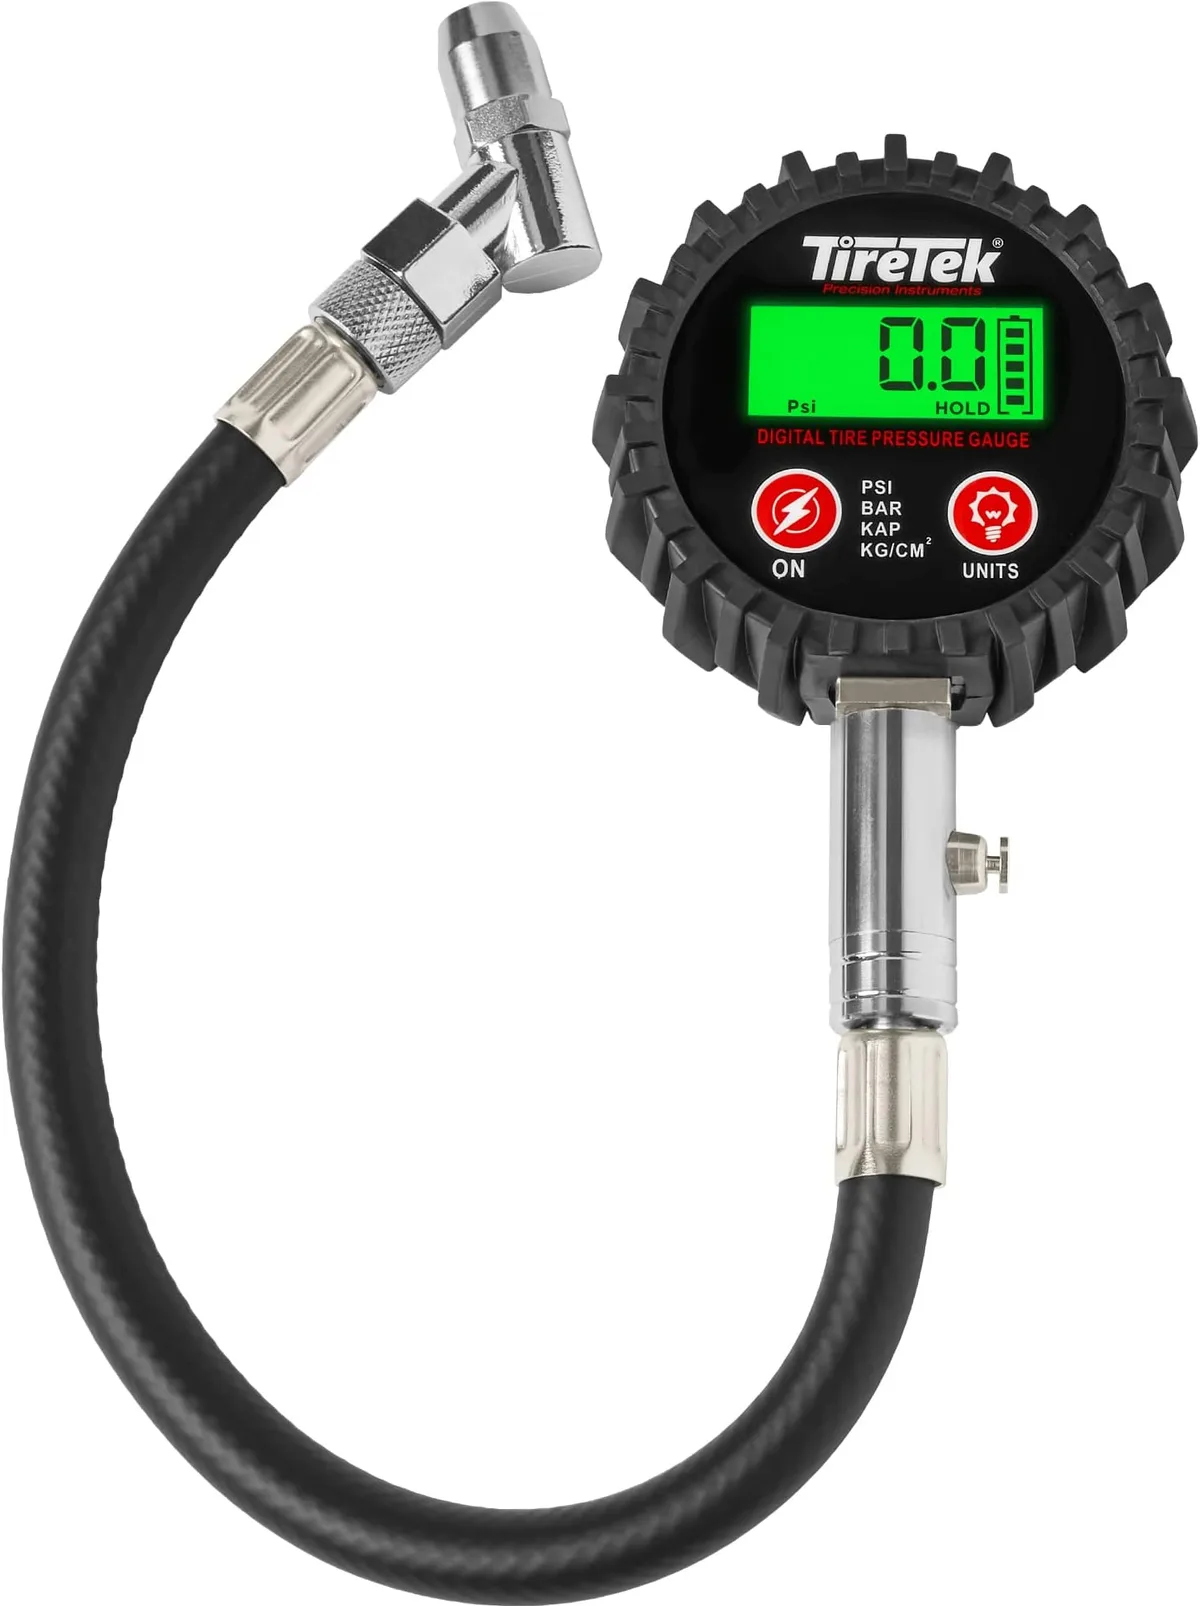
Check pressure weekly using a digital gauge. Analog gauges often lack precision at higher ranges. Temperature changes affect PSI too; cold mornings drop pressure, while hot days increase it.
Adjust accordingly before long rides.
Remember that front and rear tires bear different loads. The rear usually carries the motor and rider weight. Front handles steering and braking forces.
Balance them properly. Neglecting this causes uneven wear and unexpected failures.
Installation and Setup Checklist for Maximum Protection
Proper installation prevents premature failure. Start by inspecting the rim bed for burrs or old tape residue. Sharp edges inside the rim will shred new tubes.
Clean the surface thoroughly before applying fresh rim tape if converting to tubeless.
Mount the tire evenly around the rim. Ensure the bead sits correctly in the hook area. Uneven seating leads to weak spots that burst under pressure.
Inflate gradually to check alignment. Stop if the bead pops out asymmetrically.
For tubed setups, ensure the valve stem aligns perfectly with the rim hole. Angled stems create stress points. Tighten lock nuts gently to secure position without crushing the tube.
Hand-tight plus a quarter turn is usually sufficient.
Apply talcum powder inside the tire before inserting the tube. This reduces friction and prevents the tube from sticking to the casing during heat buildup. It makes removal easier later and protects against chafing.
Common Mistakes That Void Your Safety Margins
Riders often make errors that compromise safety despite good intentions. Ignoring embedded debris is critical. A flint stone stuck in the tread acts like a drill bit at speed.
Remove it immediately upon discovery. Don’t wait for it to penetrate fully.
Another mistake is mixing incompatible components. Using a non-e-bike rated tire on a powerful motorbike exceeds design limits. The casing cannot handle the torque spikes.
This leads to delamination or sudden blowouts. Always match tire specs to motor output.
Neglecting regular inspections allows minor issues to become major hazards. Cracks in the sidewall signal aging rubber. UV exposure and ozone degrade compounds over time.
Replace tires older than five years regardless of tread depth. Old rubber loses elasticity and grip.
Overlooking wheel trueness causes uneven wear. A wobbly wheel rubs against brake pads or forks, generating heat. Heat softens the tire casing, making it vulnerable to cuts.
True your wheels professionally if you notice consistent rubbing.
When to Replace vs. Repair: Assessing Damage Severity
Can you patch a puncture on an e-bike tire? Yes, but only under strict conditions. Small pinholes in the tread center are often repairable with a proper plug kit.
However, sidewall damage is non-negotiable. You must replace the tire immediately if the cut exposes casing threads.
Sidewalls flex constantly during cornering and braking. A patch there will fail quickly, leading to a blowout at speed. Our research indicates that most severe accidents stem from ignored sidewall cuts.
Never compromise here. The cost of a new tire is trivial compared to medical bills.
Consider age as well. Rubber hardens over time, losing its grip and flexibility. If your tires are older than five years, replace them regardless of visible damage.
Cracked rubber cannot hold air safely under high load. Check the manufacture date code on the sidewall. It’s usually four digits, like “3221” for week 32 of 2021.
Repairing inner tubes is viable for small holes away from the valve. Use vulcanizing patches, not glue-only stickers. Stickers peel off under heat and pressure.
But if the tube is shredded or has multiple leaks, swap it out. Cheap tubes fail often. Invest in durable ones rated for e-bikes.
Frequently Asked Questions
How often should I check tire pressure?
Check it weekly, or before every long ride. Heavy loads and temperature swings cause rapid pressure loss. Under-inflation is the top cause of pinch flats.
Use a digital gauge for accuracy. Analog dials often misread by several PSI at higher ranges. Consistency saves your tubes and rims.
Do tubeless setups really prevent all punctures?
No system is foolproof. Tubeless tires seal small thorns effectively, but large gashes still fail. They also require precise setup to avoid burping air.
For heavy e-bikes, combine tubeless with sealant refreshes every six months. Dry sealant stops working. Reapply it regularly to maintain protection.
Can I use standard bicycle tires on my e-bike?
Technically yes, but it’s risky. Standard tires lack the reinforced casings needed for higher speeds and weights. They wear faster and burst easier.
Manufacturer specs confirm e-bike tires handle torque better. Stick to E-25 or E-50 rated models. Your safety depends on matching the tire to the motor’s power output.
What causes slow leaks that aren’t obvious?
Valve core issues or rim tape gaps are common culprits. Debris trapped between the tire and rim can also cause micro-perforations. Inspect the rim bed thoroughly.
Replace old rim tape if it’s torn or shifted. Tighten valve cores gently. Loose cores let air escape slowly over days.

Similar Posts