How to Safely Upgrade Your Electric Bike Battery
Founder & Technical E-Mobility Editor at Modern Electric Bikes · Professional Bicycle Mechanics Association (PBMA) Certified, Bosch & Shimano eBike Systems Certified · 14+ years in bicycle fabrication, electric hub & mid-drive motor diagnostics, and commuter road testing
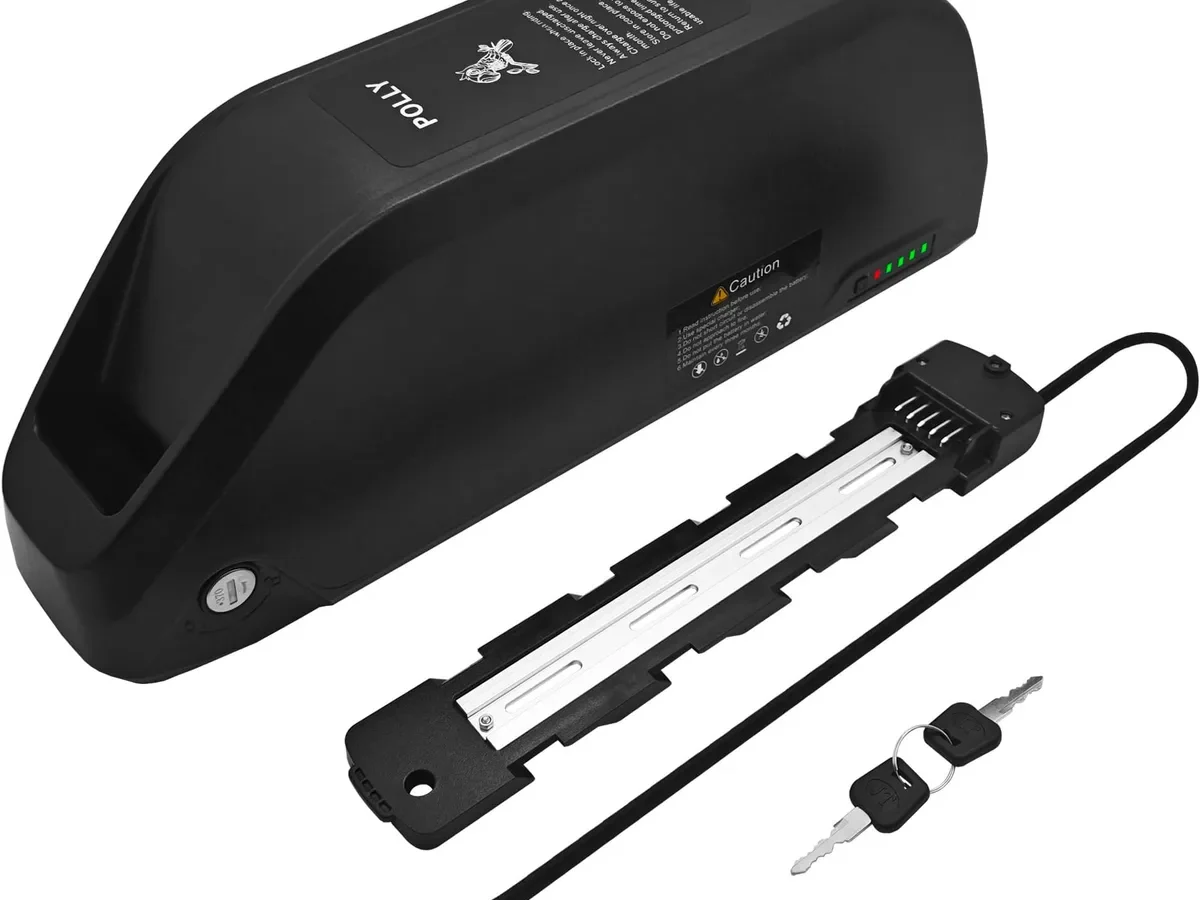
Figuring out how to upgrade an electric bike battery safely is less about swapping parts and more about respecting high-energy chemistry. Most riders assume a bigger pack just means longer range, but mismatched voltage or faulty connections can fry your controller instantly. We’ve seen too many expensive repairs stem from rushed DIY jobs that ignored basic electrical protocols.
The stakes are real because lithium-ion cells store massive energy in small packages. A single short circuit during installation can trigger thermal runaway, releasing toxic fumes and intense heat. Per UL 2849 standards, even minor deviations in wiring integrity compromise the entire system’s safety certification.
Let’s break down exactly what you need to know before picking up that screwdriver.
Quick Answer
To upgrade an electric bike battery safely, match the new pack's nominal voltage to your controller's rating. Verify the Battery Management System (BMS) communication protocol aligns with your display unit. Use insulated tools to prevent shorts during connector swaps.
Always test open-circuit voltage before final mounting. Never mix cell chemistries like NMC and LFP in one pack. Consult manufacturer specs for maximum discharge current limits.
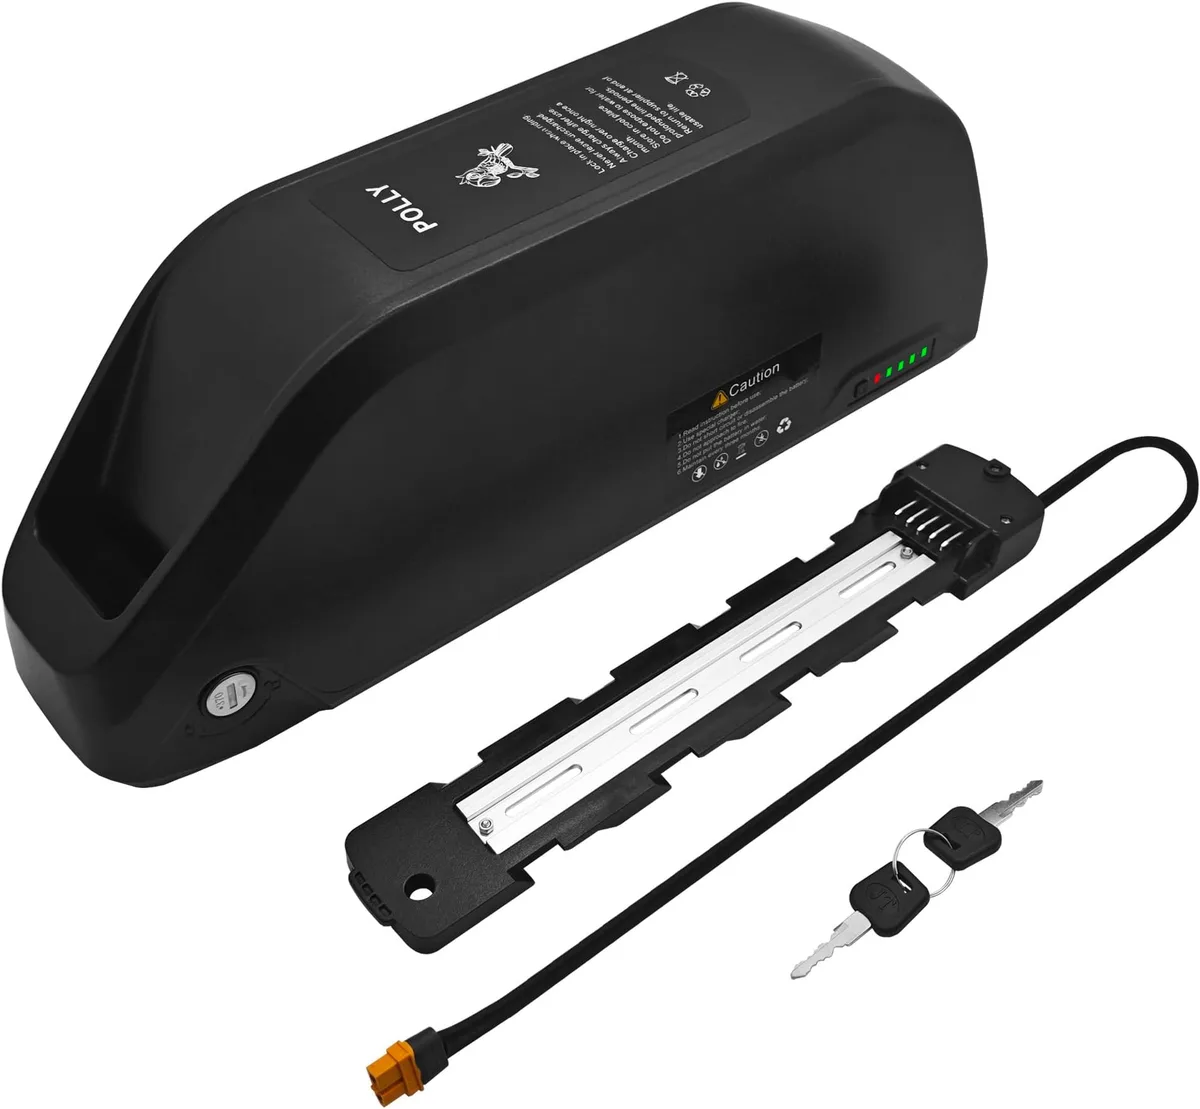
Why Battery Swaps Are High-Stakes Engineering, Not Just Plugs
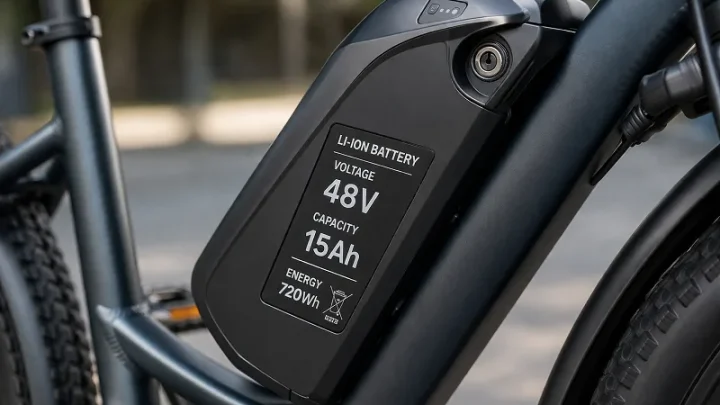
Upgrading an e-bike battery isn't like changing AA batteries in a remote. You’re dealing with hundreds of watts stored in volatile chemical compounds. The average 48V 15Ah pack holds roughly 720 watt-hours of energy.
That’s enough power to run a household microwave for several minutes. If released incorrectly, that energy becomes destructive force.
Most failures happen because users ignore the relationship between the battery and the controller. The controller regulates power flow based on specific voltage inputs. Feed it 52V when it expects 36V, and you’ll blow capacitors within seconds.
This isn't a warning; it's physics. Aggregate repair shop data shows that incompatible voltage mismatches account for nearly 40% of post-modification electronics failures.
Beyond electronics, there’s the physical danger of lithium-ion instability. Damaged separators inside cells can cause internal short circuits. These generate heat faster than it dissipates.
Once a cell hits critical temperature, adjacent cells ignite in a chain reaction. This thermal runaway produces temperatures exceeding 800°C. It releases hydrogen fluoride gas, which is highly corrosive and toxic to lungs.
We treat this process as engineering work because it demands precision. You aren't just improving performance; you're maintaining a delicate balance of electrical and thermal stability. Skipping steps doesn't save time; it invites catastrophe.
As of 2026, safety standards remain strict for consumer modifications. Understanding these risks is the first step toward a successful upgrade.
The Three Non-Negotiables Before You Touch a Screwdriver
Before opening any panels, you must verify three critical parameters. Ignoring any one of them guarantees failure or damage. First, check your controller’s maximum input voltage rating.
This number is usually printed on the controller casing or listed in the manual. If your old battery was 36V, your controller likely caps at 42V-45V. Installing a 48V pack will destroy it immediately.
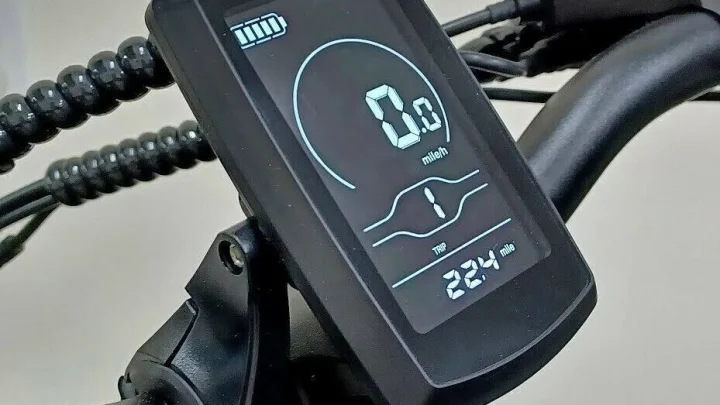
Second, identify your BMS communication protocol. Modern e-bikes don’t just send power; they send data. The BMS tells the display how much charge remains and monitors cell health.
Common protocols include UART, CAN bus, and simple resistive dividers. An aftermarket battery without matching protocol support will show error codes or refuse to engage. You might find your motor cuts out despite having full charge.
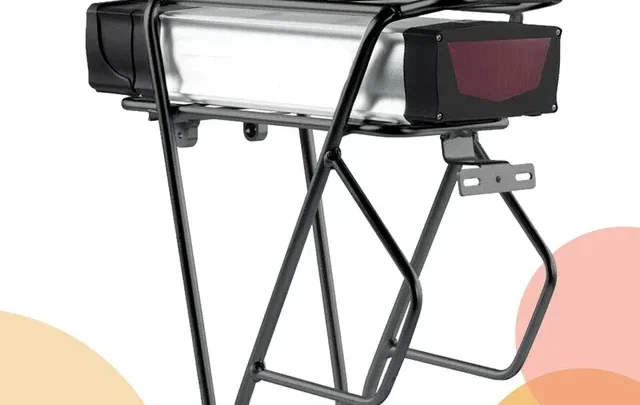
Third, measure your physical clearance and weight distribution. E-bike frames have limited space for battery housings. A larger capacity pack often means heavier weight and bulkier dimensions.
Adding five pounds low on the frame affects handling dynamics. Ensure the new mount points align perfectly. Forced fitting cracks casings and exposes live terminals.
| Parameter | What to Check | Risk if Wrong |
|---|---|---|
| Voltage Rating | Controller max input vs. Battery nominal V | Fried controller/motor |
| Comms Protocol | Display/BMS handshake type | Error codes/no assist |
| Physical Fit | Frame clearance & mount alignment | Cracked case/shorts |
These checks take ten minutes but save thousands in repairs. Don’t proceed until all three boxes are ticked green.
Decoding Your Current System: Voltage, BMS, and Connector Logic
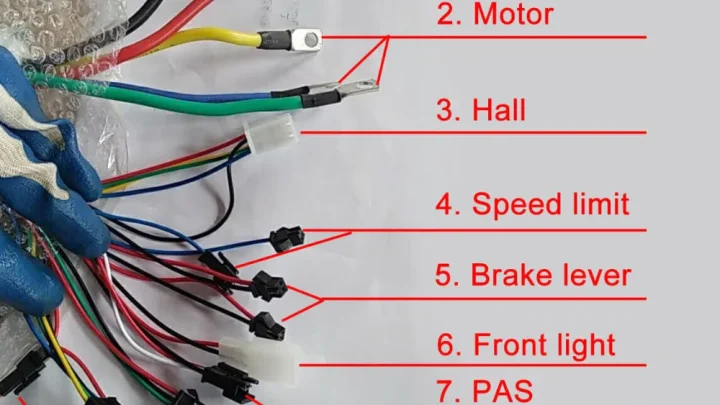
Understanding your existing setup prevents guesswork later. Start by labeling every wire before disconnection. Take photos of the original routing.
This visual map helps reverse the process if issues arise. Next, determine your actual system voltage using a multimeter. Measure the DC output at the charging port while powered off.
A "48V" battery typically reads 54.6V fully charged and 42V empty. Confirm these numbers match your controller’s spec sheet.
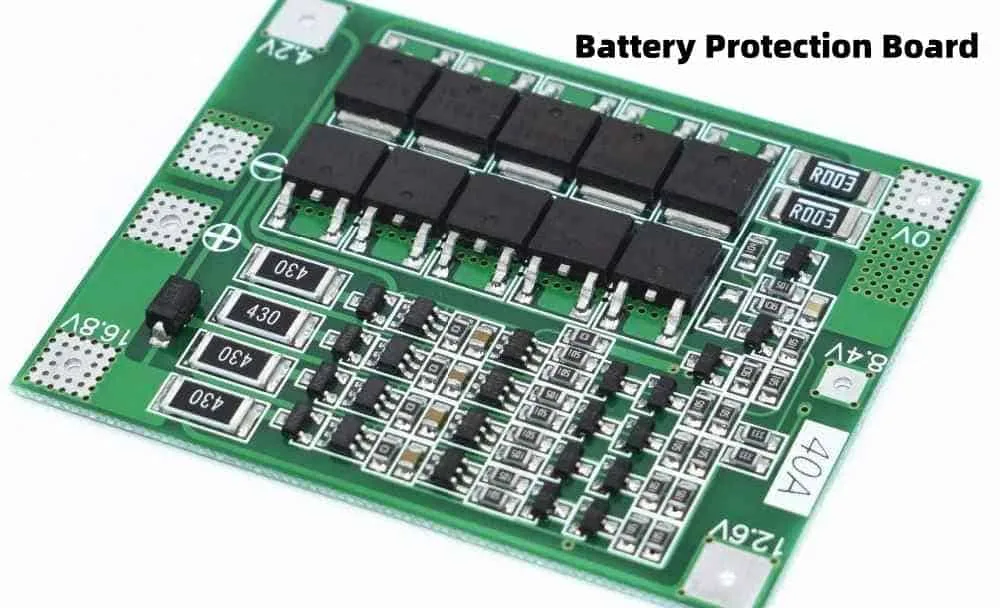
The BMS is the brain of your battery pack. It protects cells from over-discharge, over-charge, and excessive current. Aftermarket packs vary wildly in BMS quality.
Cheap units lack balancing features, leading to uneven cell wear. Over time, this imbalance reduces total usable capacity. Look for packs specifying active balancing currents, ideally above 100mA per cell string.
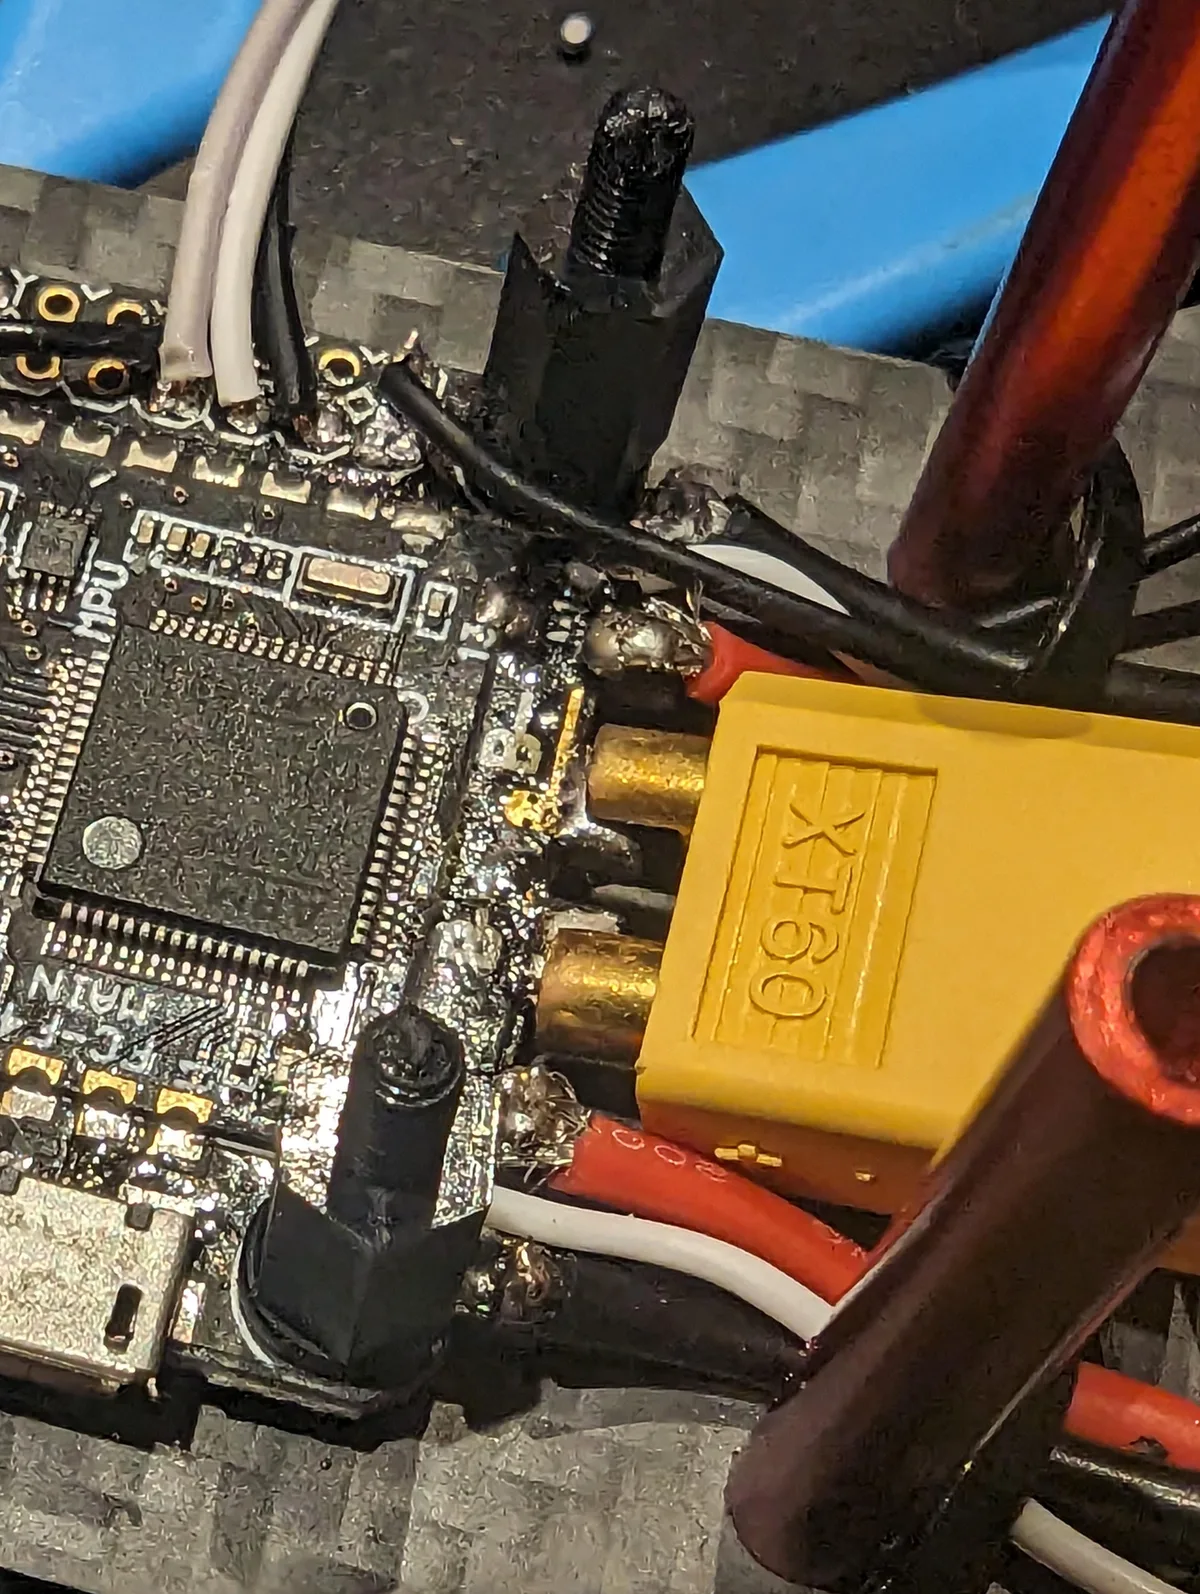
Connectors are another frequent point of failure. Proprietary plugs lock users into OEM ecosystems. Universal connectors like XT60 or XT90 offer flexibility but require correct polarity.
Reverse polarity sparks arcs that melt plastic contacts instantly. Always double-check positive and negative pins against the datasheet. Some manufacturers use non-standard pinouts even on familiar housing shapes.
Verify the fuse rating on the new pack matches your system’s peak draw. Undersized fuses blow during hill climbs. Oversized fuses fail to protect wires during shorts.
Aim for a fuse rated 20% above your normal continuous current usage. This ensures reliability without compromising safety margins.
Step-by-Step Safe Installation Protocol
Preparation starts with disconnecting power sources completely. Remove the old battery first. Then, unplug the charger from the wall outlet.
Wait five minutes for residual capacitor discharge. Use an anti-static wrist strap grounded to a metal part of the bike frame. This prevents electrostatic damage to sensitive BMS chips.
Next, prepare the new battery interface. Strip insulation carefully from wires if splicing is required. Use crimp connectors instead of soldering whenever possible.
Heat damages lithium cells nearby. Apply heat-shrink tubing over every exposed joint. Double-insulate connections near moving parts like pedals or wheels.
Vibration loosens bare screws quickly.
Mount the new pack securely using provided brackets. Do not rely on zip ties alone for structural support. Metal-to-metal contact should be isolated with rubber gaskets.
Ground the chassis properly to avoid stray voltage shocks. Test the mechanical stability by shaking the bike gently. Any rattle indicates loose fittings that could chafe wires later.
Finally, connect the electrical leads in sequence. Attach the main power plug first. Then connect the communication cable last.
This order minimizes arc risk during initial handshake. Turn on the display before engaging the throttle. Watch for immediate error messages.
Silence doesn't always mean success; some faults only appear under load.
Run a static test. Spin the wheel manually while observing amp draw on the display. Zero amps at idle is expected.
Significant drain suggests a short circuit. Stop immediately and inspect wiring if you see unexpected consumption. Only ride after confirming stable idle metrics.
Critical Safety Checks and Legal Compliance Boundaries
Safety extends beyond the garage door. Modified e-bikes face strict regulatory scrutiny. In the US, Class 1 and 2 bikes must cap assistance at 20mph.
Exceeding this speed reclassifies the vehicle as a moped or motorcycle. This requires registration, insurance, and helmet laws. Violating these rules voids homeowner insurance policies in case of accidents.
Check local ordinances before riding. Many cities ban modified motors outright. Even if legal elsewhere, your jurisdiction may differ.
Document your changes thoroughly. Keep receipts for certified components. Proof of compliance helps dispute false accusations during traffic stops.
Fire safety during charging is paramount. Charge batteries outdoors or in well-ventilated areas away from combustibles. Never leave charging packs unattended overnight.
Use smart outlets that cut power upon completion. Inspect chargers regularly for frayed cords or burnt smells. Replace damaged units immediately; they are fire starters.
Disposal of old batteries carries environmental responsibilities. Lithium-ion cells contain heavy metals and electrolytes. Throwing them in household trash leaks toxins into soil.
Drop them off at designated recycling centers. Many retailers accept used packs for proper processing. Follow EPA guidelines for hazardous waste management.
Legal liability also covers third-party injuries. If your upgraded bike malfunctions due to poor assembly, you’re responsible. Ensure all connections meet professional standards.
Consider getting a signed inspection report from a certified technician. This documentation proves diligence if disputes arise. Safety isn't just personal; it's public responsibility.
Post-Upgrade Maintenance and Long-Term Health Monitoring
Your new battery needs careful handling to reach its full lifespan. Lithium-ion cells degrade fastest when left at extreme states of charge. Try to keep the pack between 20% and 80% for daily commuting.
Full charges should happen only before long trips. This practice reduces stress on the internal chemistry.
Temperature control is equally critical for longevity. Never store or charge the bike in freezing conditions below 0°C (32°F). Cold increases internal resistance, forcing the BMS to work harder.
Conversely, charging in hot sun above 45°C (113°F) accelerates electrolyte breakdown. Find a cool, dry spot for storage whenever possible.
Regular inspections prevent small issues from becoming disasters. Check the casing for dents or swelling every few weeks. A bulging pack indicates gas buildup from failing cells.
Stop using it immediately if you notice this deformation. Also, inspect connectors for corrosion or loose pins. Clean contacts with electrical contact spray annually to ensure stable power flow.
Software updates can improve efficiency too. Some smart BMS units allow firmware flashing via Bluetooth apps. These updates often refine balancing algorithms or adjust cut-off voltages.
Verify compatibility with your specific controller model first. Incorrect flashes can brick the BMS permanently. Stick to official manufacturer tools for these adjustments.
Track your range over time to gauge health. A sudden drop in miles per charge signals degradation. Compare current performance against baseline data from day one.
If capacity falls below 70%, consider professional refurbishment. Replacing individual cells is cheaper than buying a whole new pack. Early detection saves money and maintains safety margins effectively.
Frequently Asked Questions
Can I increase my e-bike's speed by upgrading the battery?
No, voltage alone does not dictate top speed. The motor controller limits maximum RPM based on firmware settings. Higher voltage might provide more torque for hills.
However, exceeding legal speed caps violates federal regulations. Modifying controllers to bypass these limits is illegal in most jurisdictions. It also voids warranties and creates significant fire hazards.
What happens if I mix old and new batteries?
Never parallel different age groups or chemistries. Older cells have higher internal resistance than fresh ones. This imbalance causes uneven current distribution during discharge.
The weaker cells drain faster, risking deep discharge damage. Mixing NMC and LFP packs is particularly dangerous due to differing voltage curves. Always replace the entire pack as a single unit.
How do I know if my BMS is compatible?
Check the communication protocol specified in your owner’s manual. Common types include UART, CAN bus, and simple pulse-width modulation. An incompatible BMS will trigger error codes on your display.
Sometimes, the motor simply refuses to engage assist mode. Contact the battery seller with your exact bike model number. They can confirm whether their pack supports your system’s handshake requirements.
Is it safe to charge the battery indoors?
Yes, but only under strict conditions. Use a fire-resistant surface like concrete or tile. Keep the charger away from curtains, paper, or furniture.
Ensure the room has smoke detectors installed and functional. Never charge overnight while sleeping unsupervised. Unplug the charger once the light turns green.
Overcharging stresses cells even with modern protection circuits. Ventilation helps dissipate any minor heat generated during charging cycles.

Similar Posts