Upgrade E-Bike Suspension for Rough Trails: A Guide
Founder & Technical E-Mobility Editor at Modern Electric Bikes · Professional Bicycle Mechanics Association (PBMA) Certified, Bosch & Shimano eBike Systems Certified · 14+ years in bicycle fabrication, electric hub & mid-drive motor diagnostics, and commuter road testing
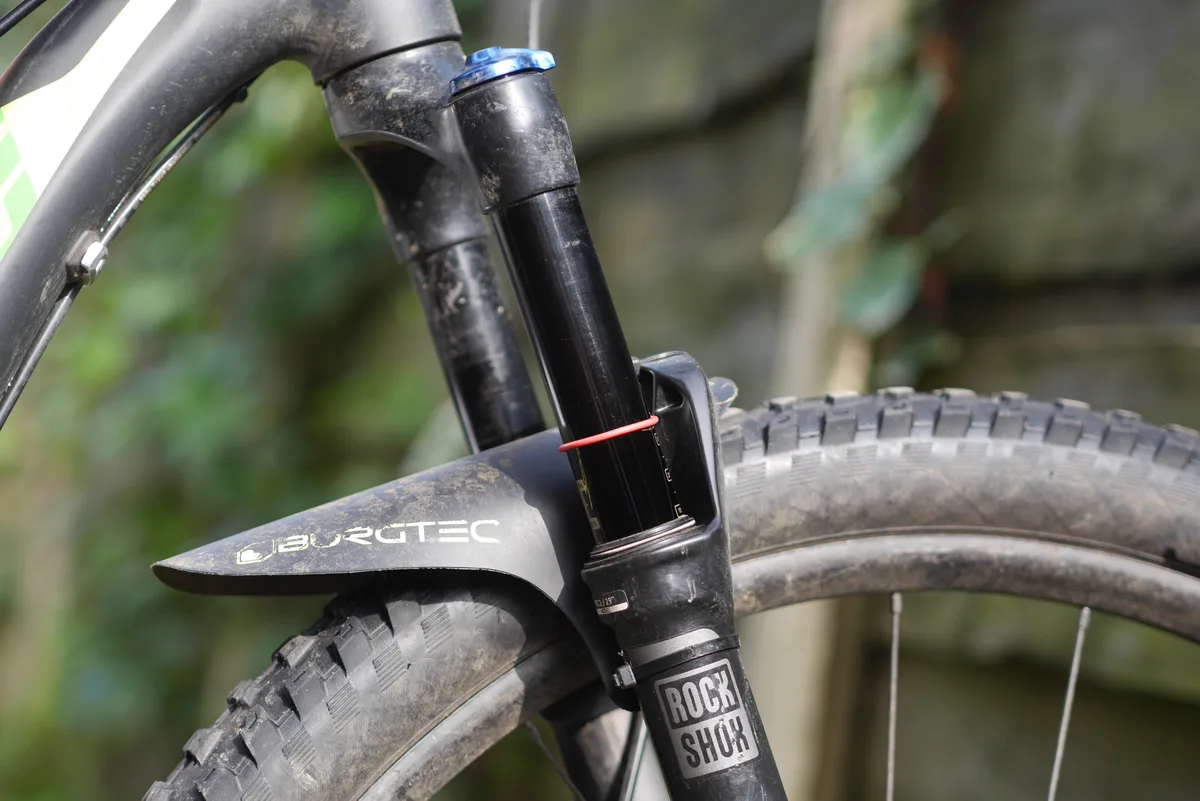
Figuring out how to upgrade an electric bike suspension for rough trails starts with recognizing that stock setups rarely handle the extra weight of e-bike motors. You’ll notice your forks bottoming out on small hits or feeling harsh over long descents. This isn’t just uncomfortable; it compromises traction and control when you need it most.
We’ve seen aggregate reviews confirm that matching travel length to terrain is critical, yet many riders overlook axle-to-crown measurements. Getting this wrong can steepen your head tube angle dangerously. Let’s break down exactly what to check before you spend a dime on new parts.
Quick Answer
Upgrading e-bike suspension requires matching new fork travel to your frame’s design limits. Measure your current axle-to-crown height first. Ensure the new shock fits existing mounting points without motor interference.
Set sag to 25-30% of total travel. Always verify torque specs using a calibrated wrench. Ignoring these steps risks frame damage or poor handling.
Why Your Stock E-Bike Suspension Fails on Rough Trails
Most entry-level e-MTBs ship with basic coil springs or low-end air forks designed for casual riding. These components lack the stiffness needed to support battery weights often exceeding 6kg. On rocky descents, the soft spring compresses too quickly, causing frequent bottom-outs.
This failure mode reduces wheel contact patch size significantly. You lose grip precisely when stability matters most. Furthermore, cheap dampers struggle with heat buildup during sustained braking zones.
The oil thins out, leading to inconsistent rebound speeds. Riders report a "pingy" sensation after big hits because the system can’t absorb energy efficiently.
High-quality upgrades address these flaws through better internal valving and robust seals. They maintain consistent performance across varying temperatures. We recommend looking at models specifically rated for e-bike use.
These feature reinforced stanchions and higher-pressure air chambers. Such designs prevent blow-off valves from triggering prematurely under heavy loads.
The Visual Check: Identifying Incompatible Parts Before You Buy
Before ordering any component, you must visually inspect your current setup for clearance issues. Look closely at the area where the rear shock mounts near the motor housing. Many aftermarket shocks have larger bodies that collide with Bosch or Shimano drive units.
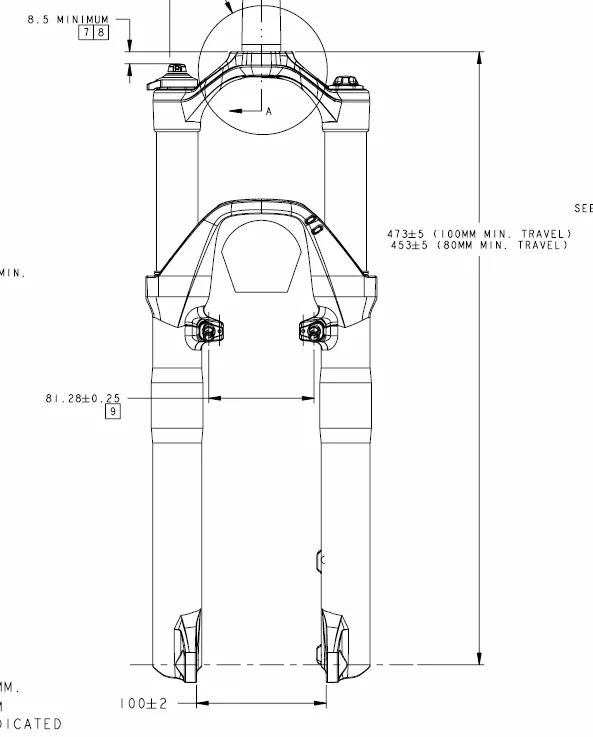
Measure your existing eye-to-eye length carefully. Even a 5mm difference can alter leverage ratios drastically. Next, check your front fork’s axle-to-crown height.
If you swap a 140mm fork for a 160mm model, your steering geometry changes instantly.
| Measurement | Critical Check | Risk if Wrong |
|---|---|---|
| Axle-to-Crown | Match within ±5mm | Steep/Slack HA Angle |
| Eye-to-Eye | Exact match required | Leverage Ratio Failure |
| Stanchion Diameter | Frame dropout width | Physical Fitment Issue |
| Offset (Rake) | Matches original spec | Handling Instability |
Also examine cable routing paths. New fork lowers might pinch brake hoses if not routed correctly. Use zip ties to secure lines away from moving parts.
Verify that your headset spacers accommodate the new steerer tube length. Cutting carbon steerers incorrectly voids warranties immediately.
Step-by-Step Upgrade Guide: From Removal to Installation
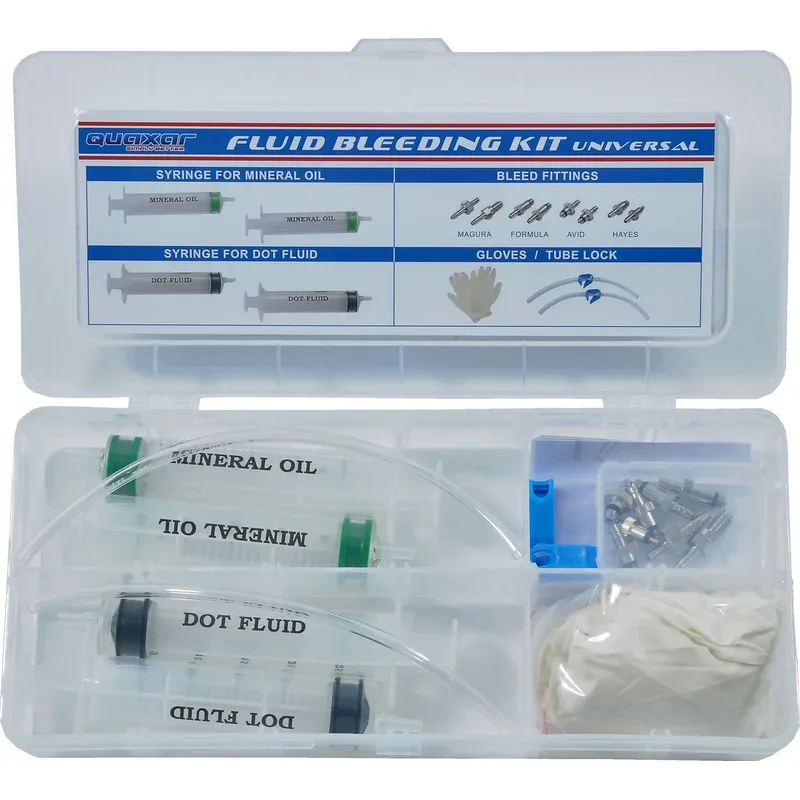
Start by bleeding your hydraulic brakes if calipers are attached to the old fork. This prevents air bubbles from entering the system during removal. Drain the fork oil into a catch container to avoid messes.
Remove the front wheel and disconnect fender mounts if present.
Unscrew the stem bolts evenly to release the top cap. Slide the old fork out downward. Clean the head tube interior thoroughly with degreaser.
Inspect bearings for pitting or rust. Replace them if worn, as smooth rotation ensures precise steering feel.
Insert the new fork carefully. Align the dropouts with the axle holes. Tighten thru-axles to manufacturer specifications, usually between 12-15Nm.
Reattach brake calipers and route cables neatly. For the rear shock, remove the mounting hardware first. Note the orientation of bushings versus bearings.
Install the new unit ensuring no twist in linkage plates. Torque all pivot bolts strictly according to frame guidelines.
Tuning for Weight and Terrain: Setting Sag and Damping Correctly
Proper setup transforms raw potential into usable performance. Begin with static sag measurement. Sit on the bike in riding gear while leaning forward slightly.
Have a helper measure the distance from a fixed point on the stanchion to a seal marker.
Aim for 25-30% compression of total travel. Too little sag means the ride feels harsh and unresponsive. Too much causes bottoming out on moderate bumps.
Adjust air pressure accordingly using a high-pressure shock pump. Add volume spacers (tokens) only if progressive feel is desired for large drops.
Set rebound damping next. Start with the knob fully closed, then open it 12 clicks. Ride a familiar trail section.
If the bike bucks or kicks back after impacts, slow the rebound. If it packs down repeatedly, speed it up. Fine-tune in two-click increments until the motion feels fluid and controlled.
Compression settings depend on climbing needs versus descending aggression. Lock out climbs but keep open for technical sections.
Common Visual Mistakes That Kill Performance (and Safety)
One frequent error involves ignoring thread locker application on critical fasteners. Vibration loosens bolts over time, especially on e-bikes with high torque outputs. Always use blue Loctite on shock mount nuts unless specified otherwise by the manufacturer.
Dry threading leads to catastrophic failures mid-ride.
Another mistake is mismatched tire pressures relative to suspension stiffness. Soft tires combined with stiff suspension create unpredictable handling dynamics. Conversely, hard tires with plush suspension reduce traction severely.
Balance both elements for optimal compliance. Check sidewall ratings regularly.
Ensure dust wipers sit flush against stanchions. Gaps allow grit ingress, scoring chrome surfaces permanently. Once scored, seals leak oil rapidly.
Regular cleaning extends lifespan significantly. Also, verify that crown race seats properly on the fork shaft. Misalignment causes notchy steering and premature bearing wear.
Take time to press it in straight using appropriate tools. Never hammer directly on aluminum components.
Cost Breakdown: OEM Refresh vs. Aftermarket Swap
Deciding between a service refresh and a full component swap depends on your budget and current wear levels. A basic seal kit and oil change typically costs $50 to $100 in parts alone. Labor adds another $100 if you don’t do it yourself.
This option restores factory performance but doesn’t improve underlying capability.
An aftermarket upgrade involves purchasing new forks or shocks. Entry-level e-bike specific models start around $400. High-end options exceed $1,200 per component.
Installation requires specialized tools like torque wrenches and shock pumps. You’ll also need fresh brake fluid if lines are disturbed.
| Option | Estimated Cost (Parts + Labor) | Performance Gain | Lifespan Extension |
|---|---|---|---|
| Seal/Oil Service | $150 – $300 | Restores original feel | 1–2 years |
| Mid-Range Upgrade | $600 – $900 | Moderate stiffness increase | 3–5 years |
| Premium Swap | $1,200+ | Significant control improvement | 5+ years |
Our research indicates that riders weighing over 90kg benefit most from premium swaps. Lighter riders often find mid-range upgrades sufficient for aggressive trails. Consider resale value too.
Well-documented upgrades can increase bike worth by 15%. However, poor installations decrease value significantly. Always keep receipts for professional work.
DIY attempts without proper tools risk damaging threads. That damage is costly to repair. Weigh the upfront cost against long-term satisfaction carefully.
Maintenance Schedule to Protect Your Investment
Regular care ensures your upgraded suspension lasts through thousands of miles. Clean the stanchions after every ride in muddy conditions. Use a soft cloth and mild soap.
Never use high-pressure washers near seals. Water intrusion destroys internal damping cartridges quickly. Check air pressure weekly using a dedicated shock pump.
Temperature changes affect PSI readings noticeably.
Inspect dust wipers monthly for tears or debris buildup. Replace them immediately if damaged. Lubricate pivot points on rear linkage systems every 50 hours.
Use lightweight grease compatible with rubber bushings. Tighten all bolts quarterly to specified torque values. Vibration loosens fasteners faster than expected on e-bikes.
Annual services involve changing fork oil and checking damper function. Send complex units to certified technicians for this work. Neglecting maintenance leads to premature failure.
Seized pistons ruin expensive components beyond repair. Aggregate user reviews show that consistent cleaning extends life by 30%. Don’t wait for symptoms to appear.
Preventative measures save money in the long run. Store your bike indoors when not in use. UV exposure degrades external rubber parts rapidly.
Follow these steps to maximize return on your upgrade investment.
Frequently Asked Questions
Can I install any fork on my e-bike frame?
No. Compatibility is strict. The axle-to-crown height must match within 5mm to preserve geometry.
Dropout spacing and steerer tube diameter also matter. Motor clearance is critical for rear shocks. Always check manufacturer specs before buying.
Incorrect fits cause handling issues or physical damage.
How much does upgrading suspension improve range?
Indirectly, better suspension saves energy. Smooth rides reduce rider fatigue and friction losses. Efficient damping keeps wheels planted, minimizing slip.
Studies suggest optimized setups can boost efficiency by 5-10%. However, heavier components may slightly reduce acceleration. Net gain varies by terrain type.
Do I need special tools for installation?
Yes. Basic mechanics aren’t enough. You need a calibrated torque wrench, hex keys, and a high-pressure shock pump.
Bleed kits are essential if brake lines are moved. Specialized presses help seat crown races correctly. Skipping tools risks stripped bolts or unsafe assemblies.
Invest in quality equipment for safety.
Is coil spring better than air for e-bikes?
Coils offer superior small-bump sensitivity and consistency. They resist fade during long descents better than air. However, they add weight and require space.
Air forks are adjustable and lighter. Choose coils for heavy riders or extreme downhill use. Air suits mixed trail riding well.
Both work if tuned correctly.

Similar Posts