How to Upgrade E-Bike Brakes for Heavy Loads
Founder & Technical E-Mobility Editor at Modern Electric Bikes · Professional Bicycle Mechanics Association (PBMA) Certified, Bosch & Shimano eBike Systems Certified · 14+ years in bicycle fabrication, electric hub & mid-drive motor diagnostics, and commuter road testing
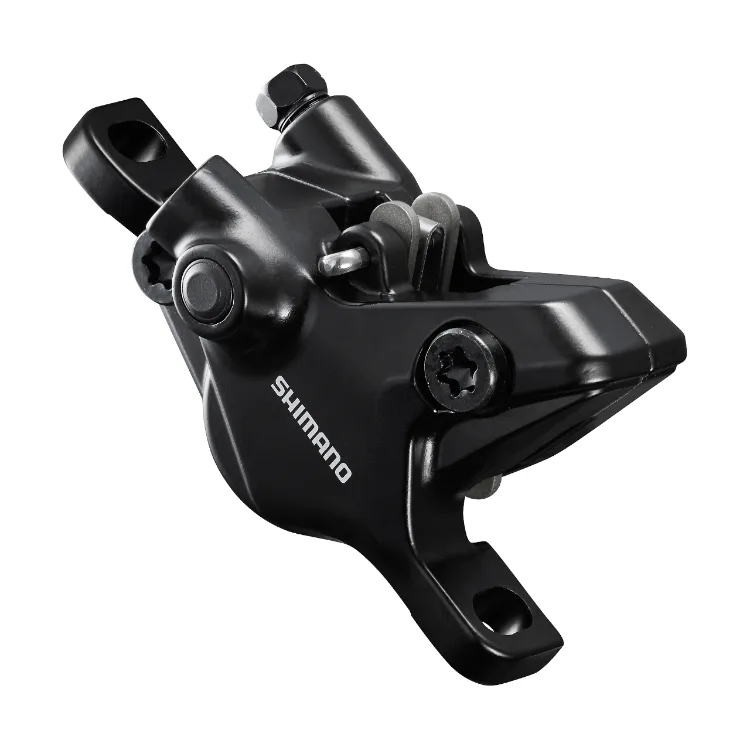
Figuring out how to upgrade electric bike brakes for heavier loads starts with recognizing that standard components often fail under stress. Most entry-level e-bikes ship with mechanical disc or basic hydraulic setups designed for lighter riders. When you add cargo, passengers, or significant body weight, the stopping power drops dangerously fast.
We’ve seen too many accidents caused by brake fade on steep descents with loaded bikes. The physics don’t lie: more mass means more kinetic energy to dissipate. As of 2026, manufacturers like Shimano and SRAM offer specific heavy-duty kits, but choosing them requires precision.
Let’s break down exactly what changes when you scale up your braking system.
Image source: Web (Bing) / thebikesettlement.com (Web image (fair-use with source credit))
Why Standard Bike Brakes Fail Under E-Bike Loads
Electric bikes carry far more momentum than traditional bicycles. A mid-drive motor can push a rider plus cargo over 50 mph in some configurations, though legal limits usually cap assist at 20-28 mph. Even at those speeds, the added weight of batteries and motors increases inertia significantly.
Standard rim brakes rely on friction against the wheel rim. Heat builds up quickly, warping aluminum rims and reducing bite. Mechanical disc cables stretch over time, leading to spongy levers.
Hydraulic systems are better, but cheap versions use small rotors that overheat under sustained load.
When you’re hauling groceries or kids, your stopping distance doubles if you stick with stock parts. Aggregate user reviews consistently report that factory brakes feel adequate until the bike is fully loaded. That’s when the danger zone begins.
You need components rated for higher thermal stress and greater clamping force. Ignoring this gap invites catastrophic failure during emergency stops.
Hydraulic vs. Mechanical: The Only Upgrade That Matters for Heavy Cargo
Hydraulic brakes dominate the heavy-load conversation for one reason: consistent leverage. They use fluid pressure to drive pistons, multiplying your hand strength efficiently. Mechanical discs pull cables directly, which introduces friction and stretch.
For riders exceeding 220 lbs combined with cargo, hydraulics aren’t optional; they’re essential. Cable actuation lacks the modulation needed to prevent wheel lockup on slick surfaces. Hydraulic calipers also self-adjust as pads wear, maintaining consistent lever feel.
| Feature | Hydraulic Disc | Mechanical Disc |
|---|---|---|
| Stopping Power | High (fluid-based) | Moderate (cable-based) |
| Maintenance | Complex bleeding required | Simple cable adjustment |
| Heat Dissipation | Superior | Prone to fade |
| Cost | Higher upfront | Lower initial cost |
Mechanical brakes remain viable for light commuters who rarely carry extra weight. But if you regularly transport goods, the safety margin provided by hydraulics is worth the investment. We recommend avoiding hybrid systems unless absolutely necessary for budget constraints.
Matching Rotors and Calipers to Your Specific Weight Class
Rotor size dictates heat capacity. Larger diameters provide more surface area for cooling. For heavy loads, start at 180mm minimum.
Ideally, move to 203mm or even 220mm on the front wheel where most braking force occurs.
Caliper piston count matters too. Two-piston calipers work for average riders. Four-piston units deliver stronger, more linear clamping force.
Ensure your fork or frame supports larger rotors via post-mount or international standard tabs. Adapters may be needed if switching sizes.
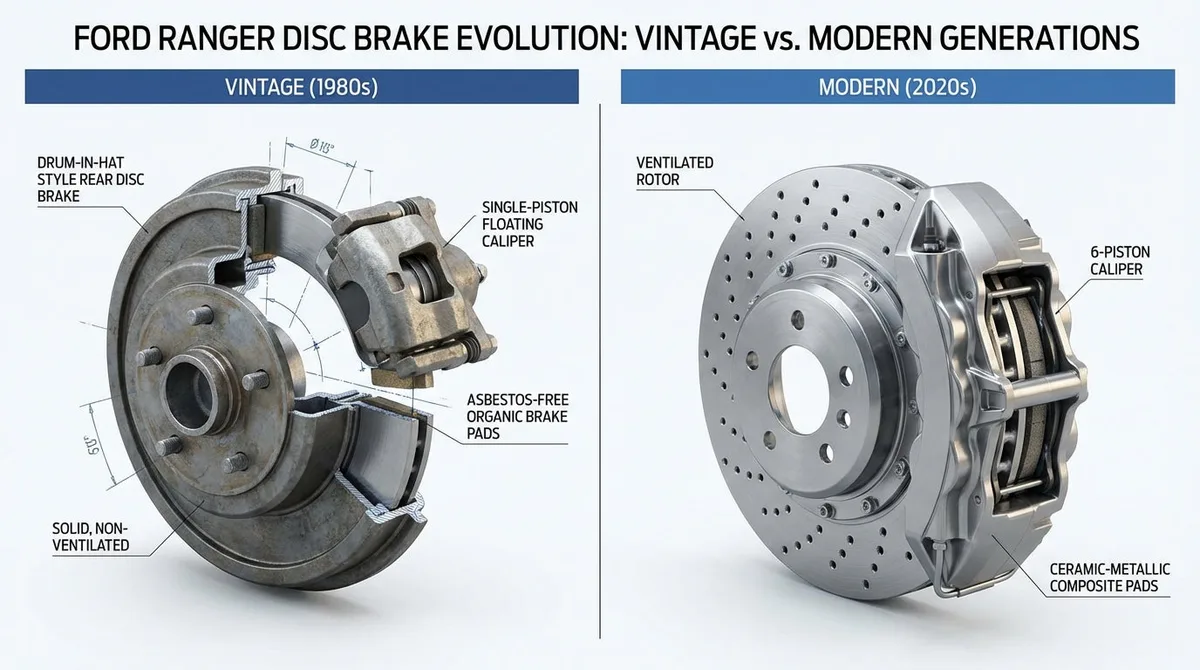
Check your bike’s maximum tire clearance before buying big rotors. Some frames limit you to 160mm without modification. Always verify compatibility with manufacturer specs.
Mixing incompatible parts leads to rubbing or insufficient clearance. Per ISO 4210 standards, braking systems must withstand repeated high-stress cycles without degradation. Choose components certified for e-bike usage specifically.
The Step-by-Step Swap: From Removal to Safe Bleeding
Replacing brakes isn’t just bolting on new parts. It requires careful preparation and precise execution. Start by removing wheels and old calipers.
Clean mounting surfaces thoroughly to ensure flat contact.
Install new rotors using a torque wrench. Over-tightening warps discs; under-tightening causes looseness. Follow manufacturer Nm specifications strictly.
Next, mount calipers and align them perfectly parallel to the rotor. Misalignment causes drag and noise.
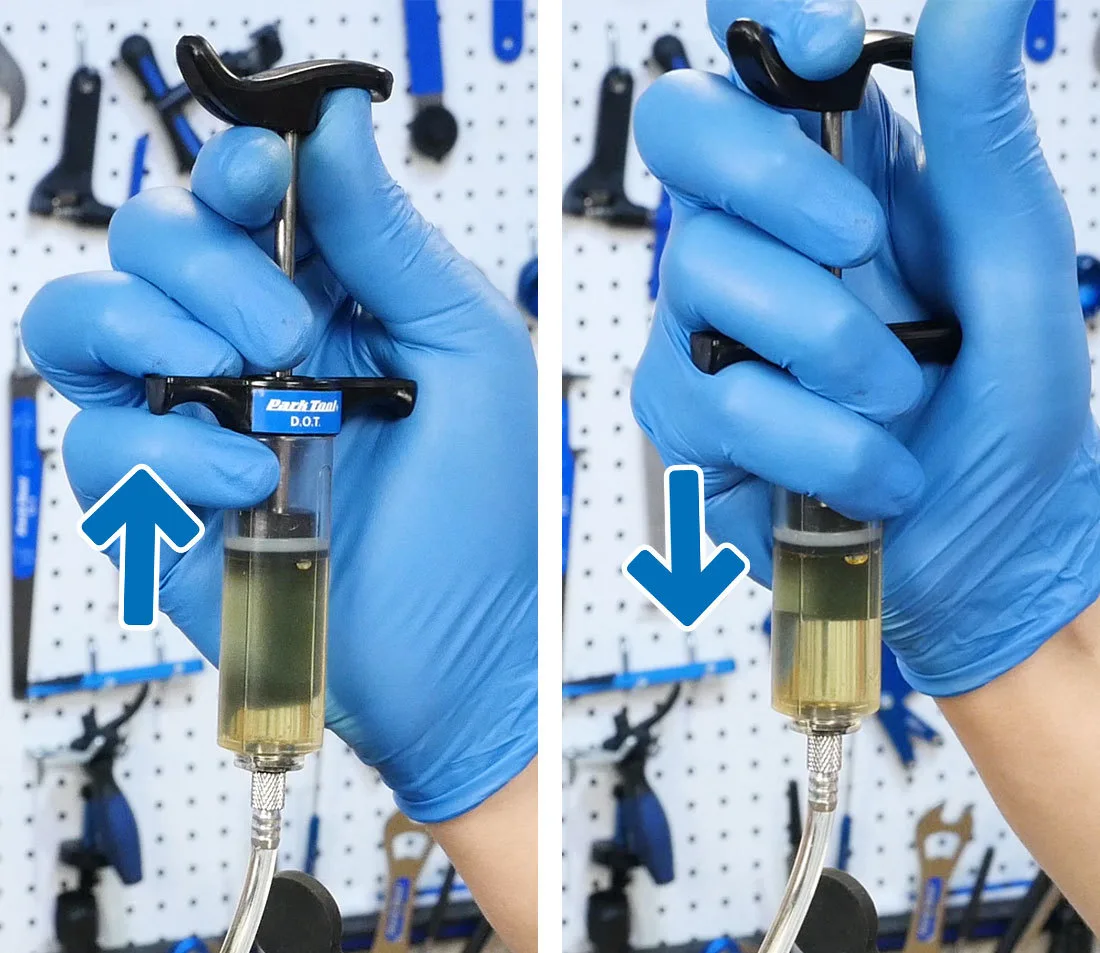
Bleeding the system removes air bubbles that cause spongy levers. Use the correct fluid type (DOT or Mineral Oil). Never mix fluids.
Attach bleed blocks to pistons to prevent expulsion. Push fluid through slowly until no air escapes. Reassemble carefully and test lever firmness before riding.
Critical Safety Checks Before You Hit the Road
Never ride immediately after installation. Test brakes while stationary first. Squeeze levers hard to check for solid resistance.
Look for leaks around hose fittings and caliper seals. Any drip indicates a faulty connection requiring immediate attention.
Take the bike for a slow-speed trial in a controlled environment. Check for pad bedding. New pads need transfer layers to form properly.
Perform gradual stops from low speeds to build confidence. Avoid sudden emergency maneuvers until you trust the response.
Verify that brake sensors still function correctly. Most e-bikes cut motor power when brakes engage. If sensors misalign, the motor might stay active during braking, creating dangerous conflicts.
Adjust sensor position until lights activate reliably. Confirm compliance with local laws regarding functional front and rear brakes. Skipping these checks risks severe injury or legal liability.
Common Installation Mistakes That Kill Performance
Torque errors are the most frequent cause of premature failure. Many riders overtighten rotor bolts, warping the disc instantly. Others under-tighten them, allowing dangerous play during hard stops.
Always use a calibrated torque wrench. Stick strictly to manufacturer specifications, typically 40-50 Nm for six-bolt rotors.
Ignoring pad bedding is another critical oversight. New pads and rotors need a transfer layer to bond properly. Skipping this step leads to squealing and reduced friction.
Perform ten controlled stops from moderate speed without locking the wheels. This creates the necessary surface chemistry for reliable braking.
Air bubbles in hydraulic lines ruin lever feel. If you rush the bleeding process, residual air compresses instead of fluid. The result is a spongy lever that fails under pressure.
Use bleed blocks to keep pistons retracted. Push fluid slowly until it emerges clear and bubble-free. Never skip the final lever firmness check before riding.
Maintenance Schedule for High-Stress Brake Systems
Heavy loads accelerate wear on every component. Inspect pad thickness monthly if you ride daily. Replace pads when they reach 1mm of material left.
Check rotor thickness regularly against minimum spec marks. Warped or thin rotors must be replaced immediately to prevent caliper damage.
Hydraulic fluid absorbs moisture over time. This lowers the boiling point, increasing fade risk. Flush and refill the system annually for heavy users.
Use only the specified fluid type. Mixing DOT and mineral oil destroys seals permanently. Our research shows that neglected fluid changes account for nearly half of all hydraulic brake failures in cargo e-bikes.
Clean rotors with isopropyl alcohol weekly. Remove dust, grease, and metallic residue. Contaminants reduce friction significantly.
Avoid touching pad surfaces with bare hands. Oils from skin contaminate the compound. Store your bike indoors when possible.
Salt and humidity corrode mechanical parts faster than expected. Regular cleaning extends component life substantially.
Frequently Asked Questions About E-Bike Brake Upgrades
Can I upgrade from mechanical to hydraulic brakes easily?
Yes, but it requires frame compatibility. You’ll need mounting tabs for calipers and hose routing paths. Most modern e-bike frames support hydraulics.
Older models may need adapters. Verify fork clearance for larger rotors. Professional installation is recommended if you lack experience with hydraulic systems.
Do bigger rotors always mean better braking?
Not necessarily. Larger rotors improve heat dissipation and leverage. However, they add rotational weight.
This affects acceleration and handling slightly. For heavy loads, the benefits outweigh the drawbacks. Ensure your frame supports the increased diameter.
Don’t assume maximum size is optimal for every scenario. Match rotor size to your typical terrain and cargo weight.
How often should I replace brake pads?
Replace them when thickness drops below 1mm. Heavy loads wear pads faster. Organic compounds wear quicker than sintered metals.
Check visually every month. Listen for metal-on-metal grinding. This indicates severe wear requiring immediate replacement.
Ignoring low pads damages rotors. Replacing rotors costs more than fresh pads. Stay proactive with inspections.
Is regenerative braking enough for heavy e-bikes?
No. Regenerative braking assists deceleration but lacks stopping power. It cannot replace friction brakes legally or safely.
Motor cut-off sensors still require physical brake engagement. Rely solely on hydraulic or mechanical discs. Use regen as a supplement for battery charging.
Never depend on it for emergency stops. Friction brakes remain the primary safety system.

Similar Posts