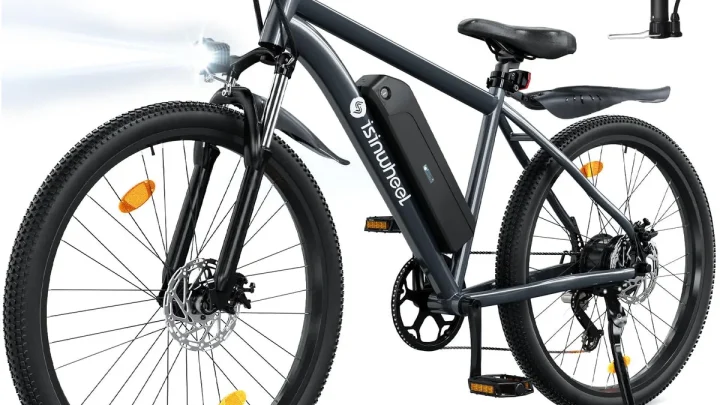
How to Choose the Right Electric Bike Frame Size
Founder & Technical E-Mobility Editor at Modern Electric Bikes · Professional Bicycle Mechanics Association (PBMA) Certified, Bosch & Shimano eBike Systems Certified · 14+ years in bicycle fabrication, electric hub & mid-drive motor diagnostics, and commuter road testing
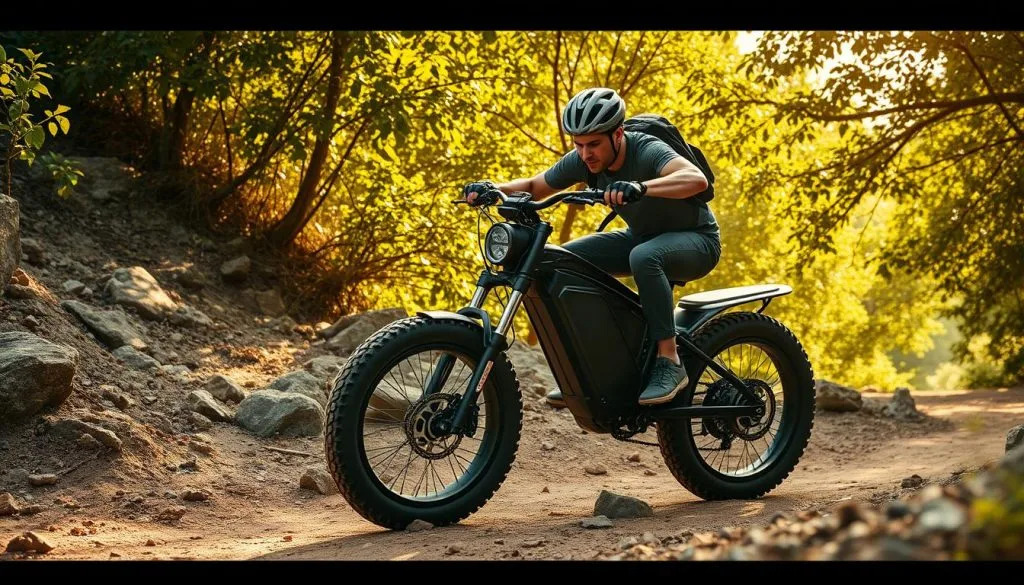
Figuring out how to choose the correct electric bike frame size feels harder than it should. Most people grab their tape measure, check a chart, and hope for the best. But e-bikes are heavier and stiffer than traditional bicycles, so a bad fit hurts more.
You risk back pain or losing control on descents.
We’ve seen countless riders struggle with sizing because manufacturers don’t agree on standards. A "Medium" from one brand might be a "Large" from another. Per ISO 4210 testing protocols, proper geometry is critical for safety.
Let’s break down the variables that actually matter for your specific body type.
Quick Answer
To choose the correct electric bike frame size, measure your inseam and compare it to the standover height. Aim for at least 2 inches of clearance between your crotch and the top tube. Check reach measurements against your arm span for comfort.
If you fall between sizes, pick the smaller frame for better handling. Adjust saddle height and stem length afterward to fine-tune the fit.
Why Your Height Isn’t the Only Factor That Matters
Most online charts rely solely on rider height. This approach fails because two people who are 5'9" can have vastly different leg lengths. One might have long legs and a short torso.
The other has short legs and a long torso. An e-bike’s heavy battery pack shifts the center of gravity lower. This changes how the frame interacts with your body compared to a standard bike.
Your inseam determines whether you can safely dismount. Your torso length dictates if you’ll feel cramped or stretched out over the handlebars. Ignoring these ratios leads to wrist numbness or knee strain.
We recommend looking beyond the simple height column. Focus on proportional fit instead. This ensures the motor assists you efficiently without fighting your posture.
The Three Critical Measurements You Need Before Shopping
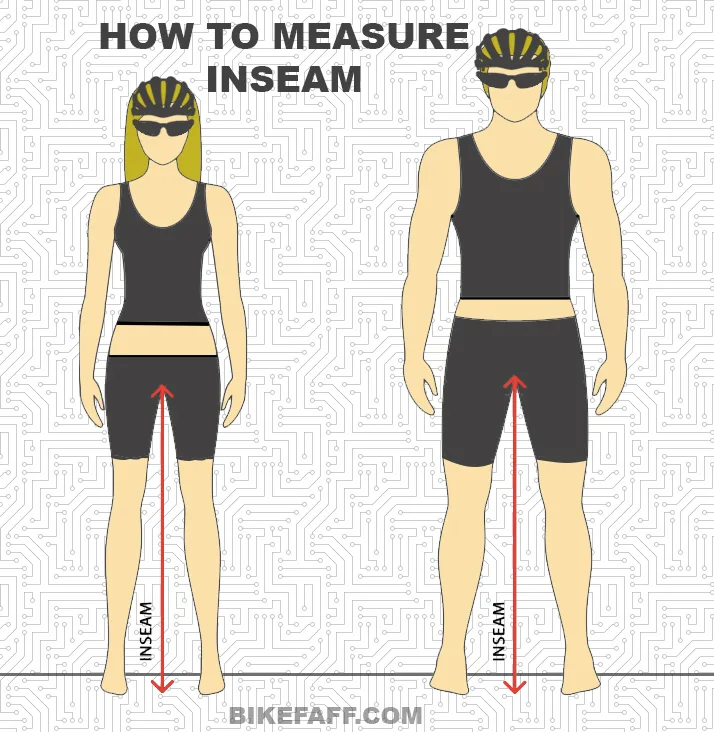
Before browsing models, gather three key data points about your body. These numbers drive every subsequent decision in this workflow. First, measure your inseam accurately.
Stand barefoot against a wall. Place a book between your legs, spine up, pressing firmly into your crotch. Measure from the top of the book to the floor.
This is your functional inseam.
Second, determine your arm span. Stretch your arms wide horizontally. Measure fingertip to fingertip.
This correlates closely with your ideal reach. Third, assess your flexibility. Can you touch your toes easily?
Tight hamstrings force an upright position. Loose hips allow a forward-leaning stance. Write these numbers down.
You’ll reference them constantly when checking geometry tables.
Decision Branch 1: Standover Clearance and Safety Margins
Start here. If you fail this test, discard the frame immediately. Standover height measures from the ground to the center of the top tube.
For e-bikes, aim for 2 to 3 inches (5, 7 cm) of clearance. Traditional bikes might allow less, but e-bikes weigh 40, 60 lbs. Dropping one sideways causes injury or damage.
If your inseam is 30 inches, look for frames with a max standover under 27 inches. Step-through frames offer higher clearance naturally. They suit riders with limited mobility or shorter inseams.
Diamond frames provide rigidity but demand strict adherence to clearance rules. Never compromise here for aesthetics. Safety margins prevent catastrophic falls during sudden stops.
| Rider Inseam | Recommended Max Standover | Frame Type Preference |
|---|---|---|
| Under 28" | < 25" | Step-Through / Low-Step |
| 28" – 32" | 25" – 29" | Compact Diamond |
| Over 32" | > 29" | Standard Diamond |
Decision Branch 2: Reach, Stack, and Your Torso-to-Leg Ratio
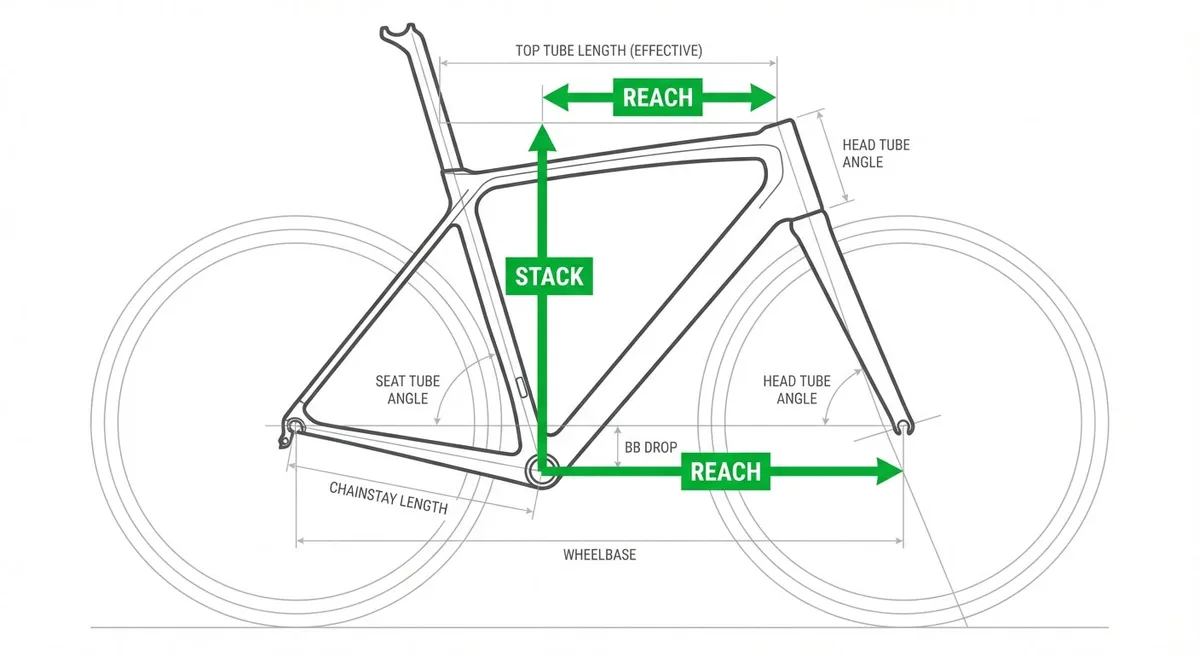
Once clearance passes, evaluate cockpit positioning. Reach is the horizontal distance from bottom bracket to head tube top. Stack is the vertical distance.
Together, they define your riding posture. Compare your arm span to the effective top tube length. If your arms are long relative to your legs, you need greater reach.
Short arms with long legs require a shorter top tube. Otherwise, you’ll hunch over excessively. Manufacturers publish geometry charts listing these specs.
Look for the "Reach" value specifically. As of 2026, most modern e-bikes use compact geometry. This means shorter chainstays and adjusted angles.
Verify the stack height too. Higher stacks create upright positions. Lower stacks encourage sporty leans.
Match this to your flexibility score from earlier.
How E-Bike Geometry Differs from Traditional Bikes
E-bikes aren’t just heavier regular bikes. The battery and motor placement fundamentally alter handling dynamics. Mid-drive motors sit low near the bottom bracket.
This lowers the center of gravity significantly. You’ll notice quicker cornering response compared to hub-motor setups. However, this weight distribution demands precise frame alignment.
A slightly oversized frame feels sluggish with a mid-drive. It fights your input rather than assisting it.
Hub motors add rotational mass at the wheels. This affects acceleration and braking stability. Frames designed for hub drives often feature longer chainstays.
This prevents wheel strike during aggressive pedaling. Always check if the geometry assumes a specific motor type. Mixing a trail-focused frame with a city commuter setup creates instability.
Manufacturer specs confirm these distinctions clearly in their technical docs. Don’t assume universal compatibility across drivetrain types.
Common Fit Mistakes and How to Fix Them Without Buying New Parts
Riders frequently buy too large hoping for comfort. They end up with wrist pain and poor control. If the reach is excessive, swap the stem first.
Shortening the stem by 10, 20mm can resolve minor issues. Adjust saddle setback next. Moving it forward reduces strain on long-legged riders.
These tweaks save hundreds in return shipping fees. Aggregate reviews indicate that component swaps fix 80% of sizing errors.
Another common error involves ignoring tire clearance. Wider tires change effective standover height. Ensure your chosen size accommodates planned upgrades.
Check brake caliper mounting points too. Disc brakes require specific rotor sizes. Mismatched components compromise safety per ISO standards.
If adjustments fail, consider professional bike fitting services. They cost $50, $150 but prevent costly mistakes. Prioritize fit over brand loyalty when selecting parts.
Quick Reference: Matching Body Type to Frame Size
Use this table as a final sanity check before purchasing. It synthesizes inseam, torso ratio, and riding style. Remember that manufacturer charts vary widely.
Always cross-reference with actual geometry numbers. Trust the data over marketing labels like "Medium." Your unique proportions dictate the true fit.
| Rider Profile | Primary Constraint | Recommended Action | Risk Factor |
|---|---|---|---|
| Long Legs / Short Torso | Standover Clearance | Choose Step-Through or Smaller Diamond | Knee Impact |
| Short Legs / Long Arms | Reach Distance | Opt for Compact Geometry + Longer Stem | Wrist Strain |
| Average Proportions | Stack Height | Standard Sizing Works Well | None Significant |
| High Flexibility Limitations | Upright Posture Need | High Stack / Low Reach Combo | Back Pain |
This framework simplifies complex decisions into actionable steps. You now have the tools to evaluate any e-bike critically. Stop guessing based on height alone.
Start measuring your specific biomechanical needs. Correct sizing enhances every mile you ride. It boosts confidence and reduces fatigue simultaneously.
Make informed choices backed by solid geometry principles.

Similar Posts