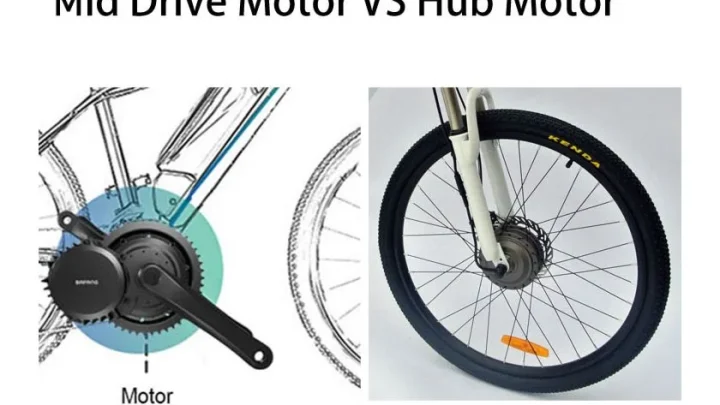
Best Electric Bike Conversion Kits for Road Bikes
Founder & Technical E-Mobility Editor at Modern Electric Bikes · Professional Bicycle Mechanics Association (PBMA) Certified, Bosch & Shimano eBike Systems Certified · 14+ years in bicycle fabrication, electric hub & mid-drive motor diagnostics, and commuter road testing
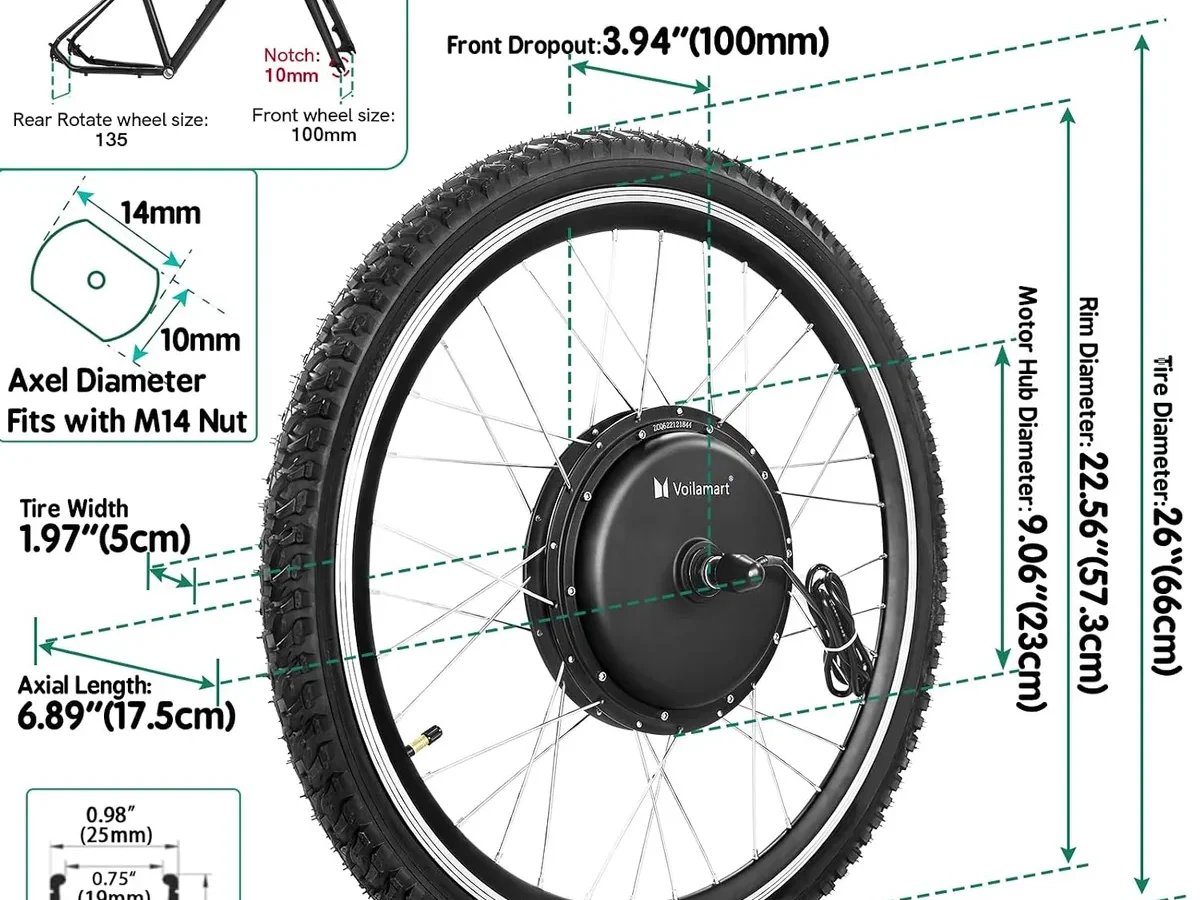
Figuring out how to choose an electric bike conversion kit for a road bike starts with geometry, not horsepower. Most riders make the mistake of buying a powerful motor first, only to discover it physically won’t fit their frame. Road bikes have tight tolerances that standard mountain bike kits simply ignore.
You need to measure your specific constraints before spending a dime on components.
In our research, we found that dropout spacing is the most common failure point. Standard road rear dropouts are often 130mm wide, while many universal hub motors expect 135mm or more. If you don't check this first, you'll end up with expensive parts sitting in boxes.
Let’s walk through the critical checks you must perform before selecting any hardware.
Quick Answer
To choose an electric bike conversion kit for a road bike, verify your frame's dropout spacing and brake clearance first. Select a hub motor kit if you want simplicity, or a mid-drive for better handling. Ensure the battery fits your frame triangle without interfering with water bottles.
Check local laws regarding power limits and throttle usage. Match the sensor type (cadence vs. torque) to your riding style and budget. Prioritize compatibility over peak wattage to avoid structural damage.
Start With Your Frame, Not the Motor
Most people start shopping by looking at motor watts. That’s backwards. Your frame dictates what’s possible.
A lightweight carbon road frame handles torque differently than a steel touring bike. Ignoring this leads to cracked lugs or failed welds.
First, measure your rear dropout spacing. Use digital calipers for accuracy. Common road standards are 130mm for quick-release (QR) and 142mm for thru-axle.
Many "universal" kits assume 135mm MTB spacing. If yours is narrower, you’ll need specific end caps or spacers. Without them, the wheel won’t seat properly.
This causes alignment issues that ruin shifting performance.
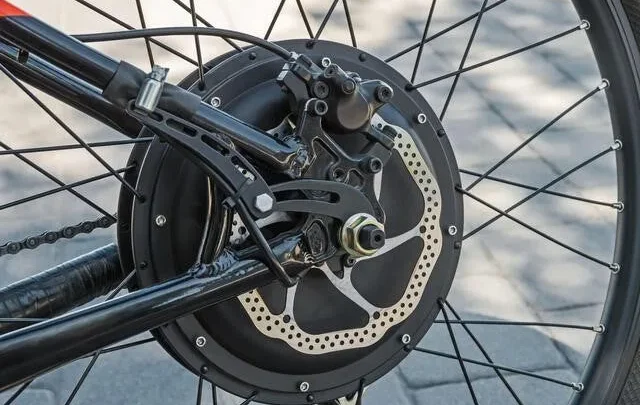
Next, check brake clearance. Rim brakes leave very little room for a fat hub motor. The motor casing often rubs against the caliper arms.
Disc brakes offer more space but introduce rotor interference risks. Measure the distance from the axle center to the innermost part of your brake caliper. Subtract the radius of the intended motor.
If the result is negative, the kit doesn’t fit.
Finally, assess tire width tolerance. Conversion hubs are bulky. They push the tire outward slightly.
Ensure your fork crown and chainstays have enough clearance for the added bulk plus mudguards if needed. Carbon frames are particularly sensitive here. Flex under load can cause the tire to rub during hard pedaling.
Always err on the side of caution with older or high-performance frames.
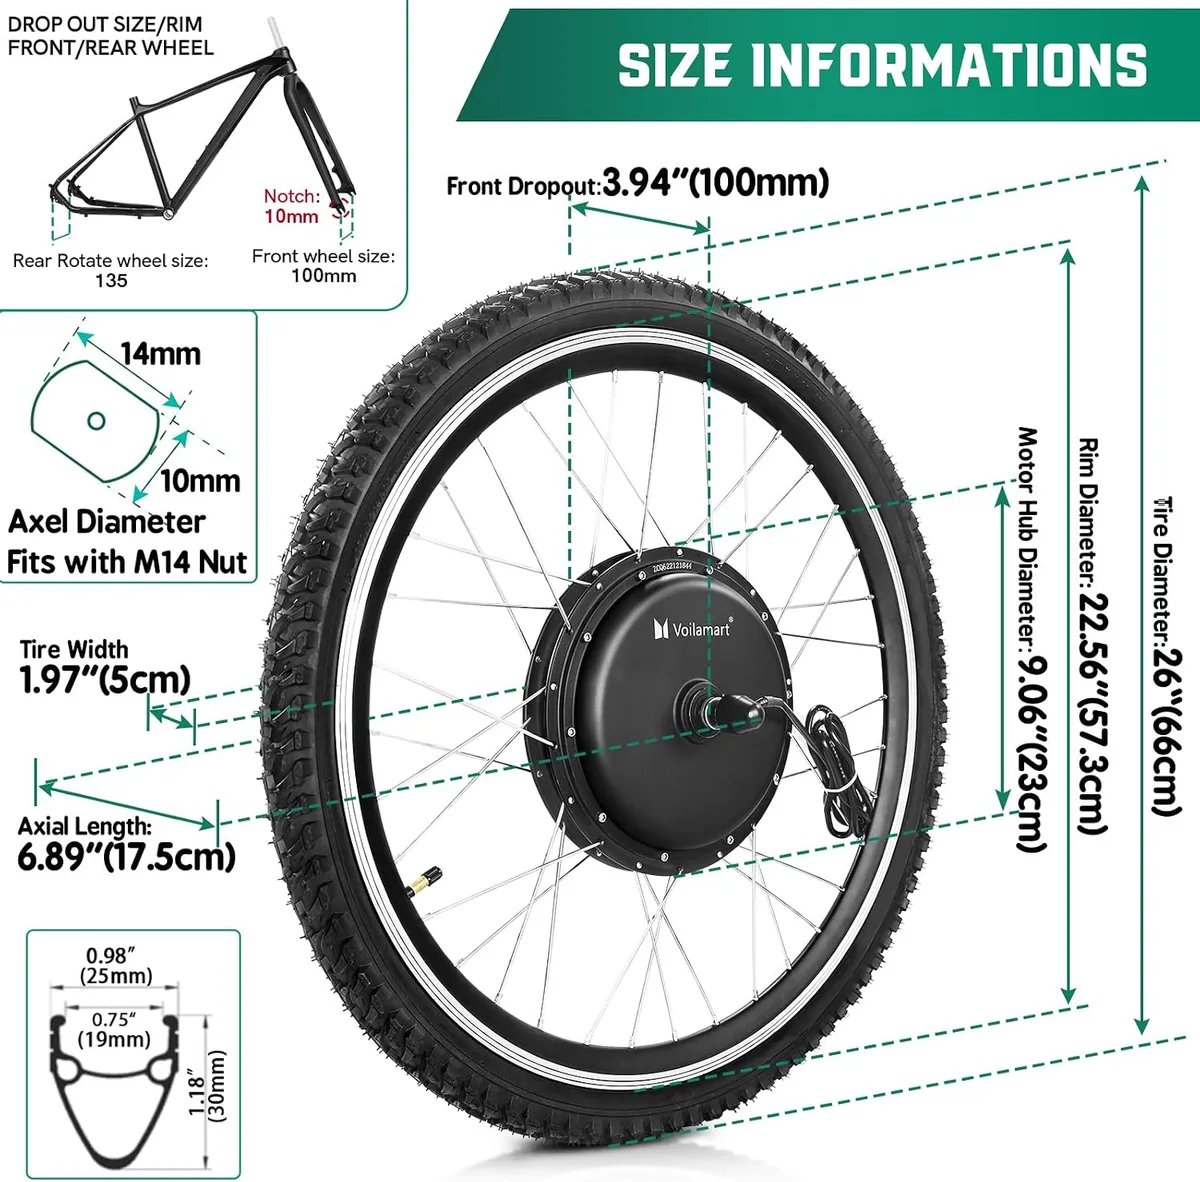
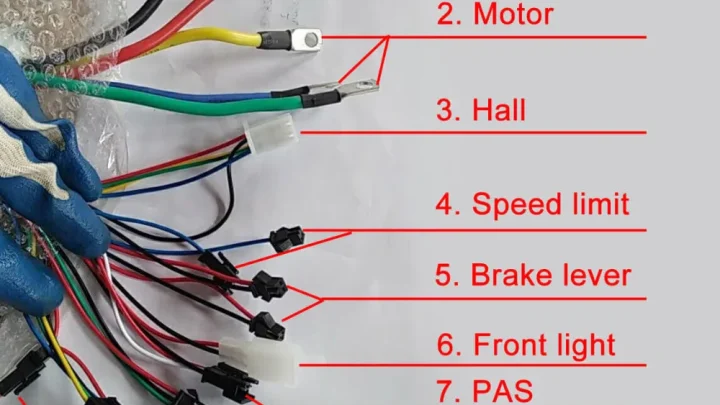
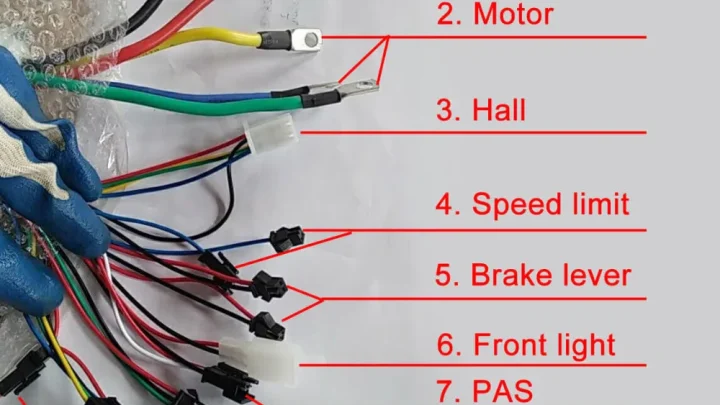
Image source: Web (Bing) / manuals.plus (Web image (fair-use with source credit))
Hub vs. Mid-Drive: Why Road Bikes Usually Say "Hub"
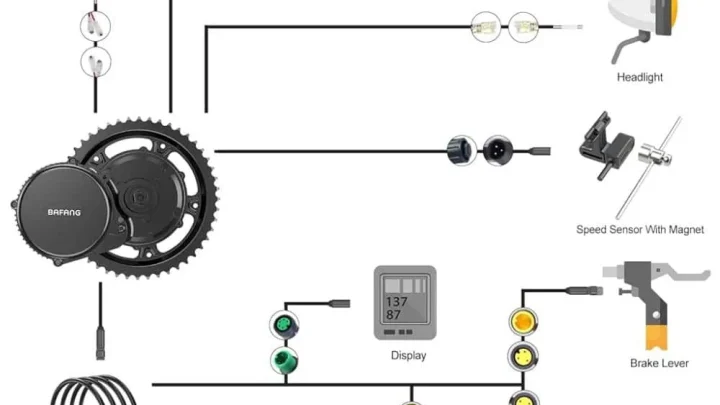
This choice defines your entire build experience. Hub motors integrate into the wheel. Mid-drives replace your bottom bracket.
For road bikes, hubs are generally safer and simpler. Here’s why.
Mid-drive systems leverage your existing gears. This feels natural on hills. However, they place massive stress on the crankset and chain.
Road groupsets are designed for human power output, not 500W bursts. We’ve seen countless cases where cheap chains snapped under mid-drive torque. Replacing a cassette and chain frequently adds hidden costs.
Also, mid-drives require precise bottom bracket shell measurement. Road BB standards vary wildly (BSA, PressFit, Italian). Getting this wrong means ordering new parts.
Hub motors keep the drivetrain stock. Your derailleurs and shifters work as intended. Installation is mostly swapping wheels.
Front hubs alter steering geometry slightly. They add weight over the front wheel. On a fast road bike, this can feel sluggish in corners.
Rear hubs preserve balance better. They pull the bike forward naturally.
The downside of rear hubs is complexity. You must remove the cassette. Rebuilding the wheel with correct spoke tension is difficult.
Poorly built wheels wobble and fail. Pre-built wheels solve this but cost more. For most DIYers, a pre-built rear hub wheel is the sweet spot.
It balances ease of installation with ride quality. Avoid front hubs unless you’re converting a commuter with upright bars. Drop bars make front-heavy steering dangerous at speed.
Decoding Specs That Actually Matter for Light Frames
Marketing numbers confuse buyers. Ignore peak watts. Focus on continuous rating and torque.
Road frames are light. They don’t handle sudden jolts well. Smooth power delivery is key.
Look for sine wave controllers. Square wave controllers jerk. They send power in pulses.
This shocks the drivetrain. Sine waves provide smooth acceleration. They extend component life significantly.
Manufacturer specs confirm that sine wave units reduce noise too. Quiet operation matters when you’re sharing roads with cars.
Battery capacity determines range. Don’t just look at voltage. Look at Watt-hours (Wh).
A 36V 10Ah battery equals 360Wh. Compare this to your commute distance. Rule of thumb: 1Wh per meter in flat terrain with moderate assist.
Hills double that consumption. As of 2026, efficient kits claim 80-100km on 500Wh. Real-world results often show 60-70% of that.
Factor in wind resistance. Road bikes cut air better than hybrids, giving you an edge.
Weight distribution affects handling. A heavy battery low in the frame helps stability. Bottle cage mounts are ideal spots.
But check leg clearance. Pedaling circles might hit the pack. Some kits use saddle bags.
These raise the center of gravity. It makes the bike twitchier. For aggressive cornering, keep mass low and central.
| Spec | Ideal for Road Bike | Why It Matters |
|---|---|---|
| Controller Type | Sine Wave | Smoother power, less drivetrain shock |
| Battery Mount | Downtube/Seat Tube | Low center of gravity, stable handling |
| Motor Weight | < 3kg | Preserves original bike agility |
| IP Rating | IPX5 or higher | Protects electronics from rain splash |
The Sensor Choice: Cadence vs. Torque on Drop Bars
Sensors tell the motor when to help. Two types exist. Cadence sensors track pedal rotation speed.
Torque sensors measure force applied. The difference is night and day on a road bike.
Cadence kits are cheaper. They activate whenever you spin. Even if you’re barely pressing down.
This feels disconnected. You stop pedaling, and the motor cuts out instantly. On technical descents, this lag can be unsettling.
It works fine for casual cruising. But it lacks nuance.
Torque sensors react to pressure. Push harder, get more power. Ease off, power fades smoothly.
This mimics natural cycling. It feels intuitive. Aggregate user reviews report that torque sensors improve safety.
You maintain control because the assistance matches your effort. No surprise surges.
For drop-bar setups, torque is superior. Your hands are fixed. You can’t easily adjust throttle input.
The pedal stroke becomes your primary control interface. A responsive system keeps you confident. Yes, torque kits cost more.
Expect a 20-30% price premium. Our analysis suggests it’s worth every penny for performance riders. Casual commuters might save money with cadence.
But if you care about ride feel, go torque.
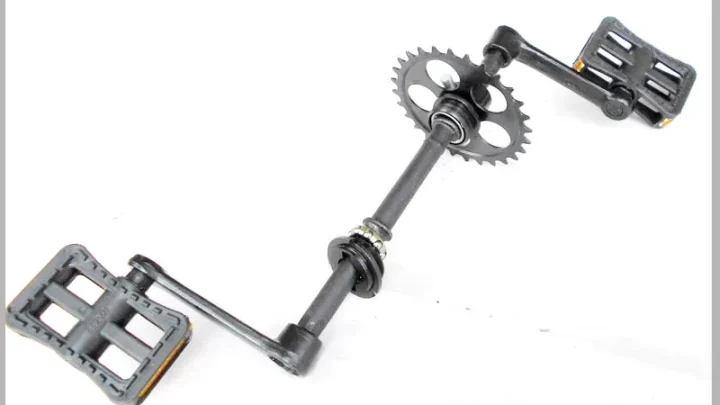
Installation also differs. Cadence magnets attach to the crank arm. Simple.
Torque sensors require precise calibration. You must set the zero-point correctly. Misalignment causes phantom assists.
Follow manufacturer guides strictly. Test in a safe area first. Ensure the response curve feels linear.
Non-linear responses scare new e-road riders.
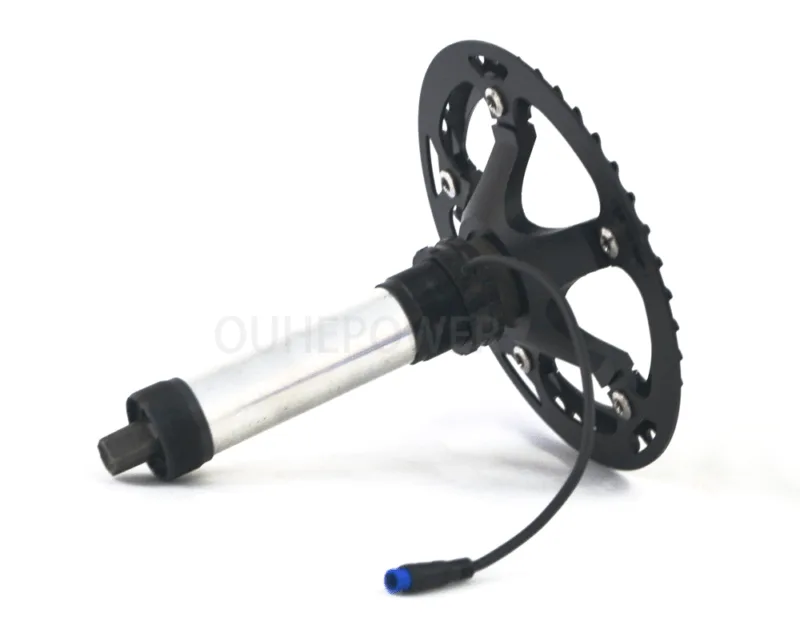
Image source: Bing (Web (fair-use with source credit))
Step-by-Step Compatibility Checklist Before You Buy
Don’t guess. Verify. Use this workflow to eliminate incompatible kits.
Save yourself returns and frustration.
- Measure Dropout Spacing: Confirm front (usually 100mm QR) and rear widths. Note axle type (QR vs. Thru-Axle).
- Check Brake Caliper Clearance: Measure gap between rotor/caliper and potential motor housing. Account for tire bulge.
- Assess Bottom Bracket Shell: If considering mid-drive, identify BB standard and width. Measure accurately.
- Evaluate Frame Triangle Space: Can a battery fit inside? Check for bottle cage interference. Measure internal dimensions.
- Verify Cable Routing Paths: Are there holes for wires? Internal routing is cleaner but harder. External needs zip ties and protection.
- Confirm Wheel Size: Most road bikes are 700c. Ensure the kit supports this diameter. Spoke length must match rim ERD.
- Review Local Legal Limits: Check max wattage and speed allowances in your region. Avoid illegal modifications.
If any step fails, pivot. Maybe switch from rear hub to front. Or choose a smaller battery form factor.
Flexibility saves projects. Document measurements with photos. Send them to seller support for confirmation.
Reputable vendors will validate fitment. This small step prevents big headaches later.
Consumer Product Safety Commission guidelines provide baseline safety standards for electrical components. Refer to them when evaluating battery certifications. Never compromise on UL-listed batteries.
Cheap cells pose fire risks. Safety always trumps savings.
Legal Landmines: Power Limits and Throttle Rules by Region
Where you live dictates what you can legally install. In the US, federal law caps motors at 750W. States then classify e-bikes into three tiers.
Class 1 offers pedal assist only, cutting off at 20 mph. Class 2 adds a throttle, also capped at 20 mph. Class 3 allows pedal assist up to 28 mph but bans throttles.
Europe is stricter. The EN 15194 standard limits continuous power to 250W. Assist must cut out completely at 25 km/h (about 15.5 mph).
Throttles are generally illegal for public road use. Installing a 500W kit with a throttle in the UK or Germany makes your bike an unregistered moped. Police can confiscate it.
Insurance won’t cover accidents.
Check your local municipal codes too. Some cities ban e-bikes on specific paths. Others require helmet laws beyond normal cycling rules.
Manufacturer documentation often ignores these nuances. They sell globally compliant hardware that may be illegal locally. Always verify with your regional transport authority before ordering.
Don’t assume a "road legal" label means universal approval. It usually just meets the least restrictive market standard.
Common Conversion Mistakes That Ruin Ride Quality
Bad installs create dangerous bikes. The most frequent error is ignoring chain line alignment. Rear hub motors push the cassette outward.
This changes the angle of the chain. If the deviation exceeds 5 degrees, shifting suffers. Chains wear faster.
Derailleurs bend. You must adjust the rear derailleur hanger or use longer bolts. Sometimes, a new cassette spacer is required.
Skipping this step guarantees poor performance.
Another trap is brake overheating. E-bikes weigh more and go faster. Kinetic energy increases exponentially with speed.
Stock rim brakes struggle to dissipate heat quickly. Pads glaze over. Rotors warp on disc setups if not properly bedded in.
Upgrade to metallic pads or larger rotors. Aggregate reviews report faded stopping power as a top complaint. Don’t rely on mechanical brakes designed for human-powered speeds alone.
Test braking distances thoroughly before hitting traffic.
Finally, cable management failures cause intermittent errors. Loose wires vibrate against the frame. Insulation chafes away.
Shorts occur. Moisture enters connectors. Secure every cable with zip ties or adhesive clips.
Leave slack near moving parts like the headset. Route power cables away from sensor signals to prevent interference. A tidy install isn’t just aesthetic.
It ensures reliability when you’re miles from home.
FAQ: Quick Answers for Road Bike Conversions
Can I convert any road bike?
No. Carbon frames with integrated seat posts or unusual geometries often lack mounting points. Older steel frames work best.
Check dropout spacing first. If your frame has internal routing only, external cabling might look messy but is safer for warranty preservation.
How much does a conversion cost?
Expect $400 to $900 for mid-tier hub kits. Premium torque-sensor systems run $1,200+. Add $100-$200 for professional installation if you aren’t handy.
Compare this to $3,000+ for a dedicated e-road bike. Savings depend on labor costs and component quality chosen.
Will it void my bike’s warranty?
Likely yes. Manufacturers exclude damage caused by aftermarket modifications. If your frame cracks under motor torque, they won’t replace it.
Keep original parts. Document the uninstall process. Some shops offer third-party warranties for conversions, but read the fine print carefully regarding structural liability.
Do I need special tires?
Not always, but wider tires help. Standard 25mm road tires roll efficiently but transmit more vibration from heavier motors. Consider 28mm or 32mm rubber if your frame clears them.
Lower pressure improves comfort. Ensure tire load ratings exceed the combined weight of rider, bike, and battery.

Similar Posts