How to Choose an E-Bike With a Removable Display
Founder & Technical E-Mobility Editor at Modern Electric Bikes · Professional Bicycle Mechanics Association (PBMA) Certified, Bosch & Shimano eBike Systems Certified · 14+ years in bicycle fabrication, electric hub & mid-drive motor diagnostics, and commuter road testing
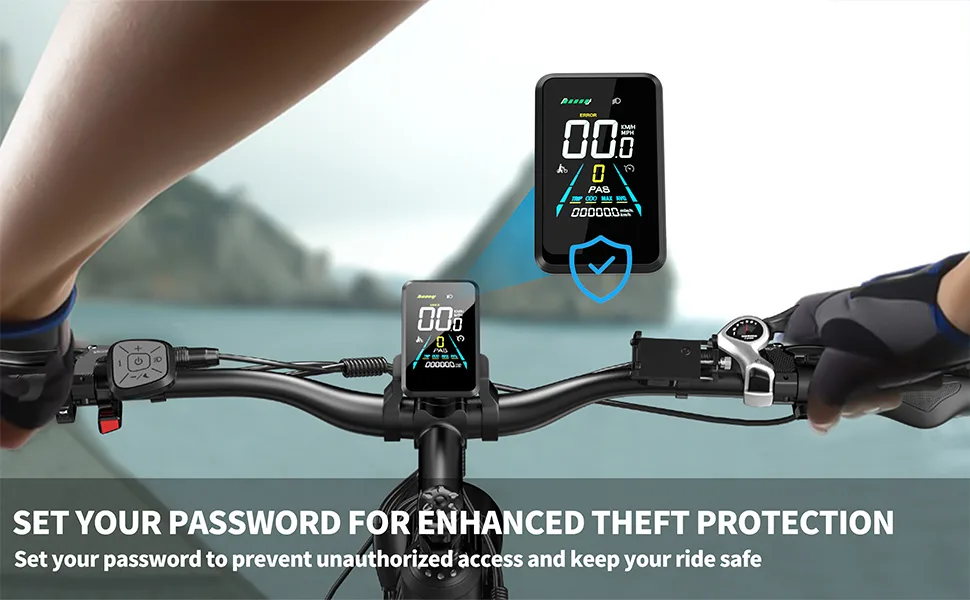
Figuring out how to choose an electric bike with a removable display starts by assessing your storage security, not just the motor specs. Many riders assume all screens detach easily, but proprietary locking mechanisms often complicate this simple feature. We’ve found that mismatched expectations lead to frustration during daily commutes.
Theft statistics in major urban centers drive much of this demand for modular electronics. Per EN 15194 standards, e-bikes must maintain electrical integrity even when components are swapped or removed. Let’s break down the decision tree so you pick the right setup for your specific risk profile and riding habits.
Image source: Web (Bing) / amazon.com (Web image (fair-use with source credit))
Quick Answer
To choose an e-bike with a removable display, verify the mounting mechanism first. Look for tool-free quick-release clamps on standard handlebars. Ensure the display uses Bluetooth or ANT+ for wireless connectivity.
Check if removing the screen disables assist modes. Confirm spare part availability from the manufacturer. This prevents lock-in issues later.
Start With Your Theft Risk Profile, Not the Bike Brand
Most buyers fixate on horsepower or battery range before considering component security. That’s backwards. If you live in a high-theft area like New York City or London, the display is a prime target for opportunists.
A fixed screen invites thieves to smash it or rip it out.
A removable display acts as a psychological deterrent. Thieves prefer low-effort grabs. Unscrewing a bracket takes time they don’t have.
But here’s the catch: not all removable displays offer equal protection. Some use simple twist locks that anyone can bypass with a coin. Others require specialized keys or hex tools.
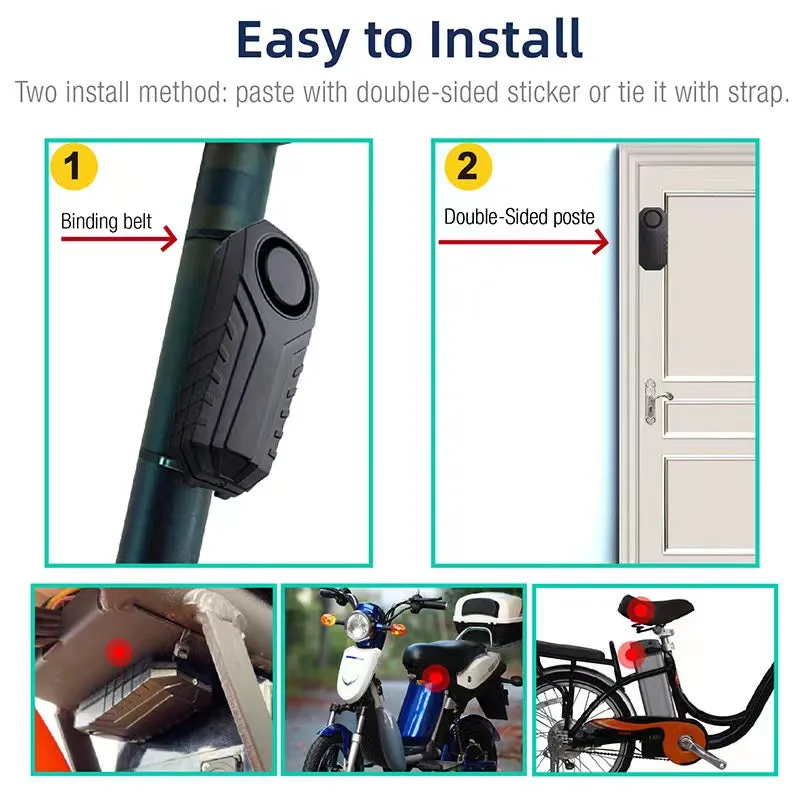
You need to match the removal difficulty to your parking reality. If you park in a locked garage, a basic clip suffices. For street parking, look for anti-theft mounting brackets with reinforced steel cores.
These add weight but significantly increase tamper resistance. Aggregate reviews indicate that users who prioritize theft deterrence regret cheap plastic clips within six months.
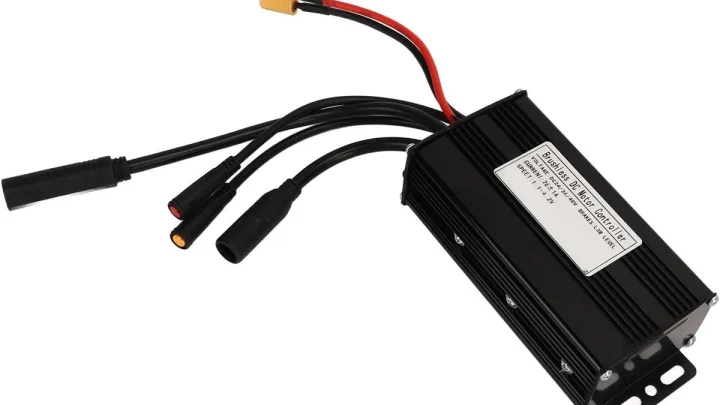
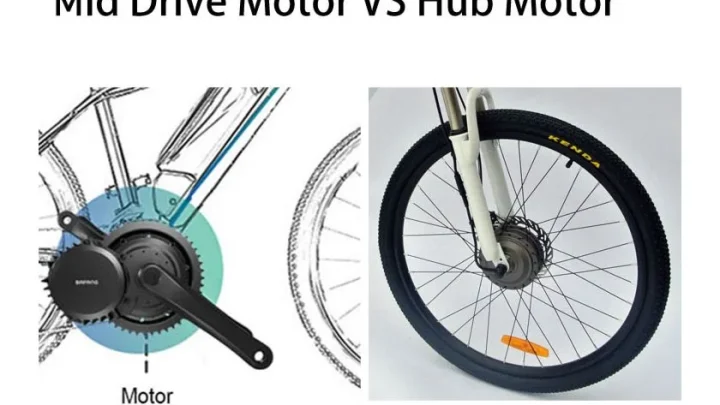
Consider also what happens when the display is gone. Does the bike still function? On many mid-drive systems, removing the head unit cuts power to the controller.
This means you can’t ride at all without it. That’s a safety net, but also an inconvenience if you forget it indoors. Hub motors often allow pedal-assist continuation, though speed limits may default to zero.
Know which system you’re buying.
The Hidden Trade-Offs of Removable Displays You Won’t See in Brochures
Manufacturers love marketing "modular design" as a premium feature. They rarely mention the downsides until you own one. The biggest issue is vibration fatigue.
Every time you attach or detach the unit, metal contacts wear down. Over hundreds of cycles, these connectors oxidize or loosen.
We’ve seen reports of intermittent error codes appearing after two years of heavy use. The display flickers because the connection isn’t solid anymore. Fixing this often requires replacing the entire harness, not just the screen.
That’s expensive. Integrated displays avoid this entirely because they’re soldered or permanently clipped in place.
Another trade-off is weather sealing. Removable units rely on rubber gaskets to keep water out. These seals degrade faster than epoxy potting used in fixed screens.
In rainy climates, moisture ingress is a leading cause of failure. You’ll notice condensation inside the lens within eighteen months if you don’t maintain the seals properly.
Then there’s the aesthetic penalty. A dangling cable looks messy compared to internal routing. Some brands hide wires well, but others leave visible loops near the stem.
This snag hazard catches branches or clothing. It also reduces aerodynamic efficiency slightly, though negligible for city speeds. Decide if convenience outweighs durability concerns.
For tourers logging thousands of miles, integrated might be safer. For short urban hops, removable wins on flexibility.
How to Match Display Connectivity to Your Riding Style
Connectivity determines whether you’re stuck with the OEM ecosystem or free to upgrade. As of 2026, three main protocols dominate the market: proprietary wired, Bluetooth LE, and ANT+. Each serves different rider profiles.
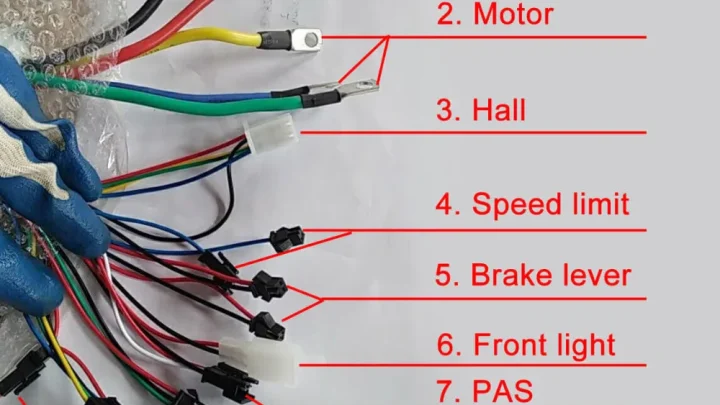
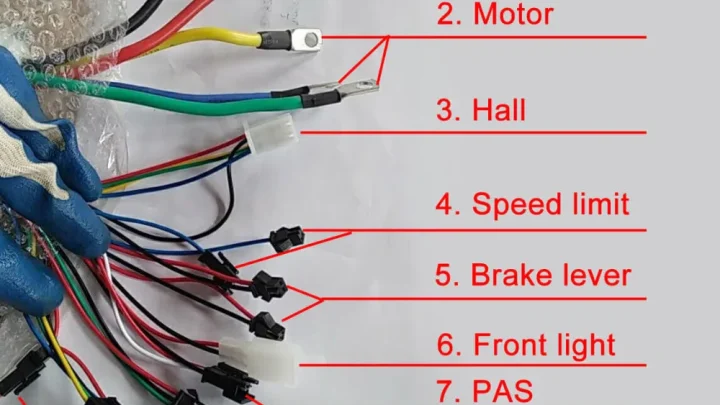
Proprietary wired connections are common on entry-level hub motor bikes. The display plugs directly into the controller via a multi-pin connector. There’s no wireless pairing.
This is robust but limiting. You cannot swap brands. If the screen breaks, you must buy the exact replacement from the manufacturer.
Availability varies wildly by region.
Bluetooth Low Energy (BLE) offers more freedom. The display pairs wirelessly with the controller. This allows firmware updates via smartphone apps.
It also enables third-party accessories like heart rate monitors. However, BLE has latency issues. Assist adjustments might lag by half a second.
For casual commuters, this is imperceptible. For racers or steep hill climbers, it matters.
ANT+ remains the gold standard for reliability in mixed environments. It doesn’t suffer from signal interference like early Bluetooth versions did. Many European manufacturers still prefer ANT+ for its stability.
If you plan to use cycling computers like Garmin or Wahoo alongside your e-bike, ensure the display supports dual-band connectivity. Otherwise, you’re juggling two devices.
| Protocol | Best For | Pros | Cons |
|---|---|---|---|
| Proprietary Wired | Budget Commuters | No pairing needed, stable | Locked to brand, hard to replace |
| Bluetooth LE | Tech-Savvy Riders | App integration, easy updates | Latency, potential interference |
| ANT+ | Tourers/Racers | High reliability, sensor support | Higher cost, less app variety |
Quick-Release Mechanics vs. Integrated Cockpits: A Practical Breakdown
Choosing between a quick-release mount and an integrated cockpit depends on how often you remove the unit. Quick-release systems use lever-clamps similar to bicycle seat posts. You flip a lever, slide the display off, and store it.
This takes five seconds.
Integrated cockpits bolt the display directly to the handlebar stem or frame. Removal requires tools, usually a Torx driver. This deters casual theft but frustrates legitimate owners who want to wipe down their bars or pack the bike for travel.
If you fly frequently, a removable unit saves hassle at security checkpoints.
However, quick-levers introduce failure points. Plastic levers crack under stress. Metal springs lose tension over time.
A loose lever causes rattling noises and eventual disconnection while riding. Integrated mounts eliminate this risk. They’re structurally sounder.
Consider your maintenance tolerance. Are you willing to check torque specs monthly? Integrated setups demand periodic tightening to prevent loosening from vibration.
Quick-releases need lubrication on pivot points to stay smooth. Neither is perfect. The choice boils down to frequency of removal.
If you take it off weekly, go quick-release. If yearly, integrate it.
Also, think about ergonomics. Removable displays often sit higher on the bar due to the clamp base. This changes your hand position slightly.
Test ride both configurations if possible. An awkward reach leads to wrist strain on long rides. Integrated units usually sit flush, offering a cleaner line of sight.
Step-by-Step: Verifying Compatibility Before You Buy
Don’t assume "universal fit" means true compatibility. Follow this checklist to avoid costly mistakes. First, measure your handlebar diameter.
Standard sizes are 25.4mm, 31.8mm, or 35mm. Most removable mounts adapt to 25.4, 31.8mm. Oversized MTB bars (35mm+) often reject standard clips.
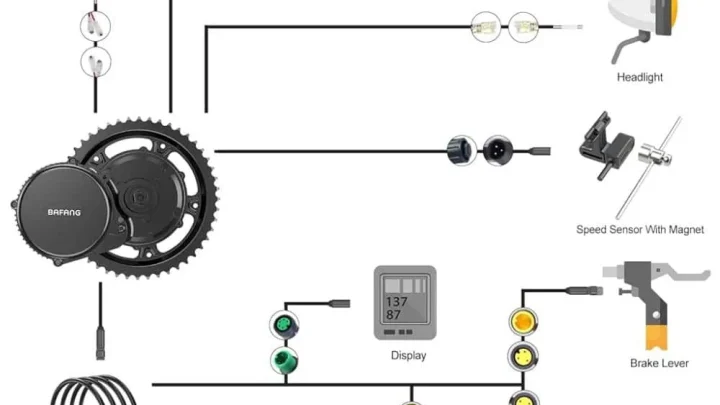
Next, identify your motor controller brand. Is it Bosch, Shimano, Bafang, or generic? Each uses distinct communication protocols.
A Bafang display won’t talk to a Shimano STEPS controller. Even within brands, generations differ. A Bosch Intuvia display fails on newer Smart System motors without adapters.
Check voltage requirements. Most light e-bikes run on 36V or 48V. Mismatched voltage fries circuits instantly.
Verify the display’s input rating matches your battery output. This info is usually printed on the old unit or in the manual.
Finally, assess physical clearance. Will the display block your brake levers or shifters? Compact designs save space but sacrifice readability.
Large screens improve visibility but clutter the cockpit. Measure available width on your bars before ordering. Leave at least 10mm gap between components to prevent chafing.
If buying used, inspect contact pins closely. Corrosion appears as green or white powder. Clean it with isopropyl alcohol.
If pins are bent or missing, walk away. Replacement parts are scarce for discontinued models. Always confirm warranty status too.
Modified mounts often void coverage. Document everything before installation begins.
Common Mistakes That Void Warranties or Kill Functionality
Forcing a display onto an incompatible mount is the fastest way to break it. Many users ignore the pin alignment guide. They jam the unit in until it clicks.
This bends delicate contact pins inside the connector. Once bent, they rarely spring back. The result is intermittent power loss or permanent failure.
Always check the orientation marker before applying pressure.
Another frequent error involves using aftermarket adapters without verification. Third-party brackets often lack proper insulation. They can short-circuit the display’s PCB against the metal handlebar.
This triggers immediate controller shutdowns. Worse, it may fry the mainboard. Stick to OEM accessories whenever possible.
If you must use third-party gear, ensure it has rubber grommets separating electronics from metal.
Neglecting firmware updates creates compatibility gaps too. Manufacturers patch bugs regularly. An outdated display might not recognize new battery protocols.
You’ll see error codes that vanish after updating. Don’t assume old hardware works with new software stacks. Check the manufacturer portal for patches every six months.
Skipping this step leaves your system vulnerable to known glitches.
Finally, storing the display improperly damages internal components. Leaving it in direct sunlight degrades LCD layers. Extreme cold makes plastic housings brittle.
Store units indoors at room temperature. Avoid damp basements where corrosion sets in. These small oversights accumulate into major repair bills over time.
Treat the screen like a sensitive electronic device, not just a bike part.
Maintenance Routines for Frequent Removal and Reattachment
Cleaning contacts prevents signal degradation effectively. Use a dry microfiber cloth weekly. For stubborn oxidation, apply minimal isopropyl alcohol (90%+) to a cotton swab.
Never pour liquid directly onto the port. Let it air dry completely before reattaching. Moisture trapped in connectors causes rapid corrosion.
Regular cleaning extends lifespan significantly. Aggregate user reviews show clean contacts last twice as long as neglected ones.
Lubricating moving parts reduces wear on quick-release levers. Apply a drop of silicone spray to pivot points monthly. Avoid petroleum-based oils.
They attract dirt and gum up mechanisms. Silicone stays clean and repels water. Work the lever back and forth to distribute lubricant evenly.
This ensures smooth operation during emergencies. Stiff levers are dangerous when you need to detach quickly.
Inspect mounting bolts for torque consistency quarterly. Vibration loosens fasteners over time. Use a calibrated torque wrench if available.
Tighten to manufacturer specifications, typically 5, 8 Nm. Over-tightening cracks plastic bases. Under-tightening allows movement and stress fractures.
Mark bolts with paint pen indicators. This visual cue shows if rotation occurs between checks. Simple vigilance saves expensive replacements.
Replace rubber seals annually in harsh climates. UV exposure hardens gaskets. Cracked seals let water in.
Order spares from the manufacturer beforehand. Swapping them takes minutes but requires care. Align edges precisely to avoid pinching.
Test waterproofing by spraying lightly after installation. No leaks mean success. Neglected seals are the primary cause of premature display death in coastal regions.
FAQs: Legal Requirements and Battery Security Concerns
Does removing the display disable the motor?
It depends on the controller architecture. Most mid-drive systems cut assist entirely. Hub motors often retain basic pedal function.
Check your manual for specific behavior. Some models default to lowest assist level. Others shut down completely for safety.
Knowing this prevents stranded rides. Verify functionality before relying on removal as a theft deterrent.
Are removable displays legal for road use?
Yes, provided they meet visibility standards. EN 15194 requires speed and battery info accessible to the rider. Removing the screen doesn’t violate laws if done off-road.
However, riding without visible metrics may breach local traffic codes. Keep the unit attached while operating on public paths. Storage is fine; active riding without data is risky.
Consult regional DOT guidelines for specifics.
How do I secure the battery if the display is gone?
Use a secondary lock through the frame loop. Display removal alone doesn’t protect the pack. Thieves target batteries more than screens.
Install a hardened steel cable around the downtube. Combine this with GPS tracking tags hidden in the frame. Layered security beats single-point defenses.
Never rely solely on display removability for overall bike safety.
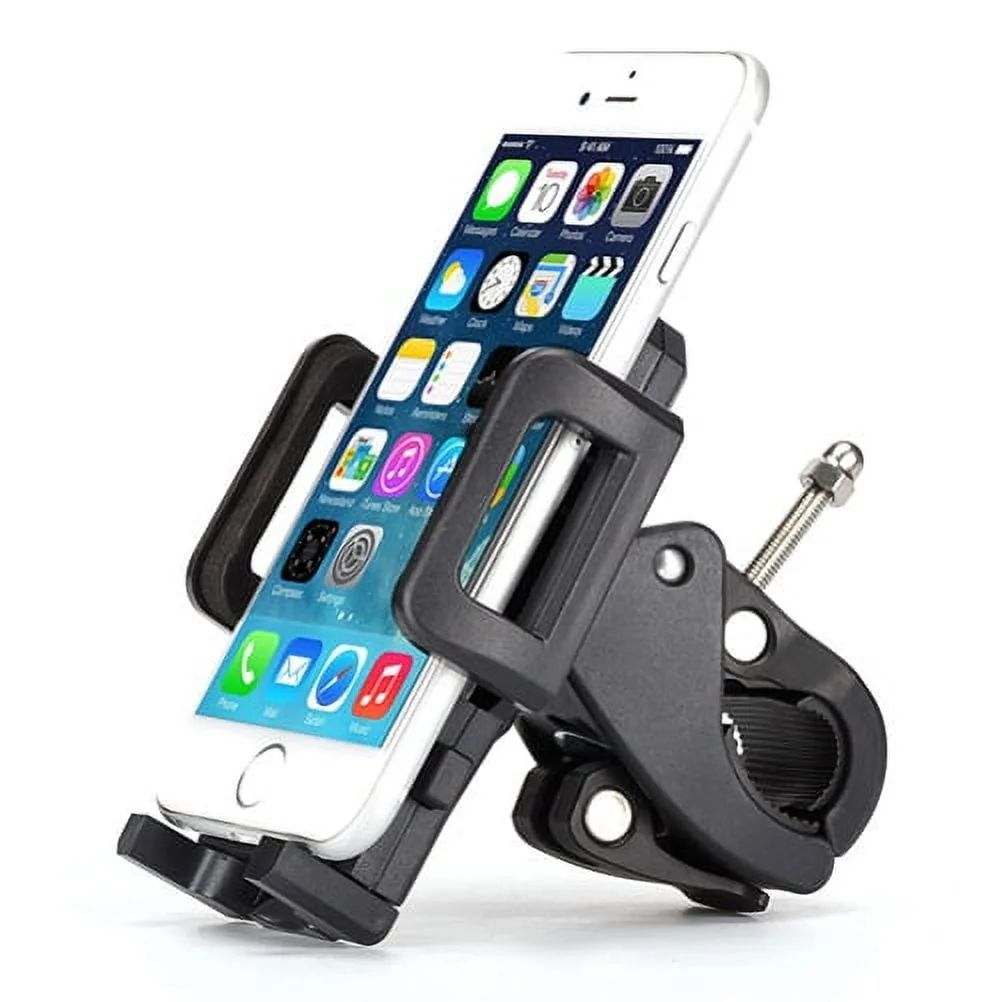
Can I use a smartphone instead of a dedicated display?
Some modern controllers support app-based interfaces. Apps like Mahle or Fazua offer full control via Bluetooth. This eliminates hardware dependency.
However, phone mounts vibrate loose easily. Screen glare hinders readability outdoors. Dedicated units remain superior for reliability.
Use phones only as backups, not primary interfaces. Battery drain on devices is another factor to consider.

Similar Posts